How to Set up Your Own Blog using Ghost on Railway
A step-by-step guide to setting up your own blog for free using Ghost on Railway.
A self-hosted blog gives you full control over your content and website, allowing you to have an online presence that meets your specific hosting requirements. Granted, it increases the effort required to maintain the underlying software, back up the content, and put relevant security measures in place but, in the long run, it offers greater flexibility and ability to monetise your ideas. If this appeals to you, read on to understand how you can achieve it with Ghost on Railway.
What is Ghost?
Ghost is a full-featured blogging platform and an open-source alternative to Medium, Substack, WordPress etc. It offers a comprehensive set of features to publish content, send newsletters, and offer paid subscriptions to members. It also offers detailed engagement analytics for your audience and content. Ghost offers affordably priced tiers for their SaaS platform, but you can also self-host it on platforms like DigitalOcean (see my post here), Google Cloud and more. In this tutorial, I'll cover one such hosting platform - Railway.

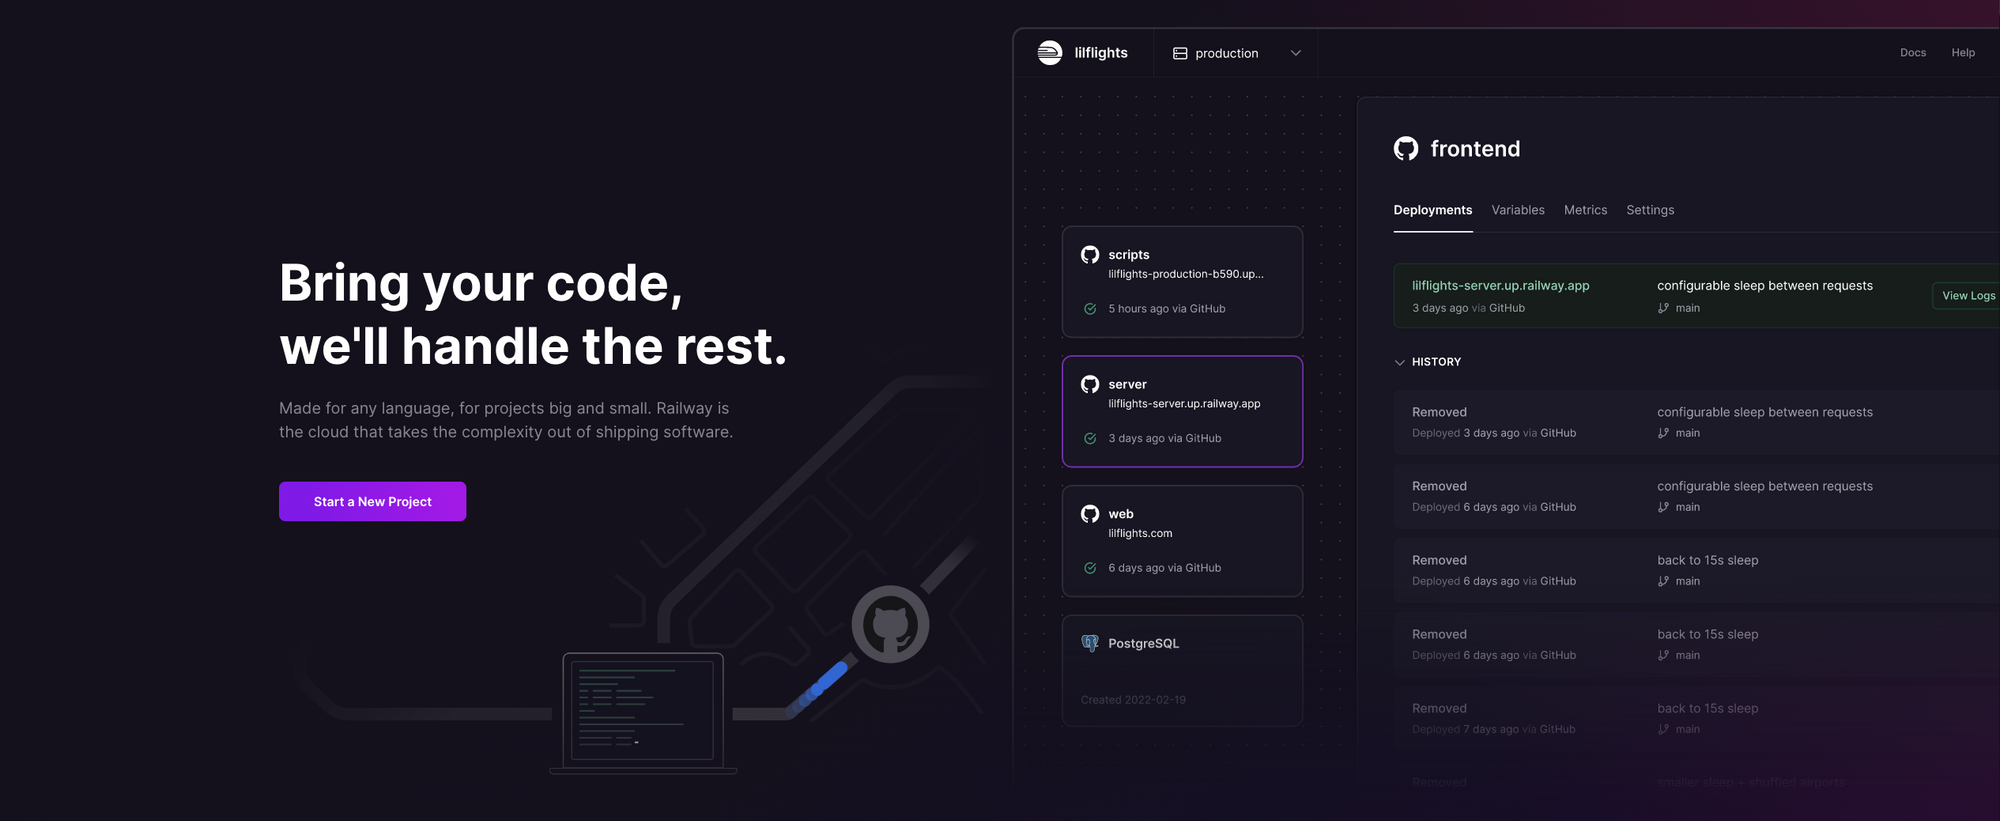
What is Railway?
Railway is a modern app hosting platform that makes it easy to deploy production-ready apps quickly. Railway offers persistent database services for PostgreSQL, MySQL, MongoDB, and Redis, as well as application services with a GitHub repository as the deployment source. For the latter, Railway can automatically determine the application runtime and deploy the service. For Ghost, Railway offers a one-click starter template, as well as the option to deploy continuously from a forked repository. If you are just testing the waters, Railway's free tier may be sufficient to host the Ghost service.
Deploy Ghost using the One-Click Starter
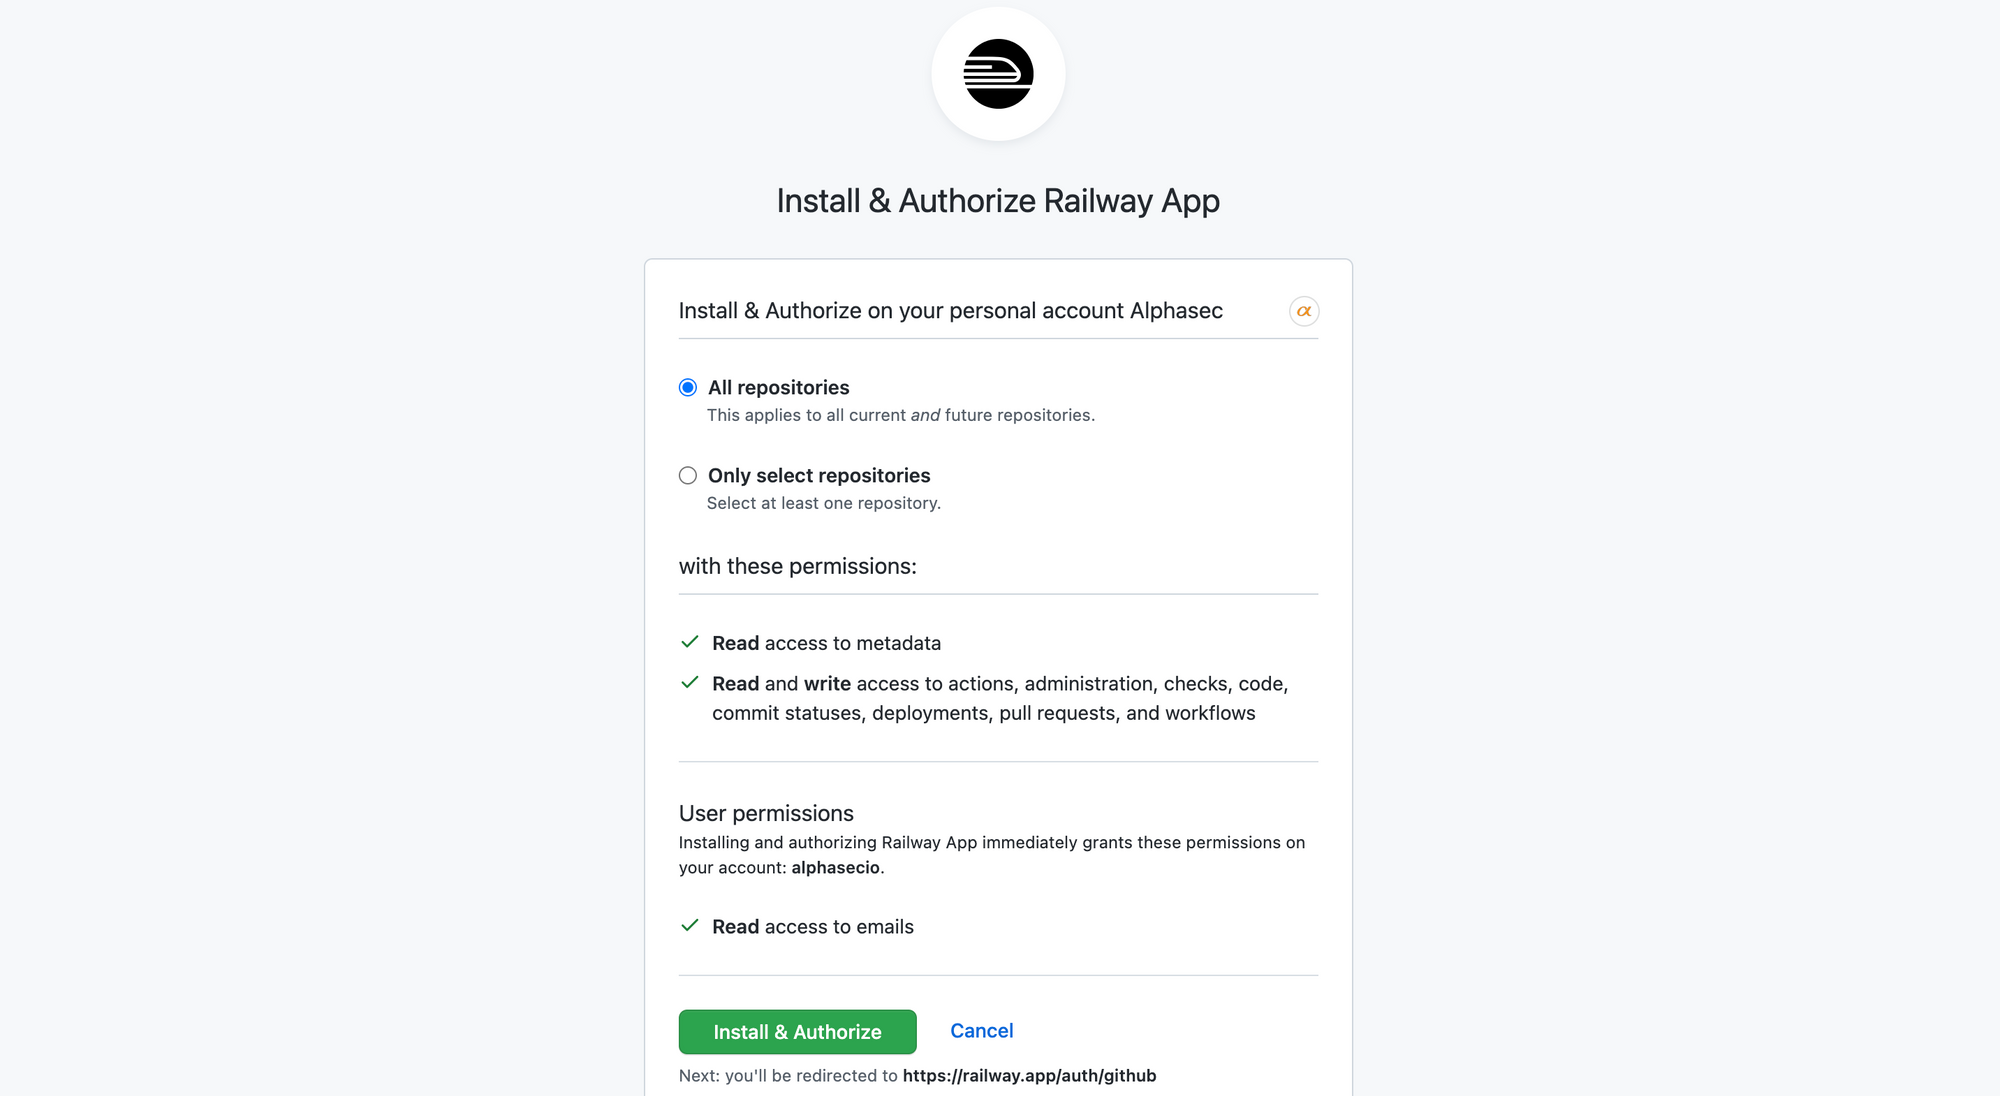
Launch the one-click starter template, and sign-in with GitHub to deploy the service. Configure the GitHub accounts and orgs that Railway should have access to. Keep the defaults and click Install & Authorize.
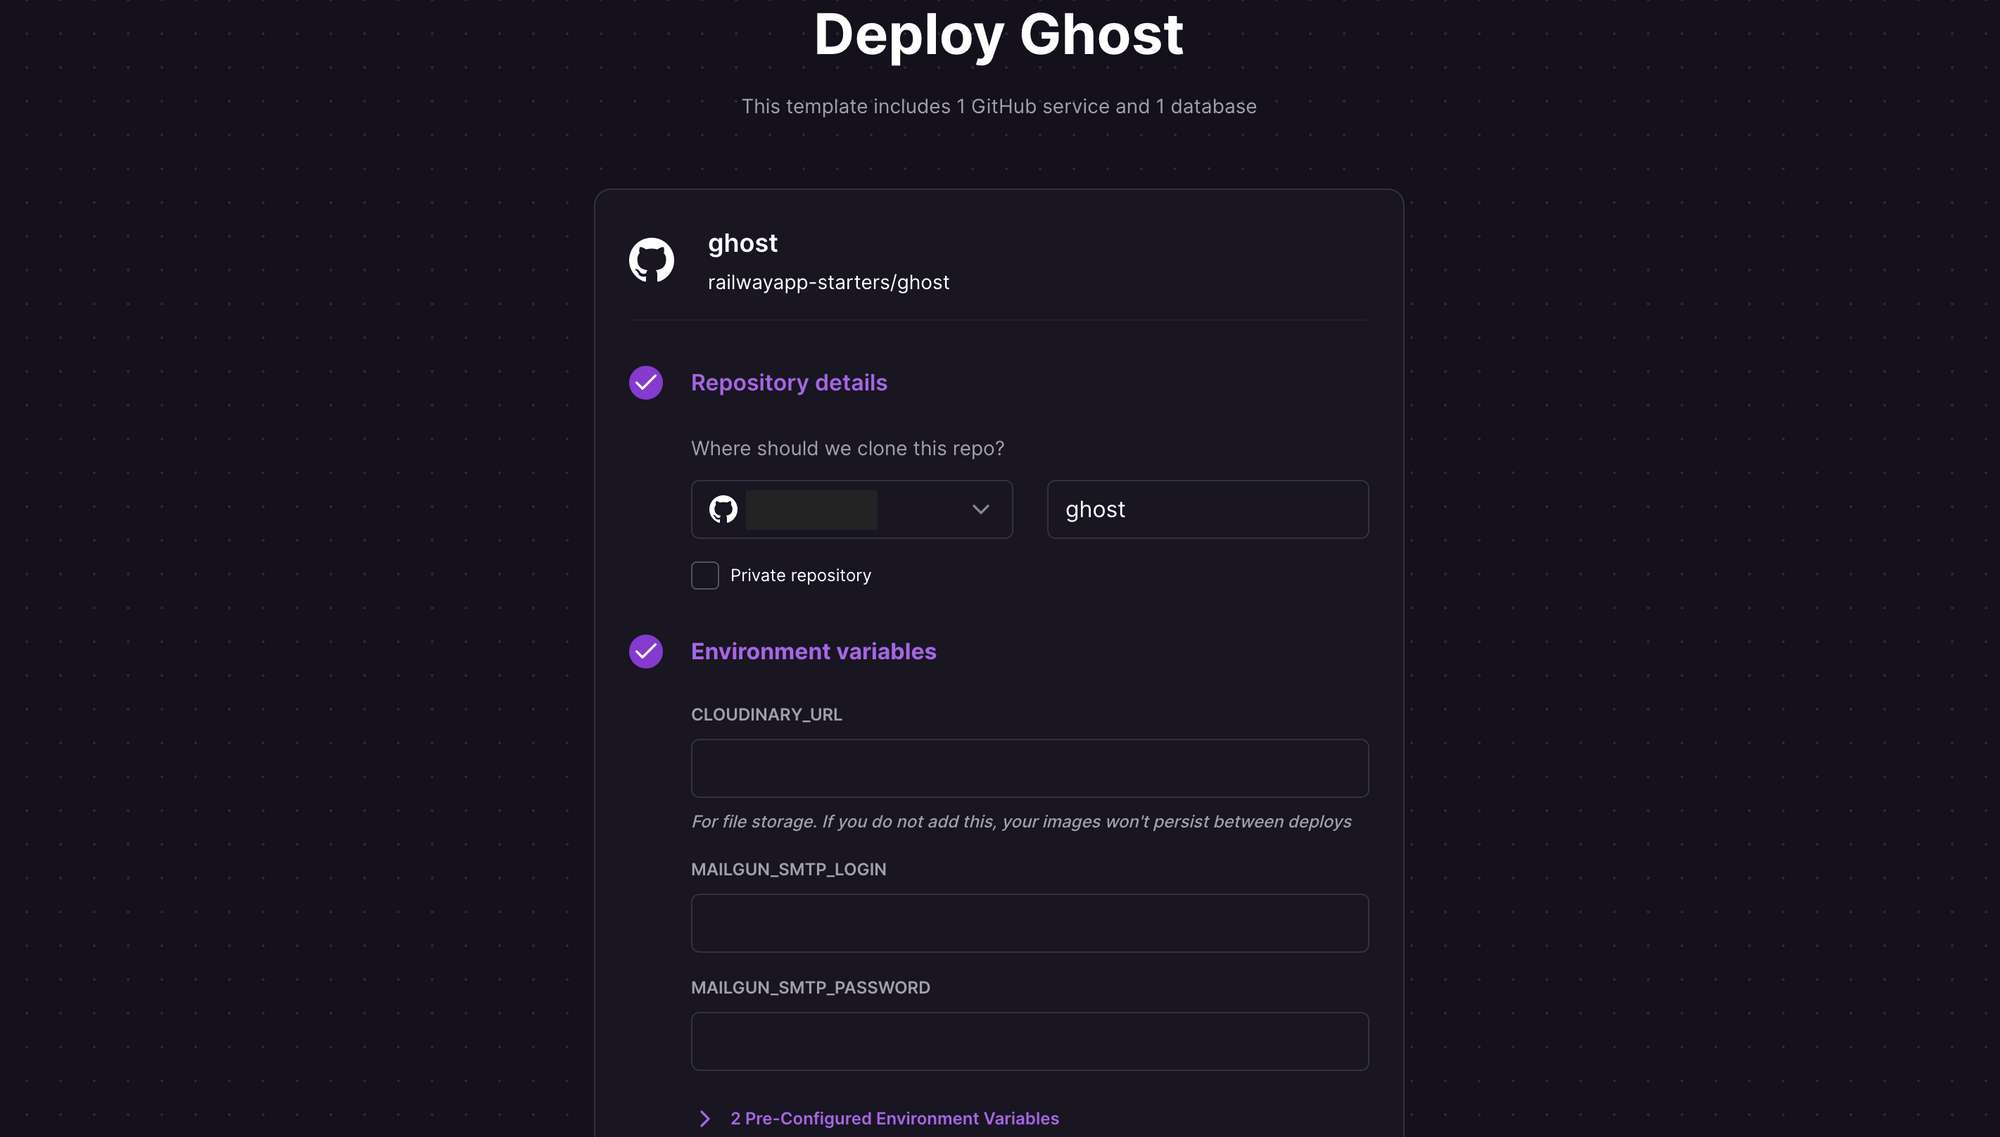
You'll be prompted for the repository details and the following environment variables; once you click Deploy, the database and service will be automatically provisioned for you.
CLOUDINARY_URL: By default, Railway provisions an ephemeral file system i.e. the user content is not persisted across deployments. This Ghost template uses Cloudinary to store and serve the media used in blog posts - create an account with Cloudinary and specify the URL here.

The Ghost template uses Mailgun as the default email provider for sending blog post notifications to your subscribers - specify the Mailgun credentials here. If you don't wish to send notifications, leave these fields empty and click Deploy.
MAILGUN_SMTP_LOGINMAILGUN_SMTP_PASSWORD
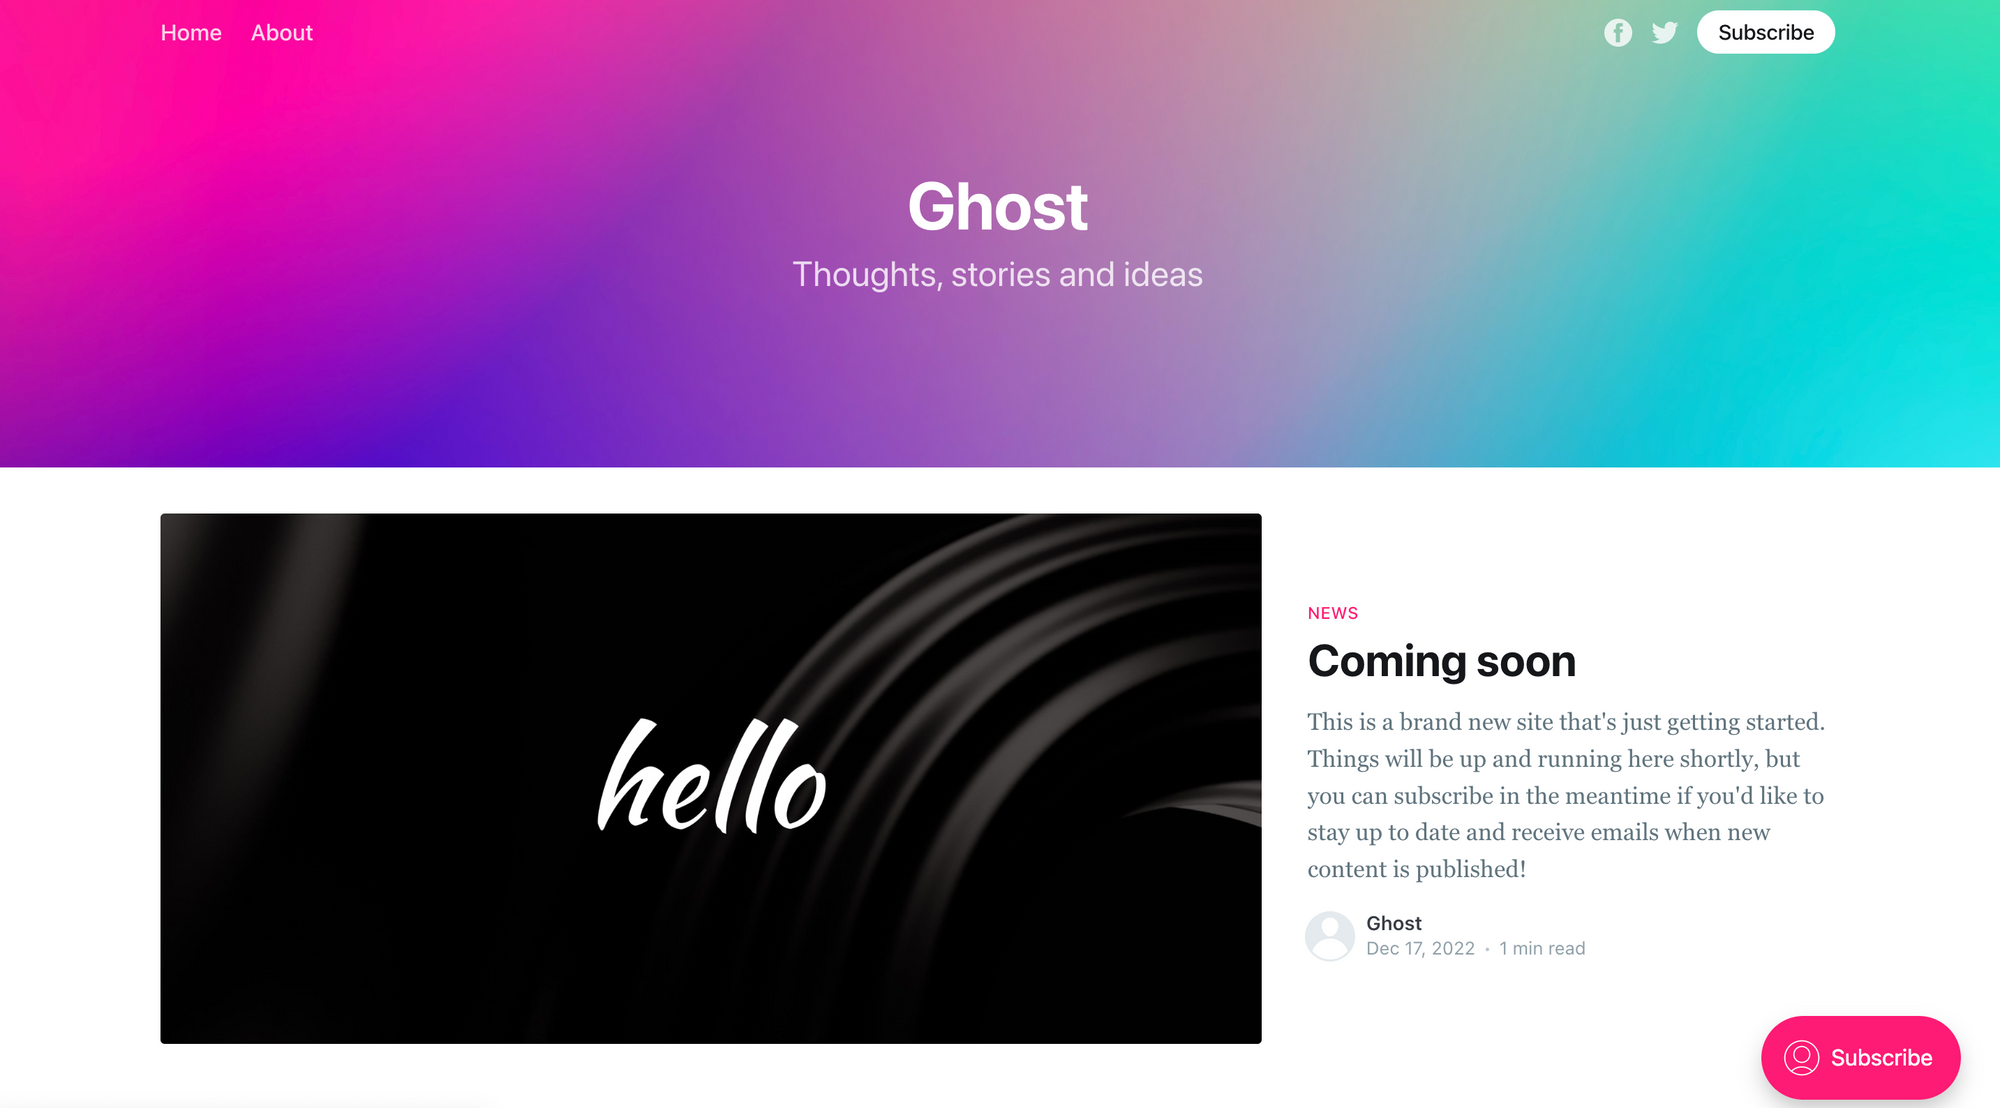
Within a few seconds, the build will complete and Ghost will be deployed on a default ***.up.railway.app domain. If you want to host on a custom domain instead, see this article.
Create Admin Profile and Configure Ghost Settings
Once you have Ghost up and running, navigate to ***.up.railway.app/ghost to create an admin account and configure basic settings for your blog.
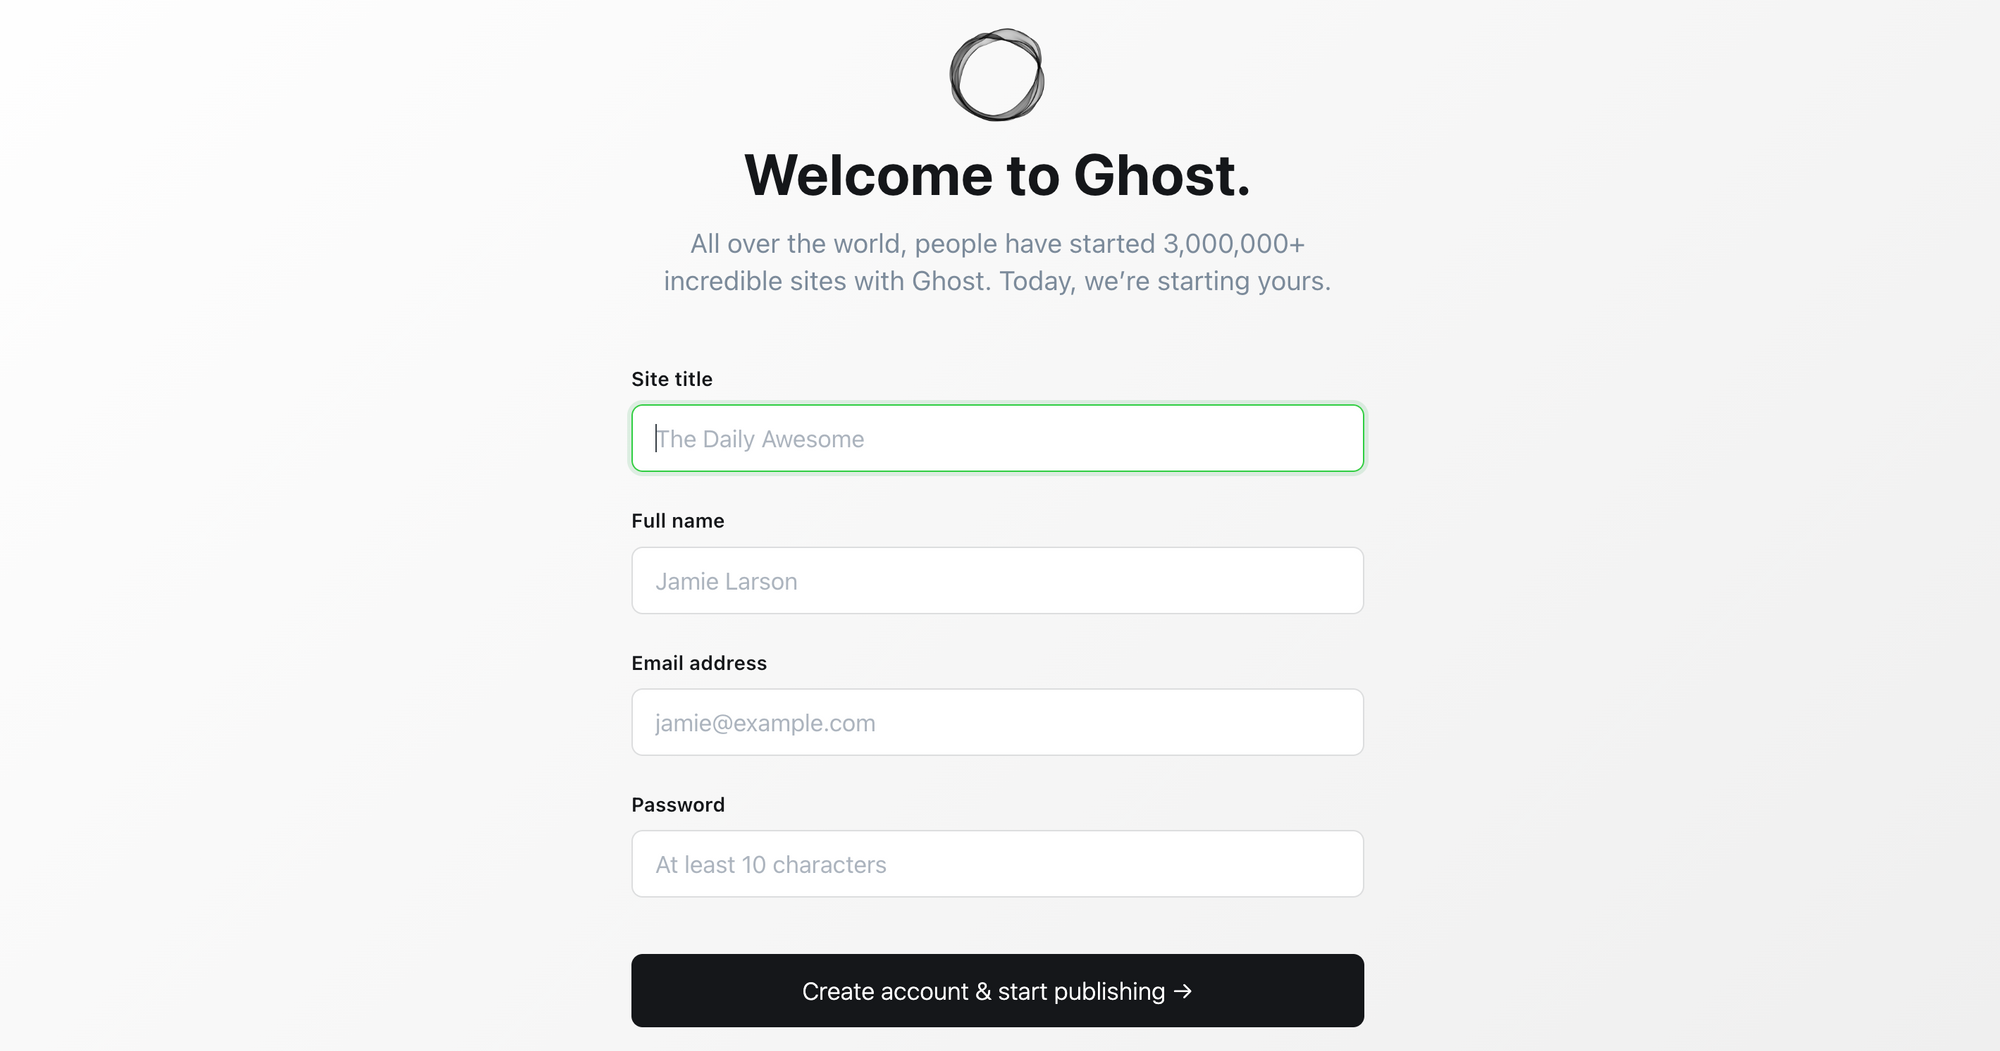
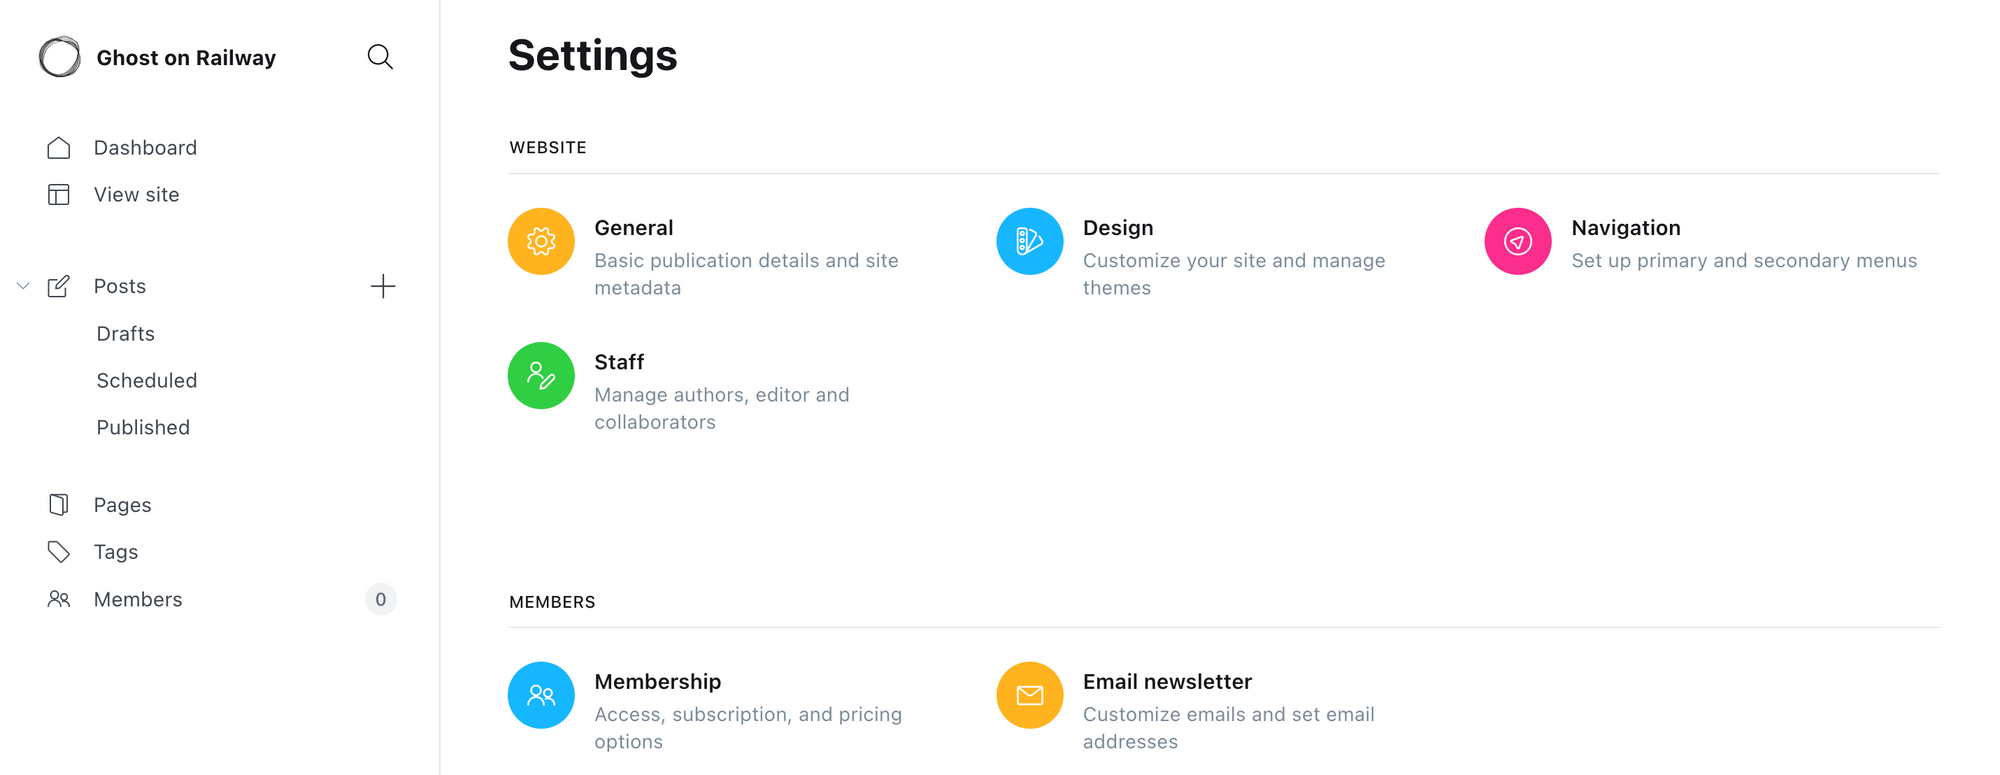
Log in with your admin credentials, and customise the look-and-feel of your blog, as well as membership and email newsletter settings. Once you are happy with the result, get a cup of coffee and kick start your blogging journey!
Change the Default Ghost Theme
As a side note, the Ghost template only includes the Casper and Lyra themes; if you wish to install additional themes, or change the defaults, follow these steps.
- Add the theme(s) as a dependency to the
package.jsonfile.
{
	...
	dependencies: {
		"headline": "github:TryGhost/headline#main"
		...
	}
}
2. Add the theme(s) to the list in bin/themes.sh file.
themes=(
	casper
	lyra
	headline
)
...
Once you commit the changes, Railway will automatically re-build the project and deploy a new version of the service. If the build fails with complaints about --frozen-lockfile, add a NIXPACKS_INSTALL_CMD variable with the value yarn install to override the default NIXPACKS installation behavior.