How to Set up Your Own Blog using Ghost on GCP
Step-by-step guide to setting up your own blog using Ghost on Google Cloud Platform.
If you are an ardent follower of Ben Thompson's Stratechery blog, you probably heard of the Sovereign Writer concept and why it is important to host your own blog. Or maybe you simply wish to take a stab at writing and are curious if hosting your own blog economically is even feasible. Either way, your search brought you here. And while this approach may not give you full control of your self-publishing destiny, it is a good first step. So, read on to understand how you can use Ghost and set up a blog with your own domain on Google Cloud Platform (GCP).

What is Ghost?
Firstly, what's Ghost? Put simply, it's a full-featured publishing platform and an open-source alternative to Medium, Substack etc. This tutorial walks through the process of deploying a self-hosted version of Ghost on GCP. If you prefer DigitalOcean as a hosting provider, see this tutorial instead.
Secondly, this tutorial assumes that you already own the domain that you'll use to host your blog. If you don't, head over to Cloudflare Registrar or Namecheap and register your domain first. Depending on your choice of domain name and TLD (.com, .io etc), you can expect to pay between a few dollars and tens of dollars per year.
Set up Your GCP Account
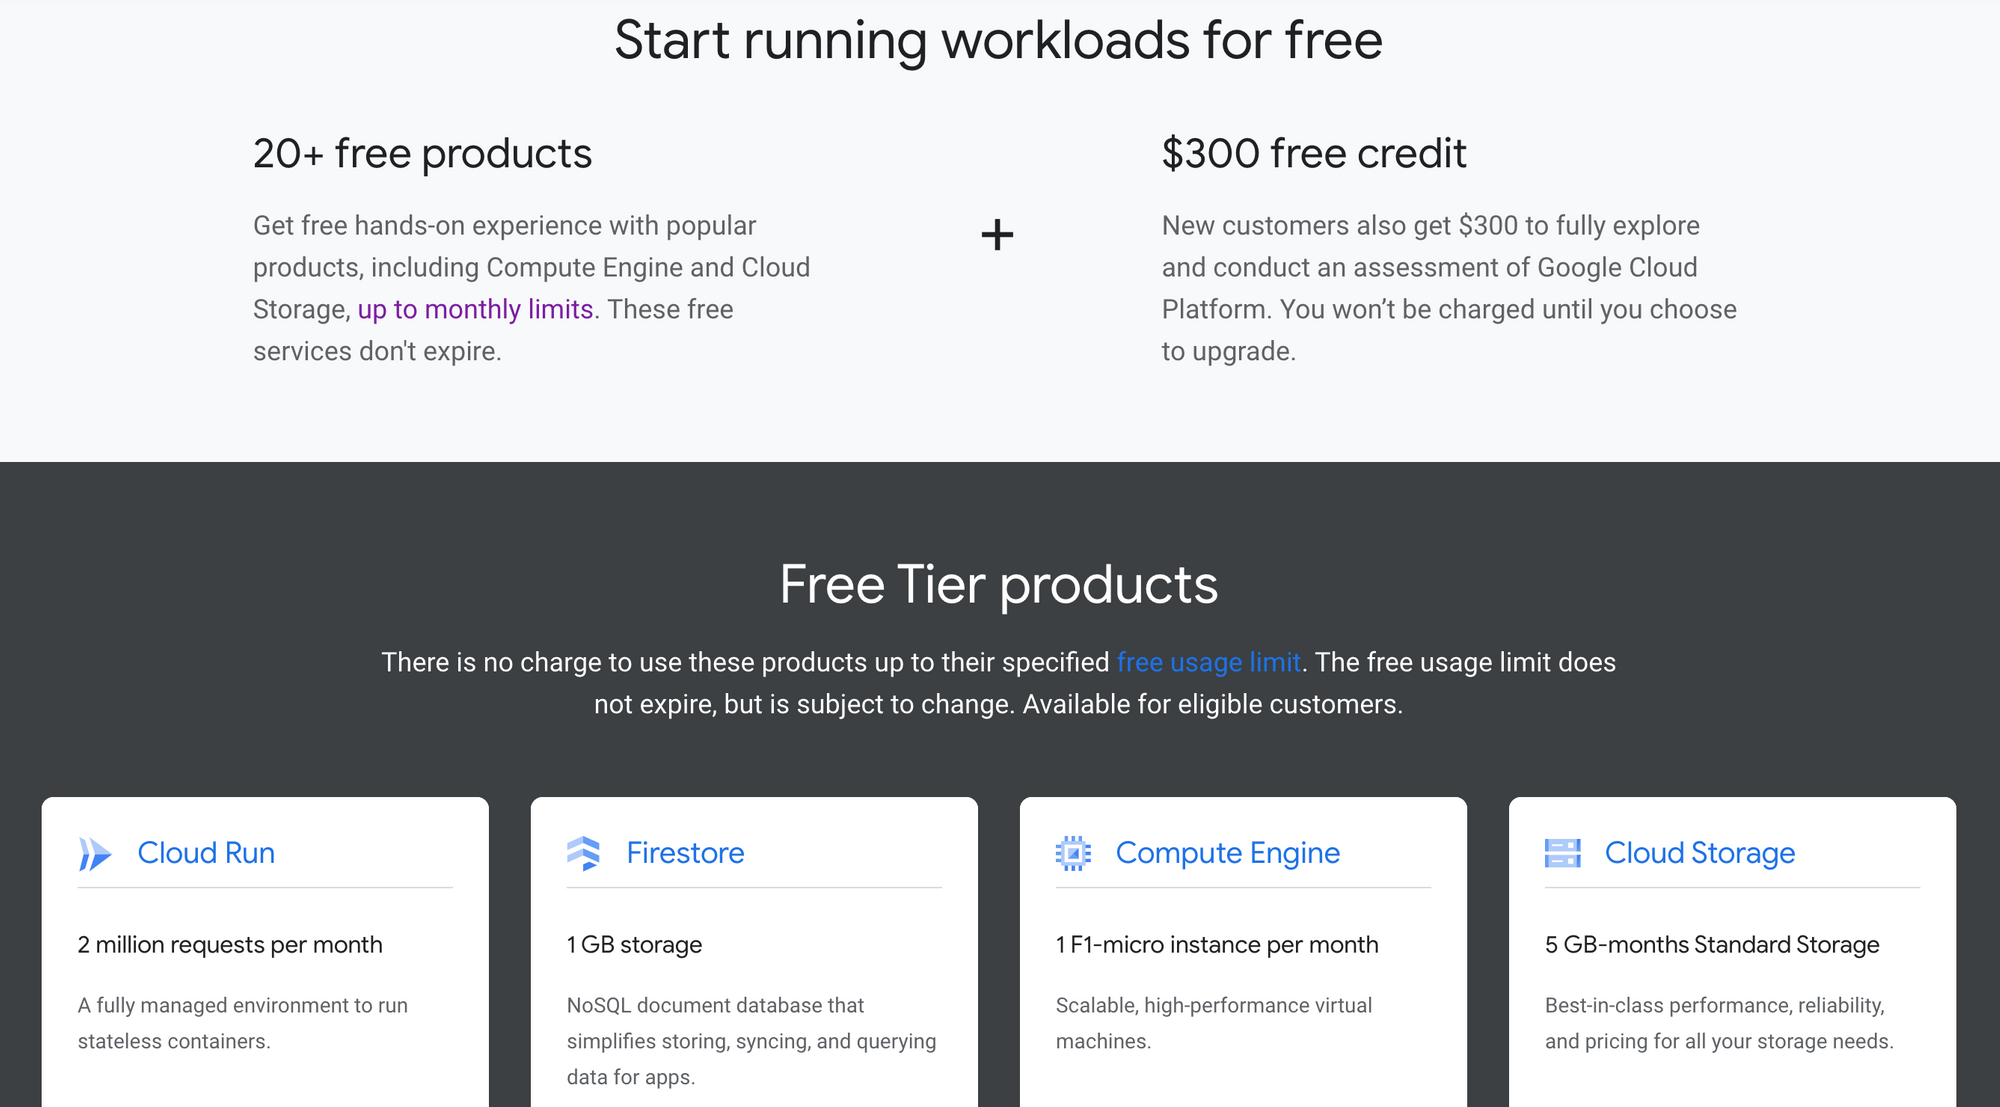
Let's start with GCP now - if you don't have an account, sign up here. New customers get a generous $300 credit for 90 days, with several always-free products once the trial period expires. All customers get a general purpose machine (f1-micro instance) per month for free, not charged against the credits. If you are just starting out, this should be plenty sufficient, and you can always upgrade the instance if you see an uptick in traffic.

Deploy the GCP VM Instance
Once you have created a GCP project and set up a billing account, create a VM instance for the Ghost deployment.
- Enable the
Compute Engine APIand create a new VM instance. - Select your desired region and zone. Note that free
f1-microinstances are only available inus-west1,us-central1andus-east1. - Select
f1-micromachine type under theN1series of the general-purpose machine family. - Change the boot disk from the default
Debian LinuxtoUbuntu 20.04 LTS. Increase the boot disk size to20GB. - Select the
Allow HTTPS trafficfirewall option; this will create a corresponding ingress firewall rule. - Leave the other options as default and create the instance.
- [Optional] If you wish to improve the security posture of the GCP VM, here are 3 things you can do.
Before you deploy Ghost, create a DNS A-record and point your registered domain name to the public IP address of the VM instance you just created.
Deploy Ghost and Dependencies
Now, let's deploy Ghost. Here are the steps to be followed (the official guide to installing, configuring and running Ghost on Ubuntu 20.04 is here).
- SSH into the instance using the Google Cloud Console (or your preferred SSH client), create and log in as a new admin user.
# Login via SSH
ssh root@your_server_ip

# Create a new user and follow the prompts
adduser <user>

# Add user to superuser group to unlock admin privileges
usermod -aG sudo <user>

# Log in as the new user
su - <user>
2. Update packages and install pre-requisites (NGINX, MySQL, Node.js, npm).
# Update package lists and installed packages
sudo apt-get update && sudo apt-get upgrade

# Install NGINX and allow HTTP/HTTPS connections in the firewall
sudo apt-get install nginx

sudo ufw allow 'Nginx Full'

# Install MySQL and set password for Ghost-CLI compatibility
sudo apt-get install mysql-server

sudo mysql

# Replace 'password' with your password, but keep the quote marks
ALTER USER 'root'@'localhost' IDENTIFIED WITH mysql_native_password BY 'password';

quit

# Log in as the user again
su - <user>

# Add the NodeSource APT repository for Node 14 and install Node.js
curl -sL https://deb.nodesource.com/setup_14.x | sudo -E bash

sudo apt-get install -y nodejs

# Install npm if it isn't already installed
sudo apt install npm
3. Install Ghost-CLI and Ghost.
# Install Ghost-CLI using npm
sudo npm install ghost-cli@latest -g

# Create directory - replace <sitename> with the name of your site
sudo mkdir -p /var/www/<sitename>

# Set directory owner - replace <user> with the name of your user
sudo chown <user>:<user> /var/www/<sitename>

# Set the correct permissions and change directory
sudo chmod 775 /var/www/<sitename>

cd /var/www/<sitename>

# Install Ghost
ghost install
Configure Your Ghost Blog
Ghost-CLI will now ask you a few questions to configure the site.
Blog URL(exact URL e.g. https://example.com)MySQL hostname(use default)MySQL username/password(use root/<password>)Ghost database name(use default)Set up a ghost MySQL user?(yes)Set up NGINX?(yes)Set up SSL?(yes; free SSL certificate using Let's Encrypt)Enter your emailSet up systemd(yes)Start Ghost?(yes)
If you do not receive errors during any of the steps above, congratulations! You have now set up your personal blog at your chosen domain. Launch your <domain> for a first glimpse of your publishing destiny; administrative access is available at your <domain>/ghost.
Go ahead and write your first post!