Self-Hosted Jupyter Notebooks for Data Science Professionals
A step-by-step guide to self-hosted Jupyter notebook environments for data science professionals.
Jupyter Notebooks have emerged as an indispensable tool for data science professionals, offering a seamless and interactive environment for exploratory data analysis, modelling, and collaborative work. In this post, we'll explore an option for data science professionals looking to get started quickly with self-hosted Jupyter Notebooks, allowing them to leverage the full power and flexibility of this versatile tool without extensive setup or configuration hassles.

Jupyter Notebook vs JupyterLab vs JupyterHub
Jupyter Notebook, JupyterLab, and JupyterHub are all components of the Jupyter ecosystem, which is widely used for interactive computing and data science workflows. While they share similarities, they serve different purposes and offer distinct features.
Jupyter Notebook is the original web interface provided by Jupyter. It is an interactive computing environment that allows you to create and share documents containing live code, equations, visualisations, and explanatory text. Notebooks are organised into cells, where each cell can contain code (e.g. Python, R, Julia) or Markdown text. Jupyter Notebook has a user-friendly interface and is commonly used for exploratory data analysis, prototyping, and presenting research findings.
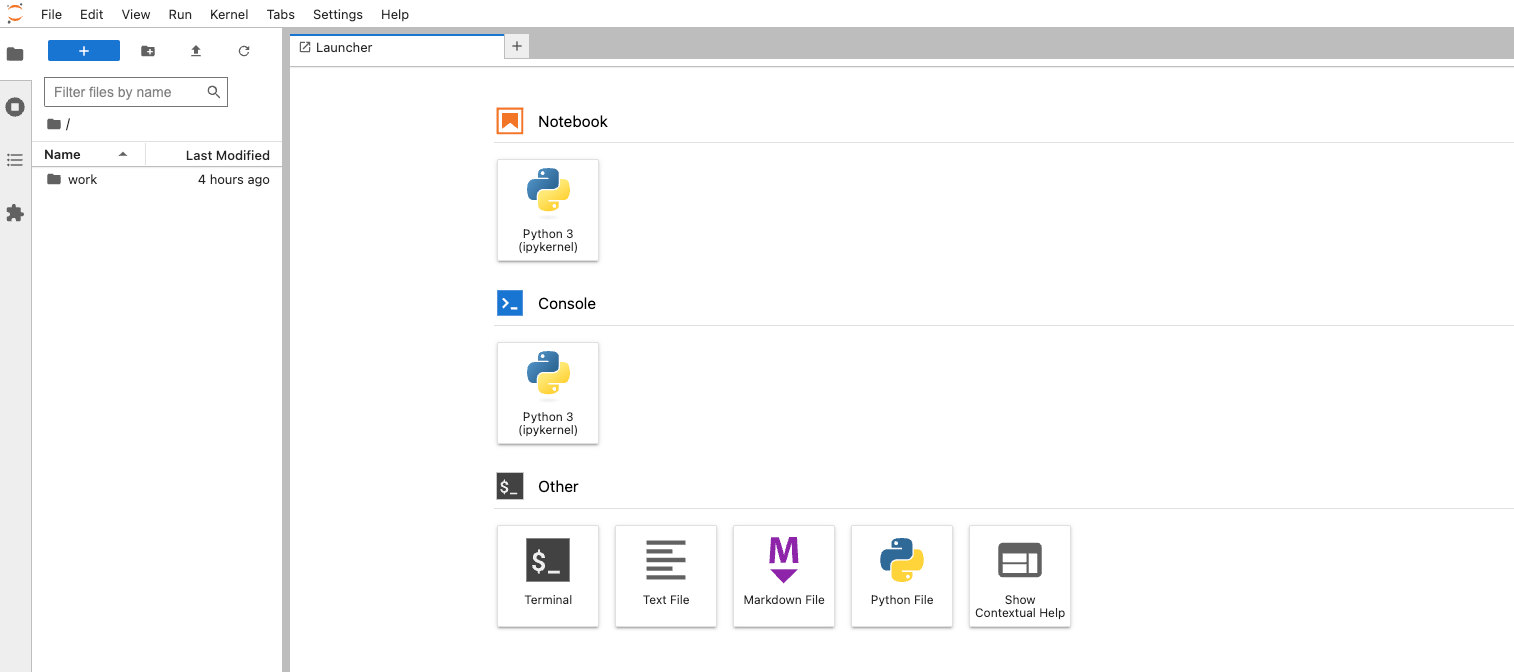
JupyterLab is the next-generation user interface for Jupyter. It provides a flexible and powerful environment for working with Jupyter Notebooks, code editors, terminals, and other interactive components, all within a single web-based application. JupyterLab introduces a more modular and customisable interface compared to the Notebook, allowing users to arrange multiple documents and tools in a flexible layout. It supports the same functionality as Jupyter Notebook and extends it with features like drag-and-drop capabilities, a command palette, and a file browser.
JupyterHub is a multi-user server that enables you to host Jupyter Notebooks or JupyterLab instances for multiple users. It is particularly useful in educational settings, research groups, or organizations where users need their own isolated computing environments. JupyterHub allows administrators to manage user access, authentication, and resource allocation. It enables multiple users to access Jupyter Notebooks or JupyterLab sessions simultaneously, each with their own workspace and computational resources.
Deploy a Jupyter Notebook on Railway
In this post, we'll self-host a Jupyter Notebook on Railway, a modern app hosting platform that makes it easy to deploy production-ready apps quickly. If you don't already have an account, sign up using GitHub, and click Authorize Railway App when redirected. Review and agree to Railway's Terms of Service and Fair Use Policy if prompted. Railway does not offer an always-free plan anymore, but the free trial is good enough to try this. Launch the Jupyter Notebook one-click starter template (or click the button below) to deploy it instantly on Railway.

We're using the base-notebook Quay.io image for deployment - it includes a wide range of commonly used Python libraries for data science and scientific computing, such as NumPy, Pandas, Matplotlib, and SciPy. Review the default settings and click Deploy; the deployment will kick off immediately.
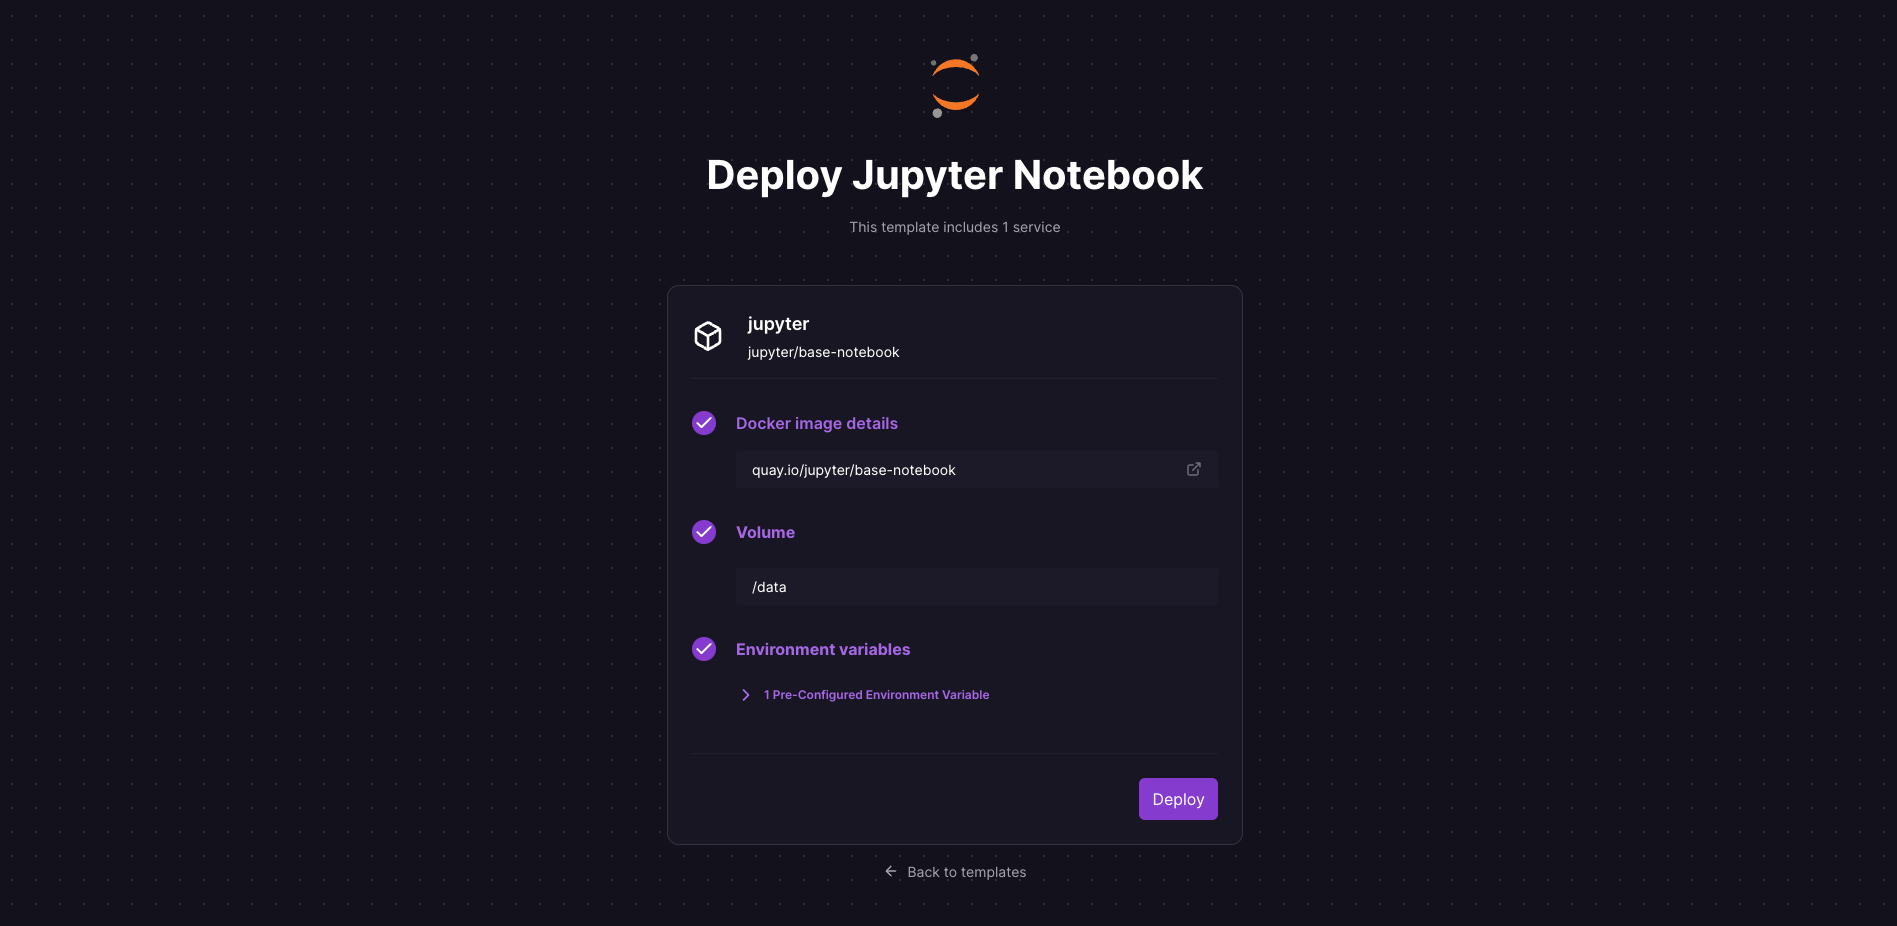
Once the deployment completes, a Jupyter Notebook will be available at a default xxx.up.railway.app domain - launch this URL to access the web interface. If you are interested in setting up a custom domain, I covered it at length in a previous post - see the final section here.
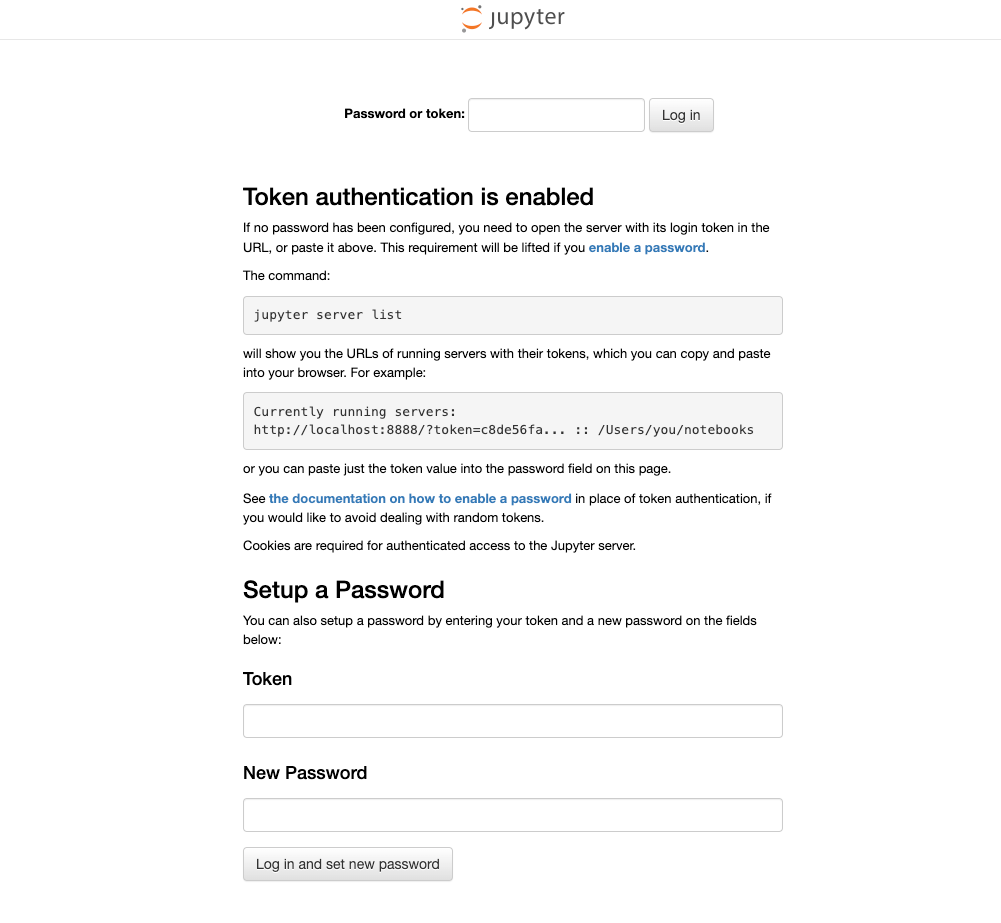

Once you provide the authentication token and click Log in, you'll see the default dashboard for the Jupyter Notebook. You can also specify a password for ease of future logins. That's it! Now, feel free to play around with this environment and make it your own.