How to Deploy a Static Website with NGINX on Railway
A step-by-step guide to deploying a static website with NGINX on Railway.
While it seems straightforward, hosting a static website on a custom domain for free hasn't traditionally been quite as noob-friendly. GitHub Pages allows custom domains for public repositories only, while AWS S3 requires you to jump a few CDN hoops to serve HTTPS-protected websites. Thankfully, newer platforms like Vercel, Netlify, Render and Railway are changing the status-quo for the better.
Deploy Your Static Website on Railway
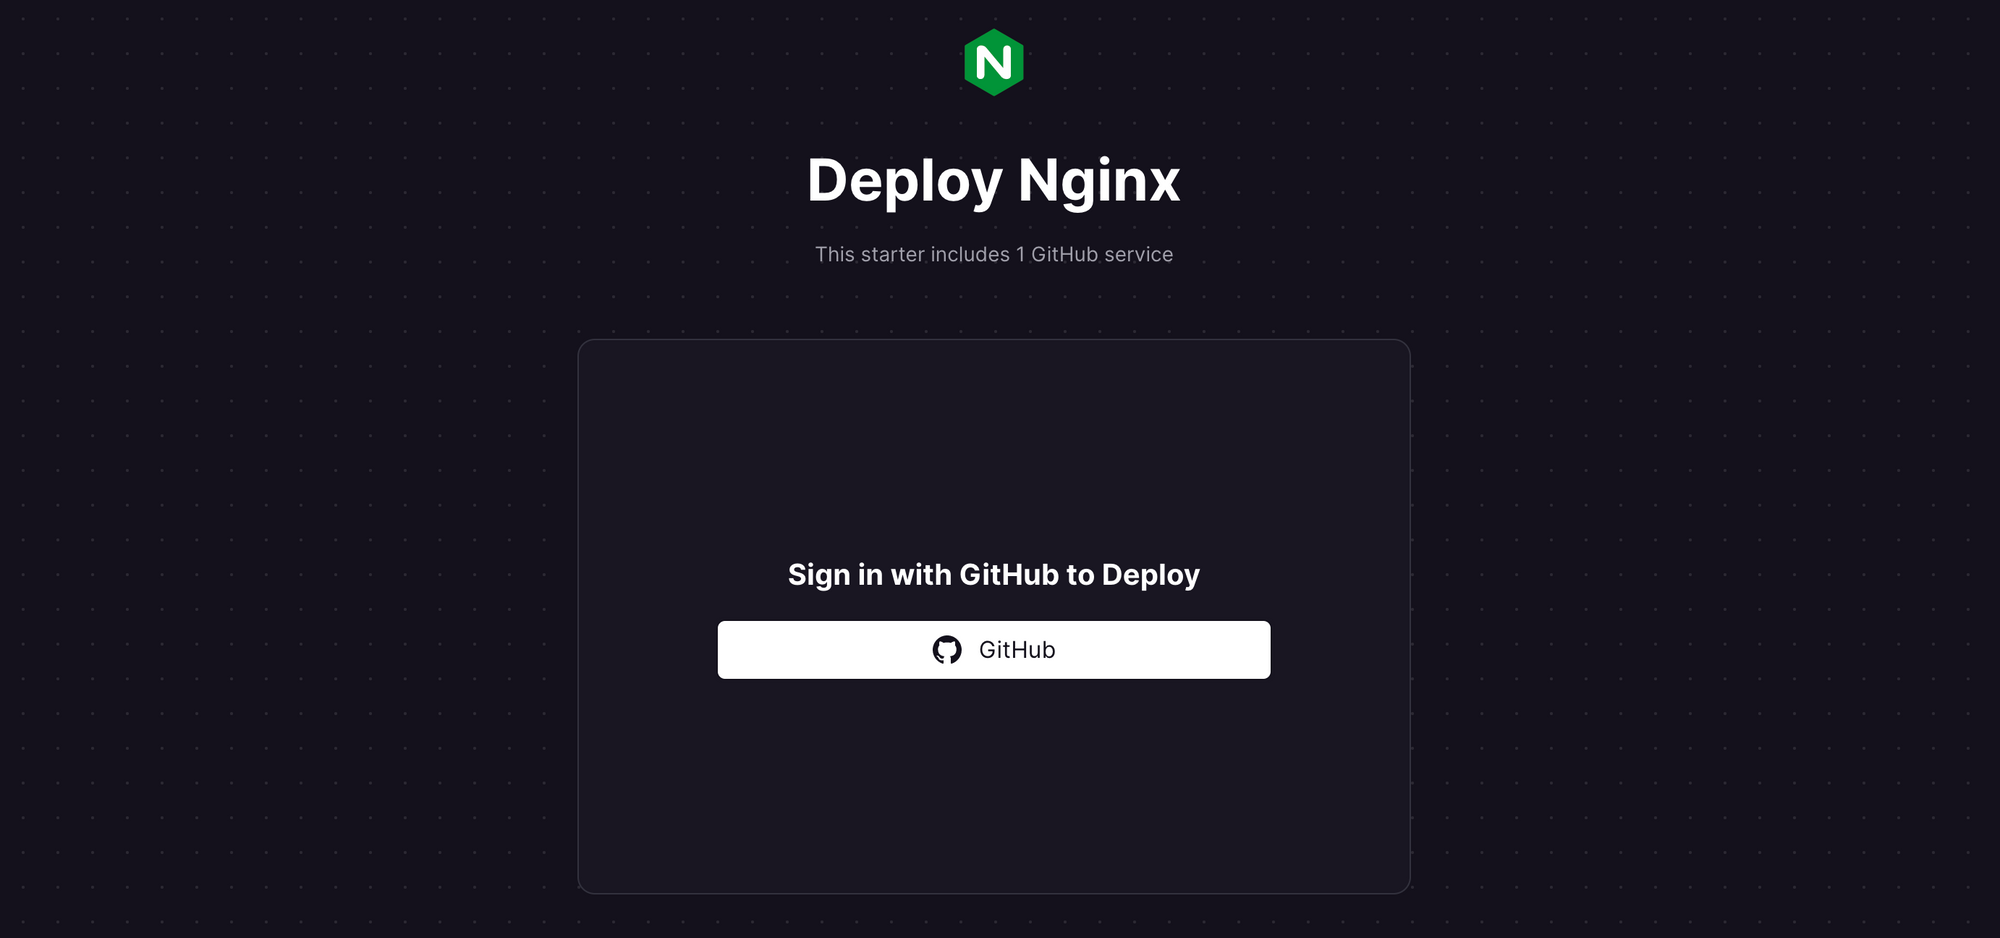
Railway is a modern app hosting platform that makes it easy to deploy production-ready apps quickly. If you don't already have an account, sign up using GitHub, and click Authorize Railway App when redirected. Railway does not offer an always-free plan anymore, but the free trial is good enough to try this. Railway offers several one-click templates for common applications and use cases; we'll use the NGINX starter to deploy HTML files today. Launch the NGINX starter on Railway, and sign in with Github to deploy the service.
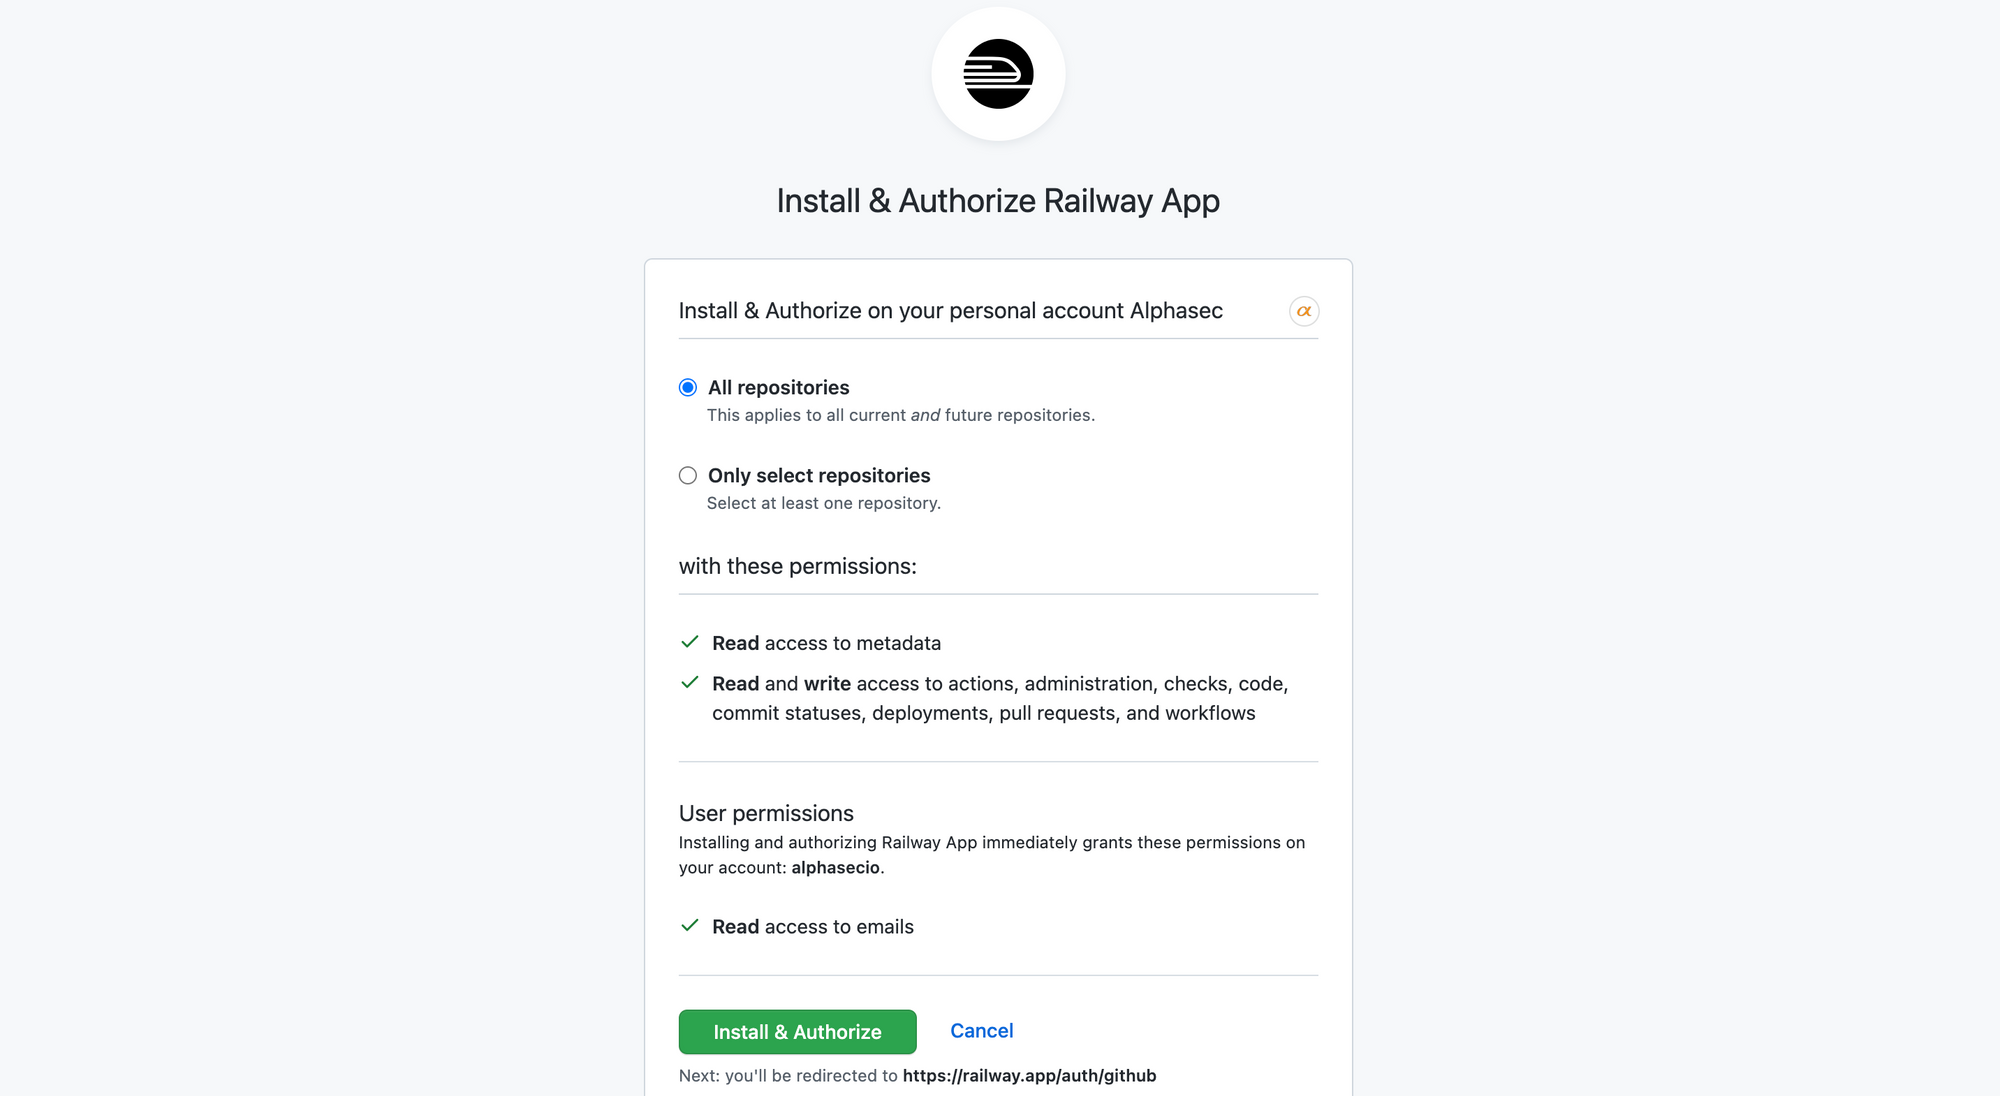
Configure the Github accounts and orgs that Railway should have access to. Keep the defaults and click Install & Authorize.
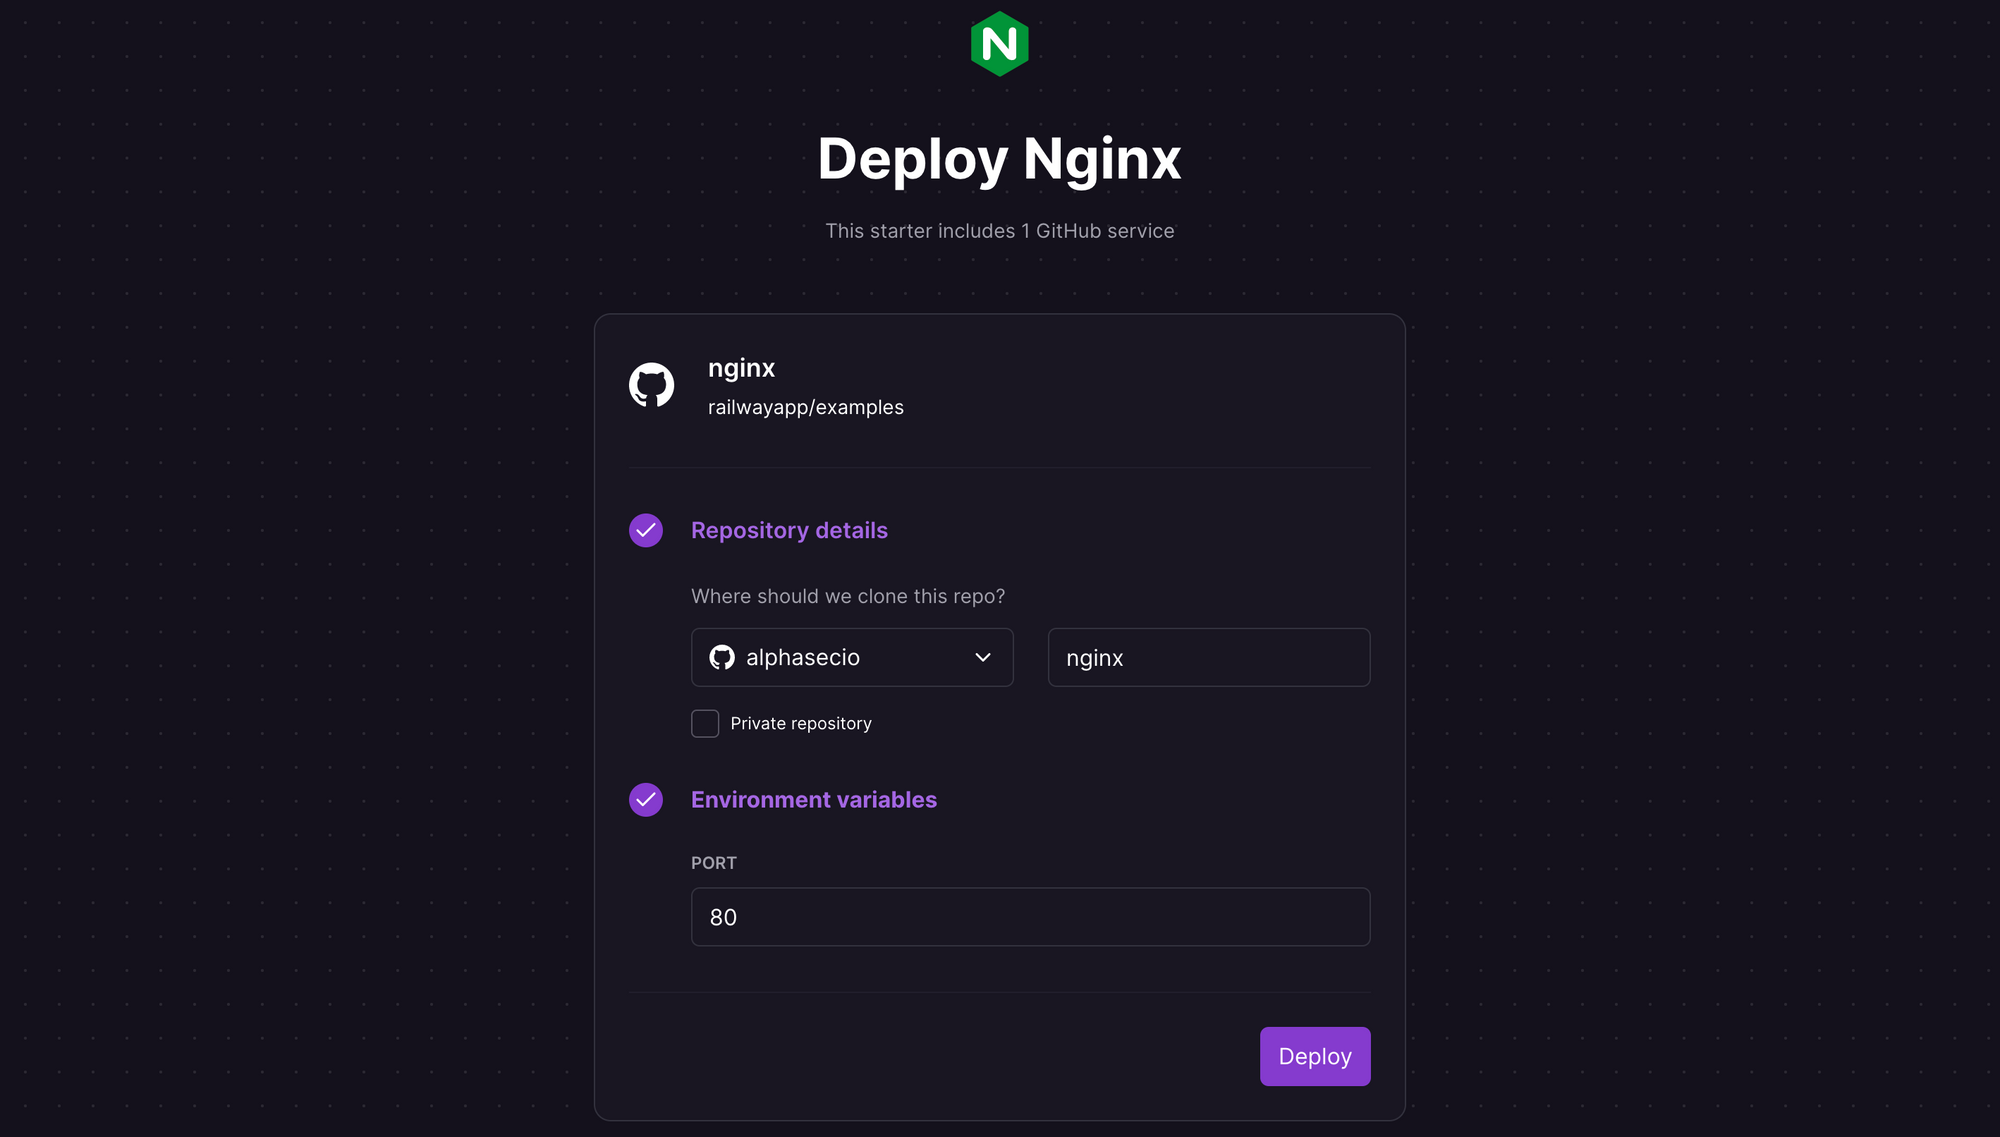
You'll be prompted for the repository details and PORT environment variable. You can also choose to make the repository private. Accept the default repository name, or amend as desired, and click Deploy.
In a matter of seconds, your project will be ready, and the sample website will be deployed seamlessly on Railway. Click on the nginx-***.up.railway.app URL to launch the static website in a browser, and voila!

The sample website shipped with the starter includes the following files:
sitefavicon.icoindex.htmlscript.jsstyles.css
DockerfileREADME.md
By default, the site directory gets deployed as a static website. Feel free to add or update the assets under this directory to reflect your own website - Railway will automatically detect the changes and trigger a new deployment.
Configure a Custom Domain (Optional)
Railway services can be exposed to the internet on a custom domain instead of the default ***.up.railway.app subdomain. If you don't already own a domain, head over to Cloudflare Registrar or Namecheap and register your domain first.
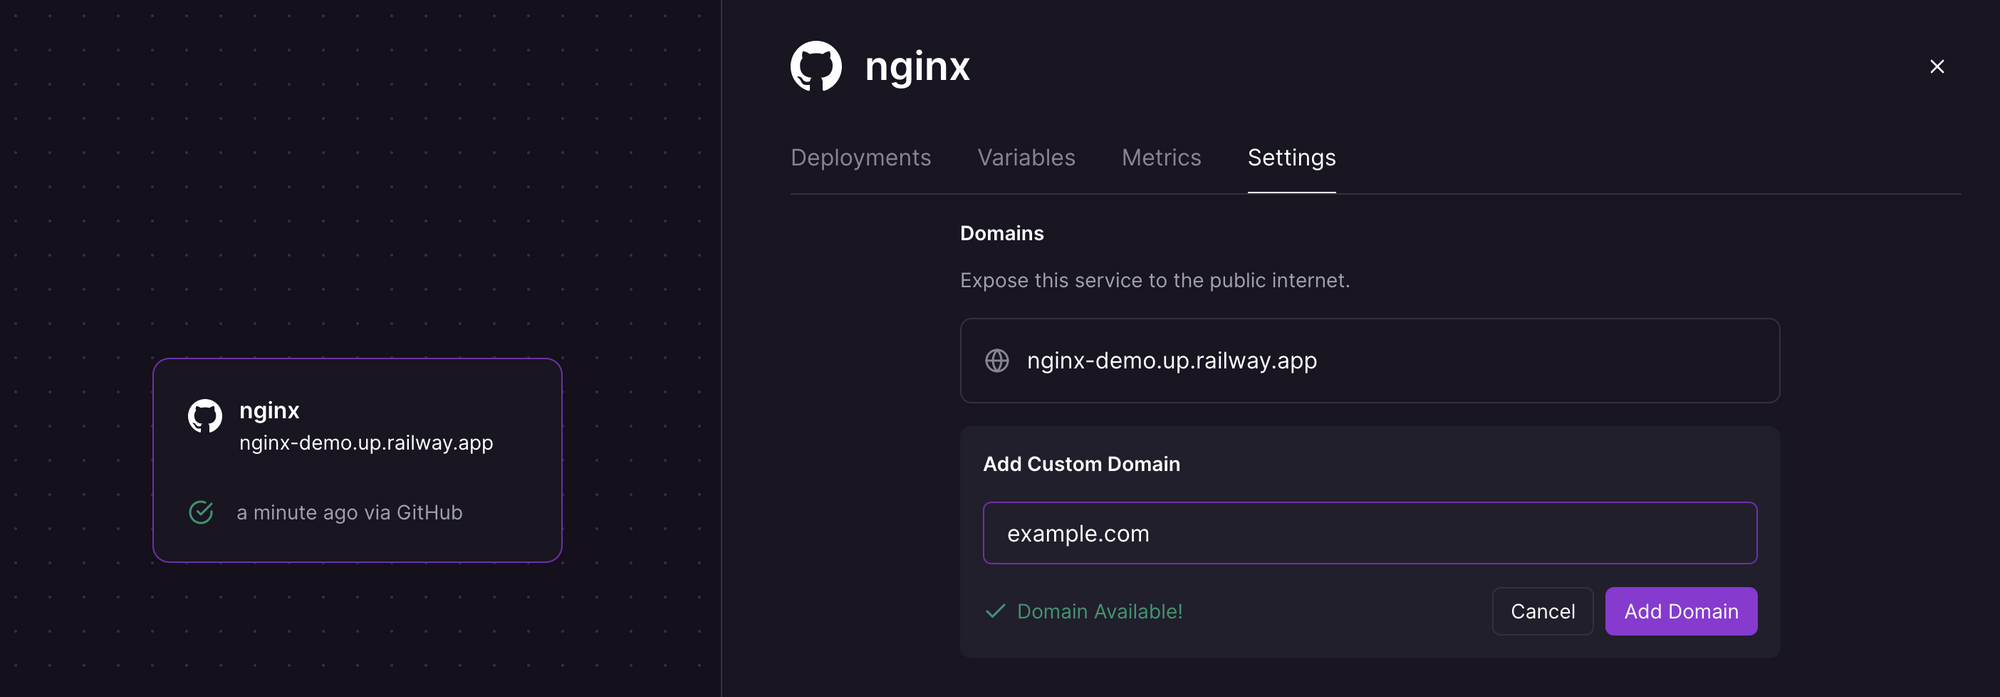
Navigate to the Settings tab for your service, specify a custom domain under Domains and click Add Domain. If the domain is available, you'll be prompted with the details to add to your DNS host.
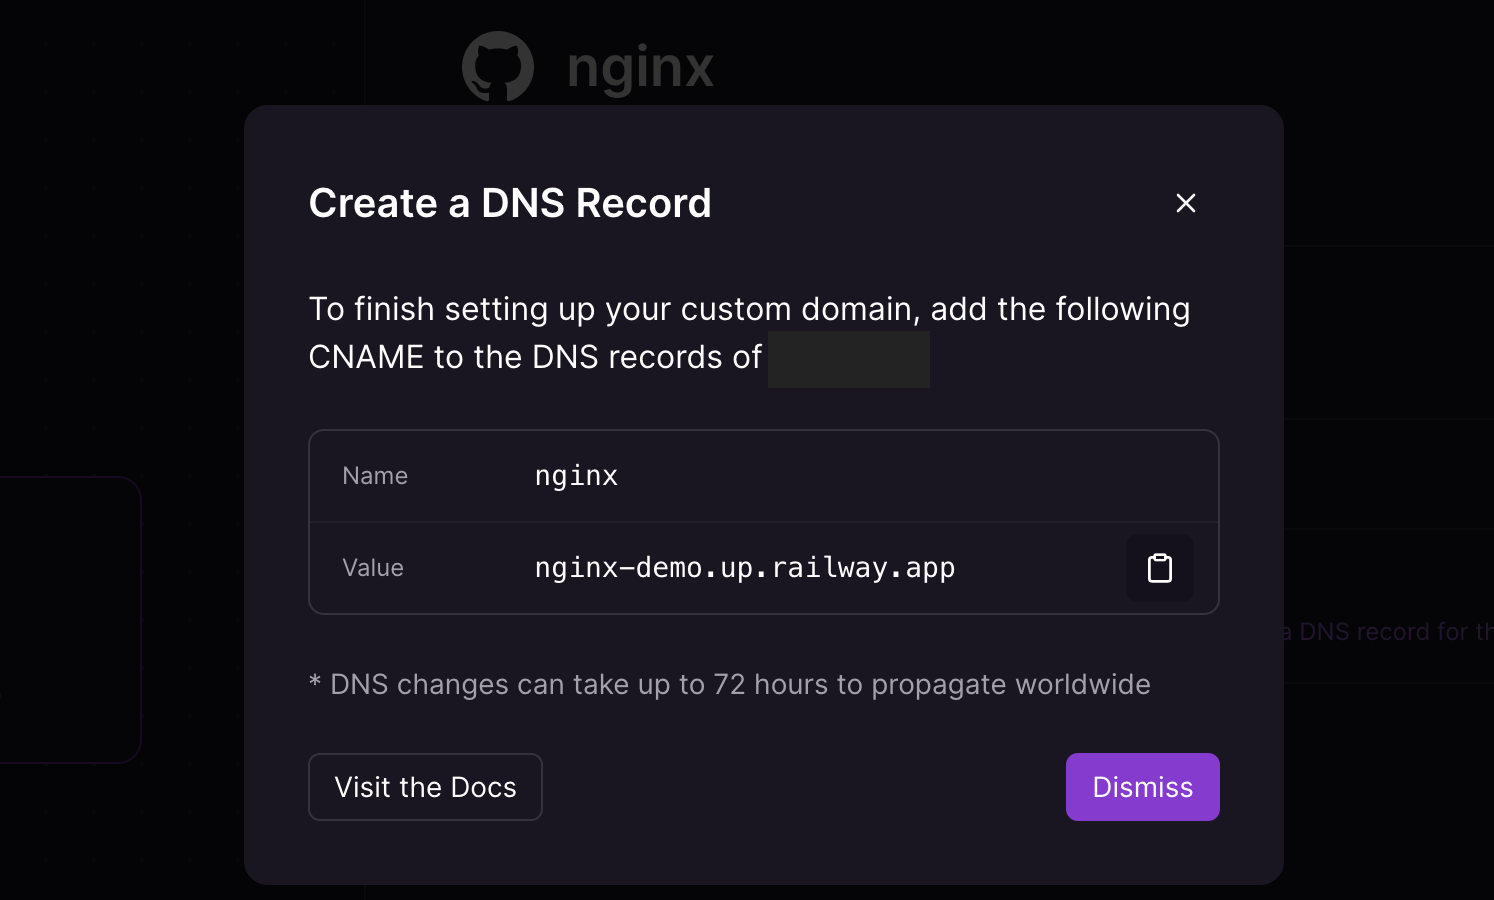
Add a CNAME record as specified for this service e.g. CNAME nginx.example.com nginx-demo.up.railway.app, and wait for the DNS changes to be propagated. If you are using Cloudflare as your DNS host, disable the Proxy option while the certificate is being issued for your site.
You can use dig to check whether the DNS records have propagated e.g. dig nginx.example.com. You can also use the Google Admin Toolbox. Once DNS is set up, your static website will be publicly available. Railway's Starter tier is sufficient to test this, but the 500 hours monthly usage limit will require you to upgrade to the Developer tier for the website to be always available.