How to Deploy a Static Website with Netlify
A step-by-step guide to deploying a static website with Netlify.
In my previous post, I lamented about the relative lack of ease for deploying static websites on a custom domain for free and discussed how Railway has helped to change that. Today, I'll cover another platform - Netlify - which has also made it simple to host static websites.
What is Netlify?
Netlify is a modern app hosting platform that makes it easy to deploy production-ready apps quickly. Each deployment publishes the app to Netlify's secure and performant global edge (aka CDN) network. It integrates with git-based CI/CD (continuous integration / continuous deployment) workflows to track code changes and push newer versions of the app seamlessly onto serverless backends. The Starter tier is generally sufficient to host static websites for free.
Deploy Your Static Website
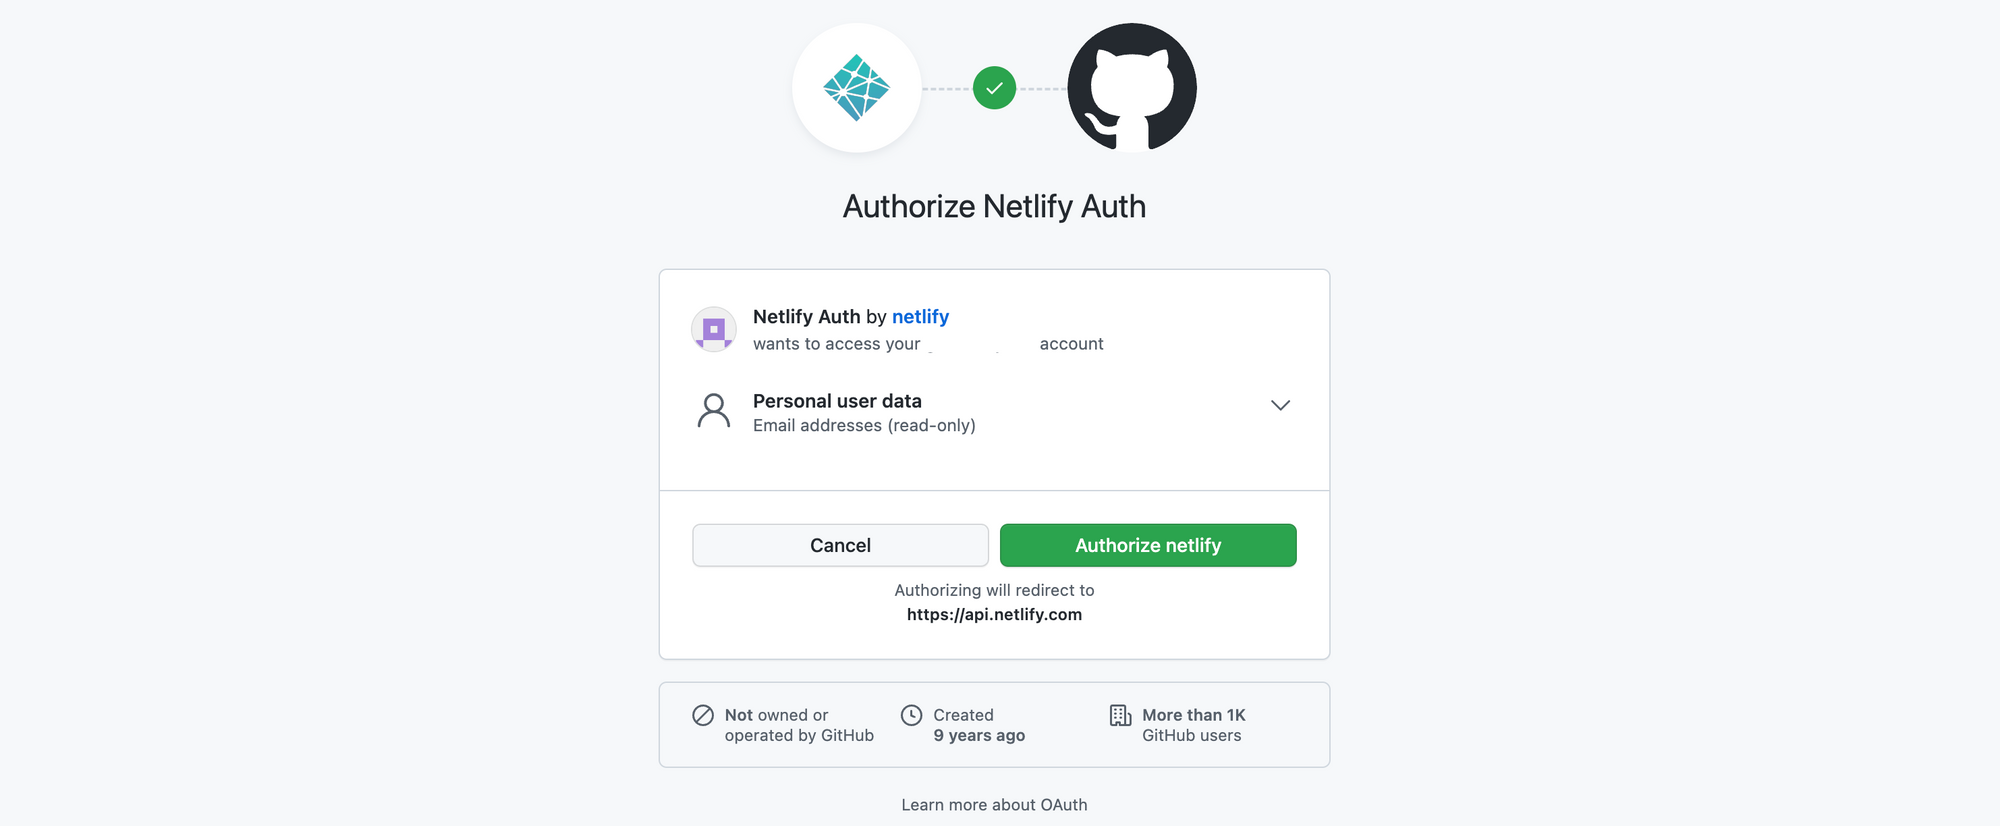
Sign up for a Netlify account via Github/GitLab/Bitbucket or email, and set up a team workspace. If you choose to authenticate via one of the Git providers, authorize the Netlify Auth service to continue.
You can deploy the site in three ways - import an existing Git project, start from a pre-built template, or upload the files manually. Let's explore a couple of these.
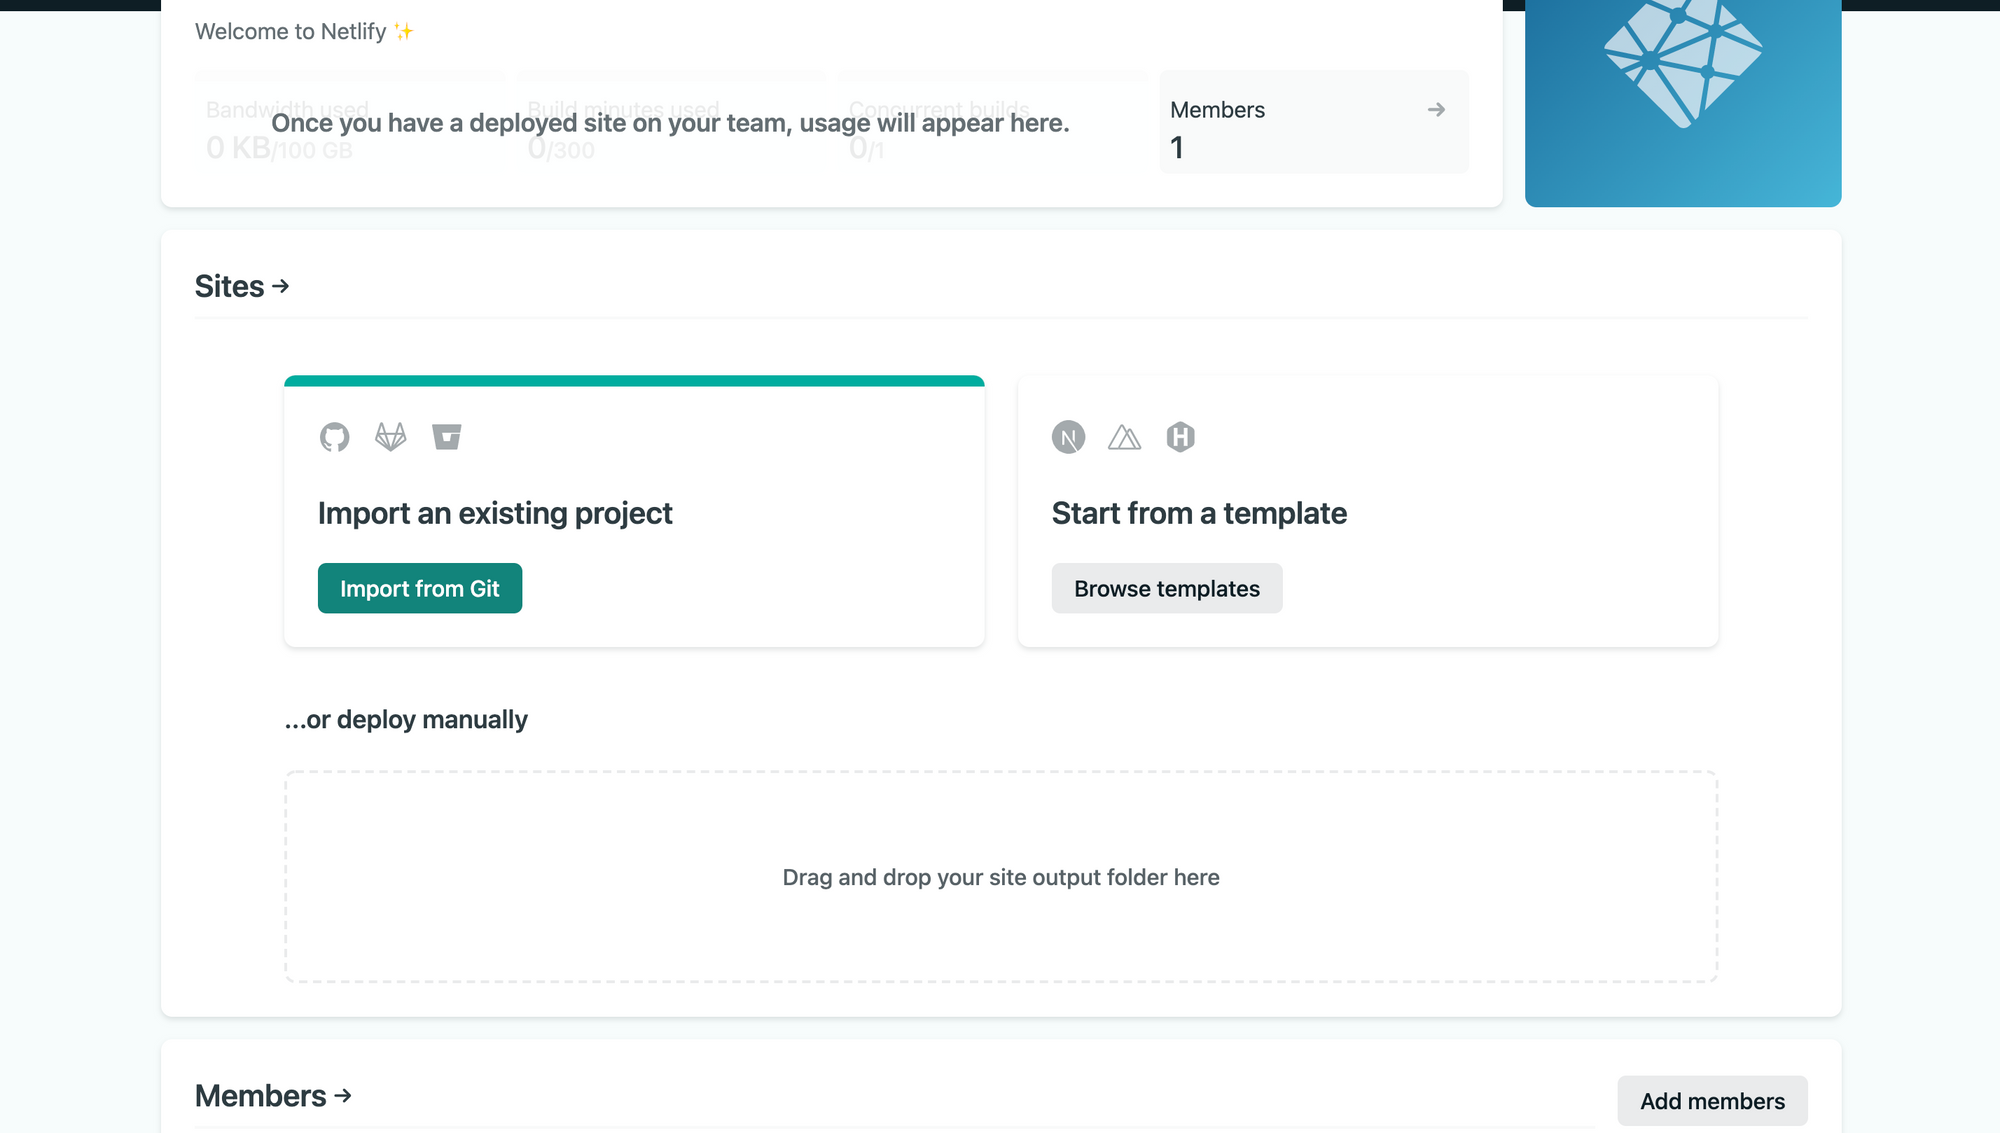
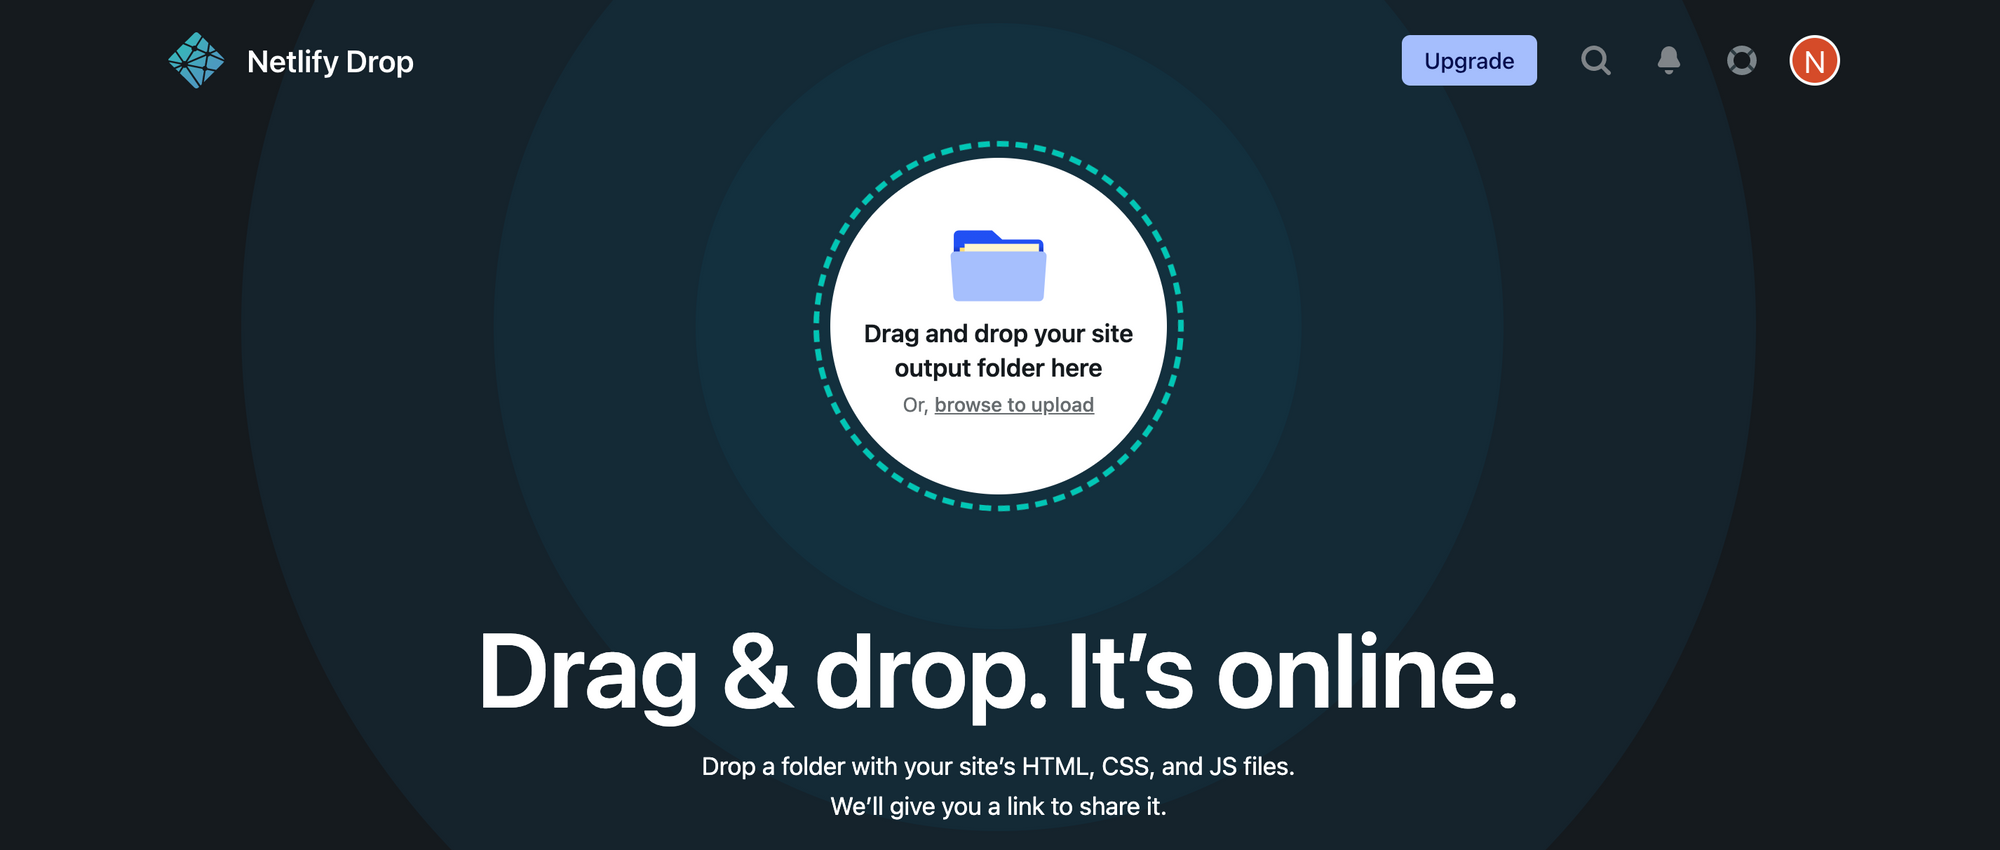
When hosting static websites, Netlify looks for an index.html file as the landing page, so ensure that you have one. For the first option, I have created a simple index.html file under a site folder, and will upload the folder manually.
In just a few seconds, your site will be deployed, and a public URL to access the site will be available. Of course, there are a few tweaks you can make here, but that's it really for a quick deployment! Click on the URL to visit your site.

If you prefer to connect to your Git provider for continuous deployment instead of a manual upload, select the Import an existing project option instead.
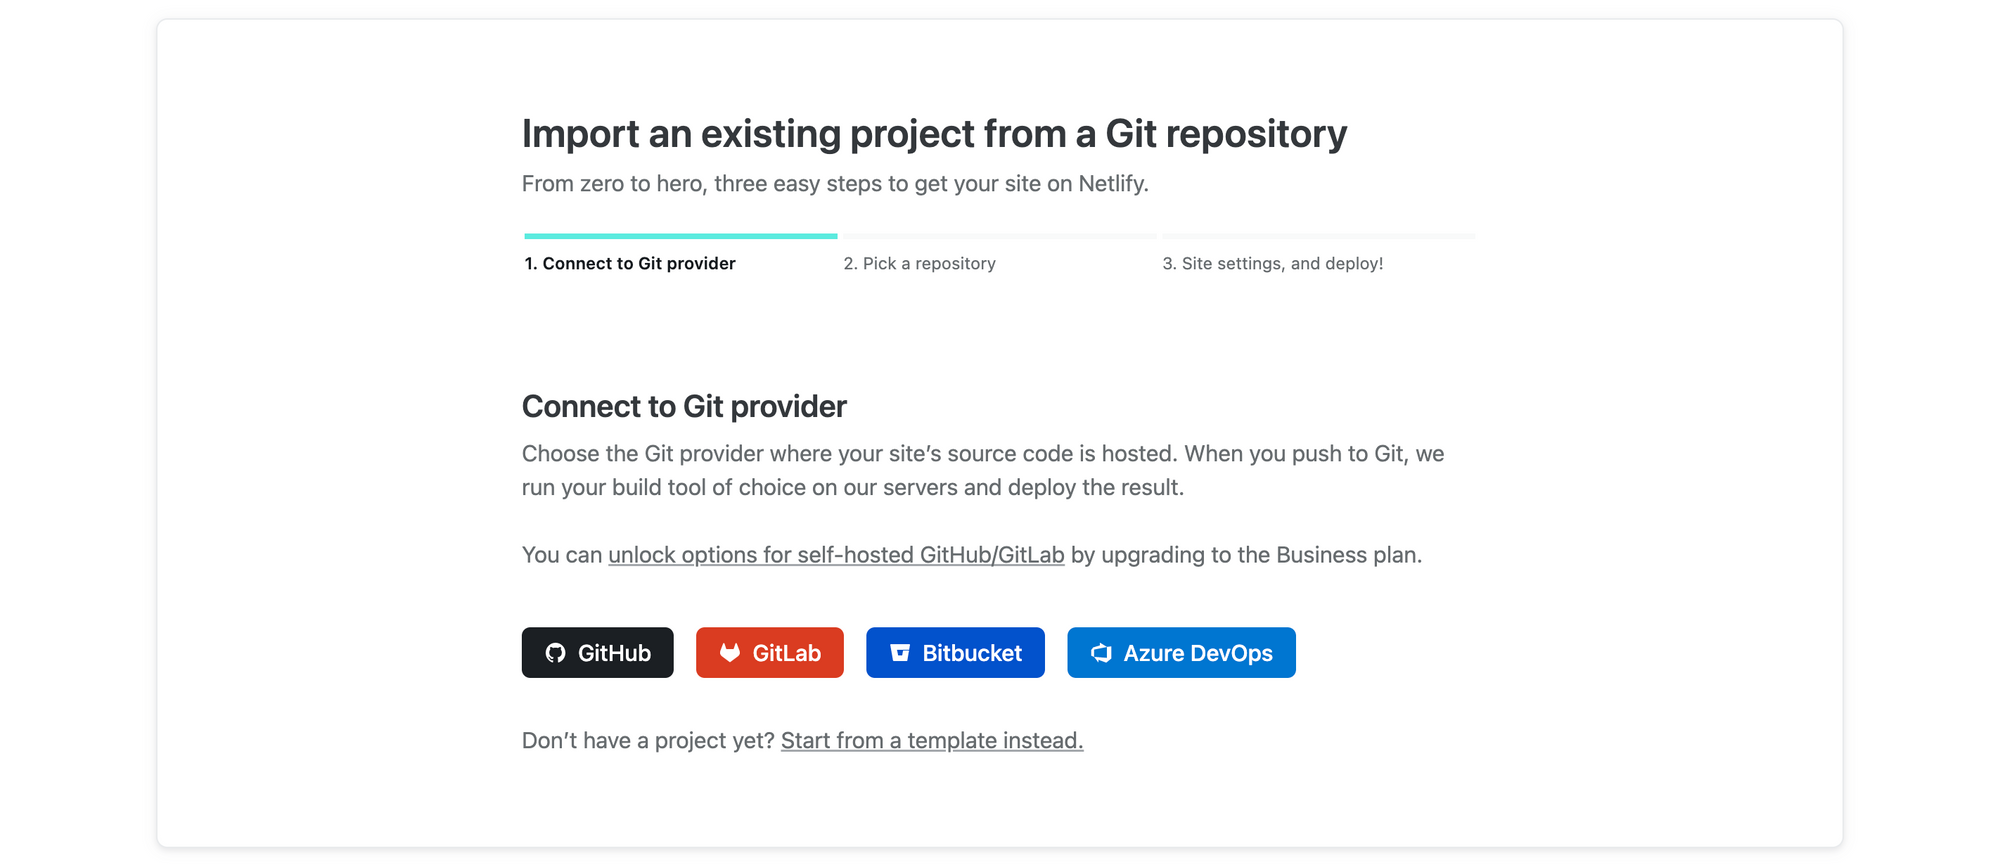
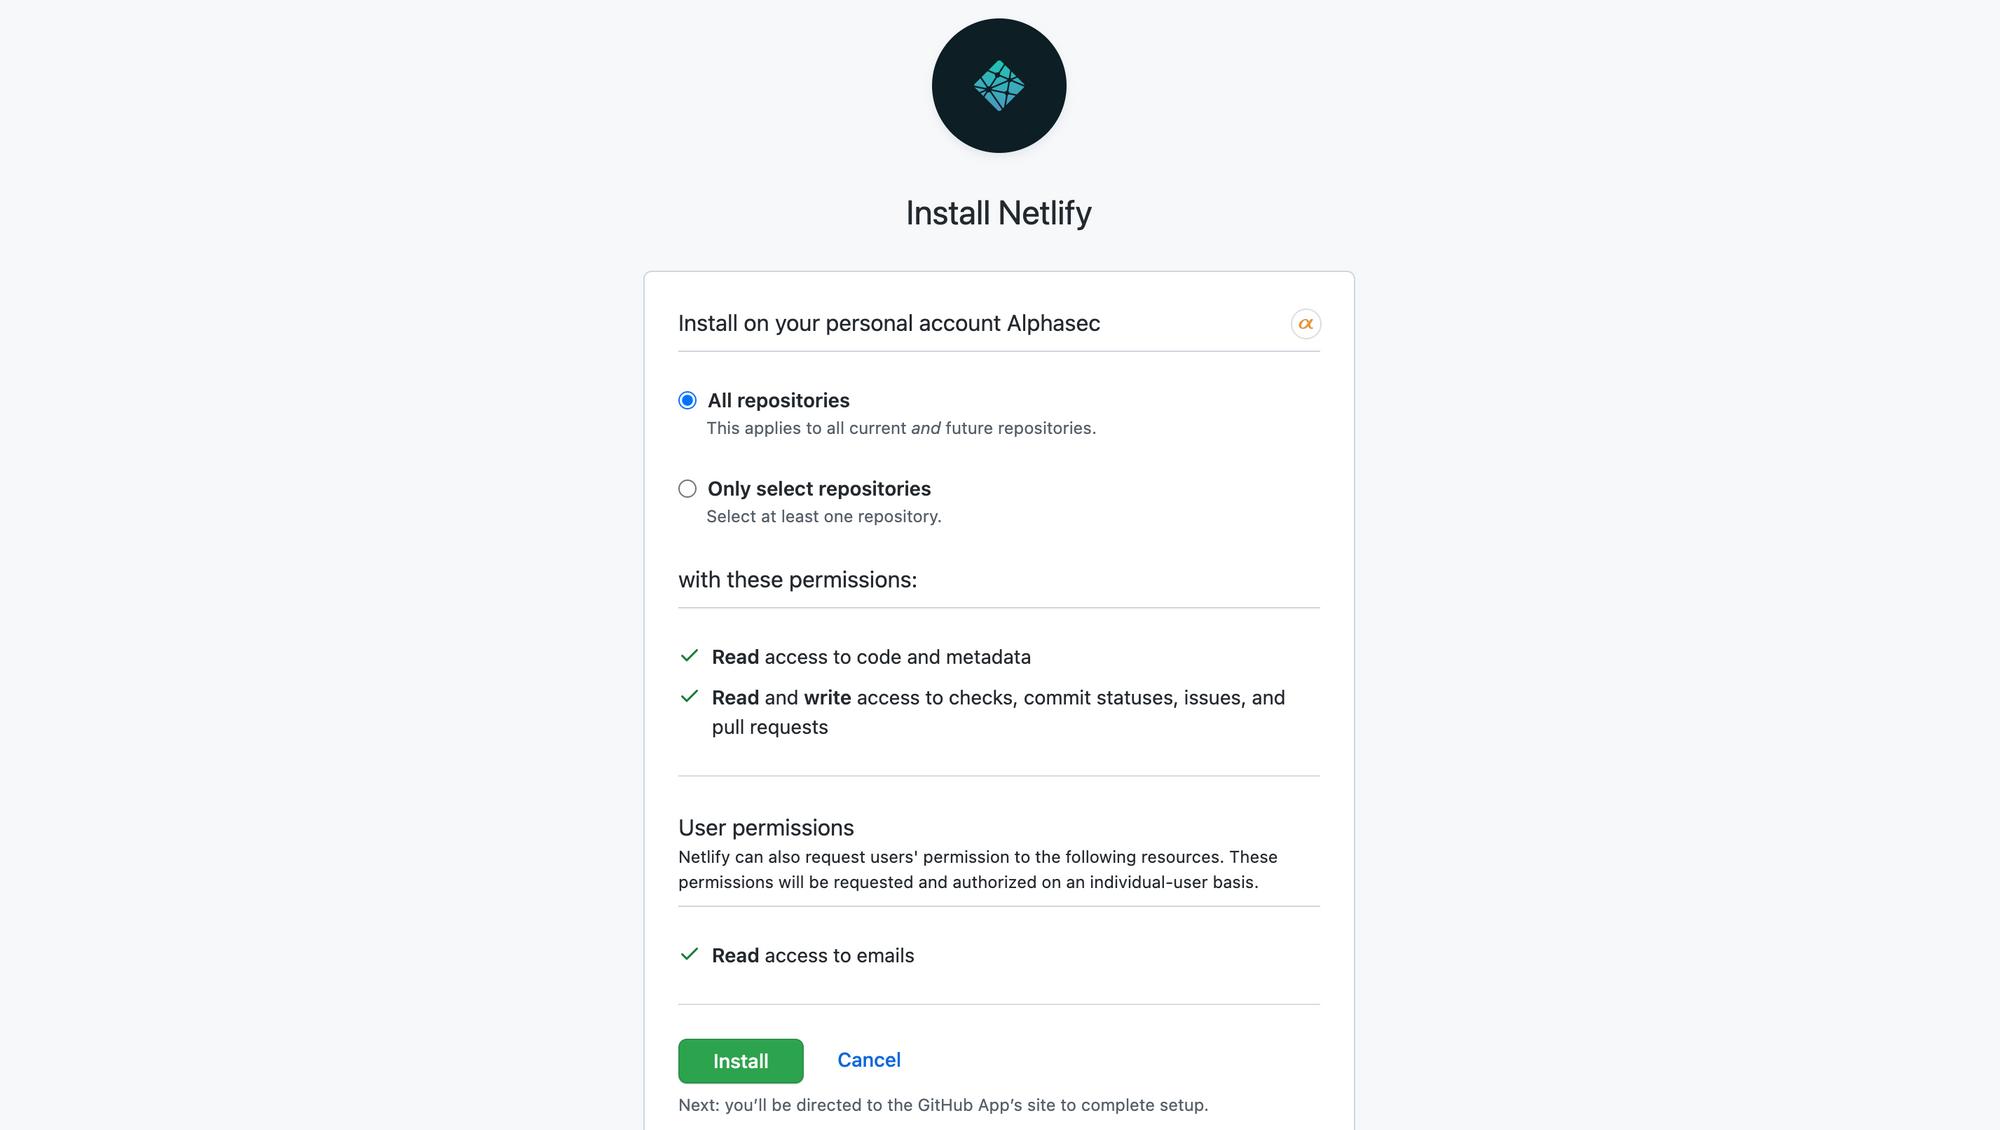
Select your Git provider, authorize Netlify to access the Git repositories, and install the Netlify app in your Git environment.
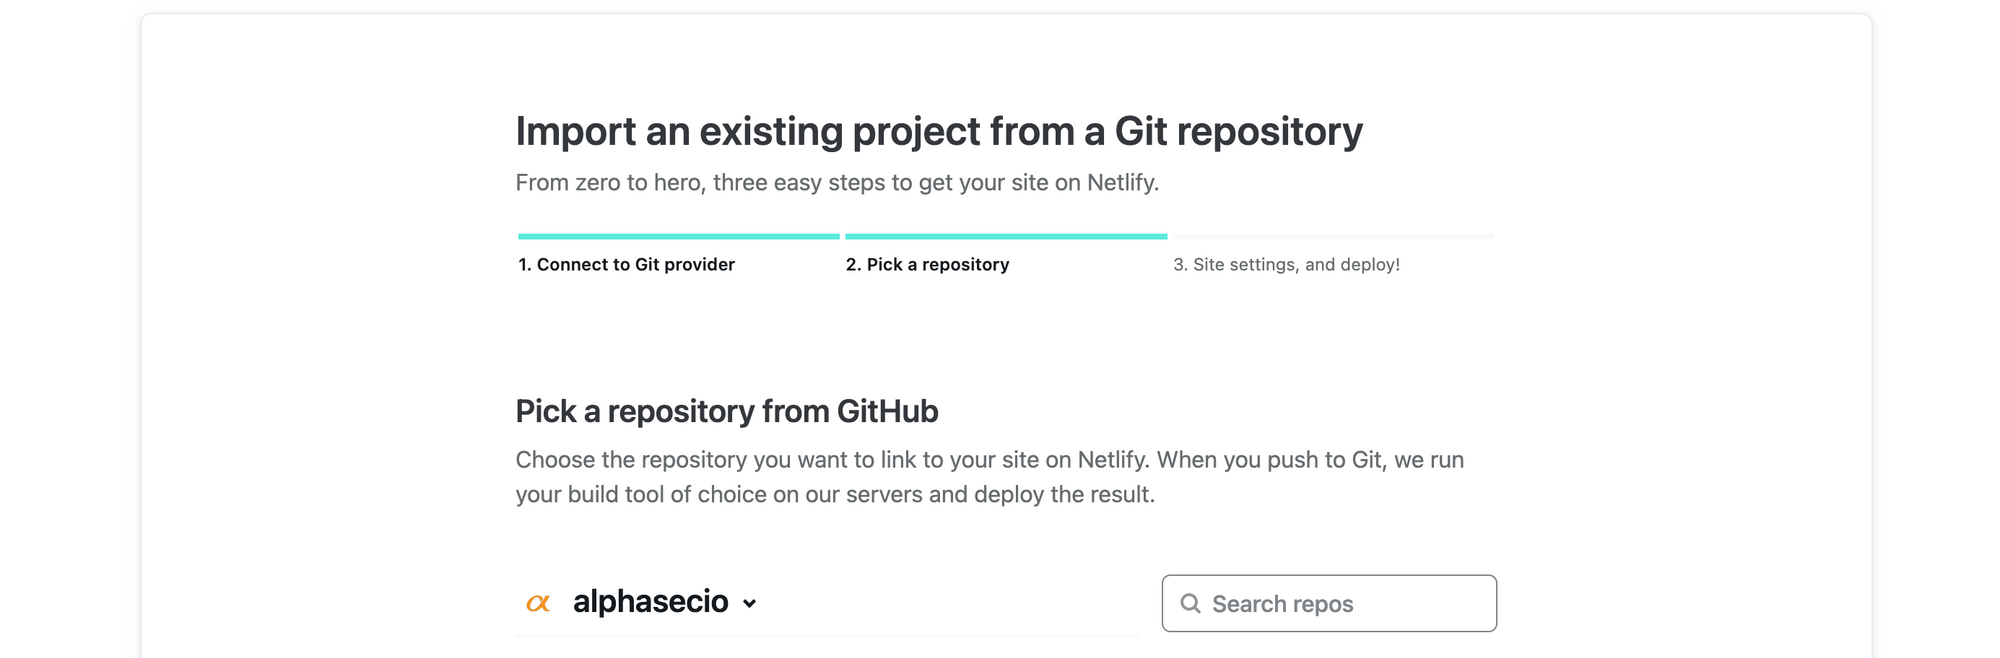
Next, choose the Git repository to import, select the branch to deploy, and click Deploy site.
Once deployed, a public URL to access the site will be available. In this continuous deployment mode, Netlify will automatically detect changes to your connected repository and trigger new deployments each time.
Configure a Custom Domain (Optional)
Netlify apps can be exposed to the internet on a custom domain instead of the default ***.netlify.app subdomain. If you don't already own a domain, head over to Cloudflare Registrar or Namecheap and register your domain first.
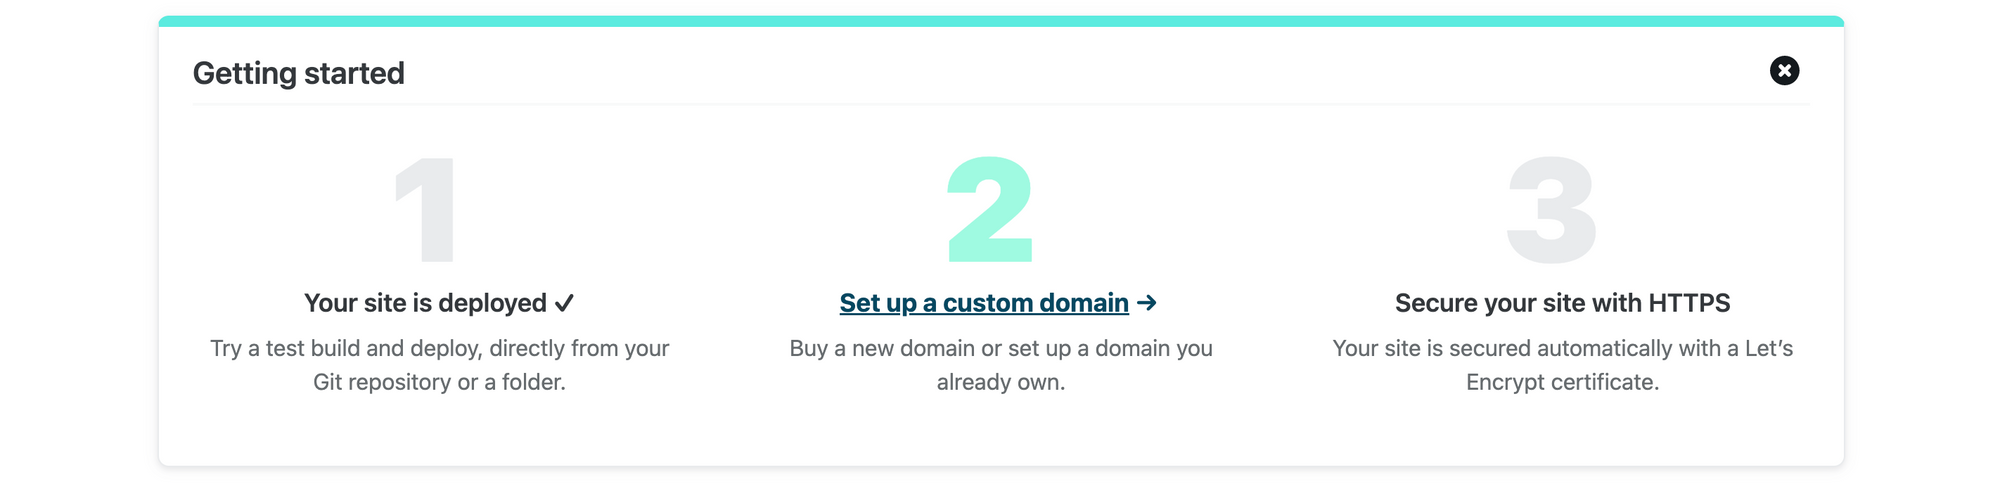
Click on Set up a custom domain (or click on Domain settings > Custom domains > Add custom domain) to configure a domain name that you own.
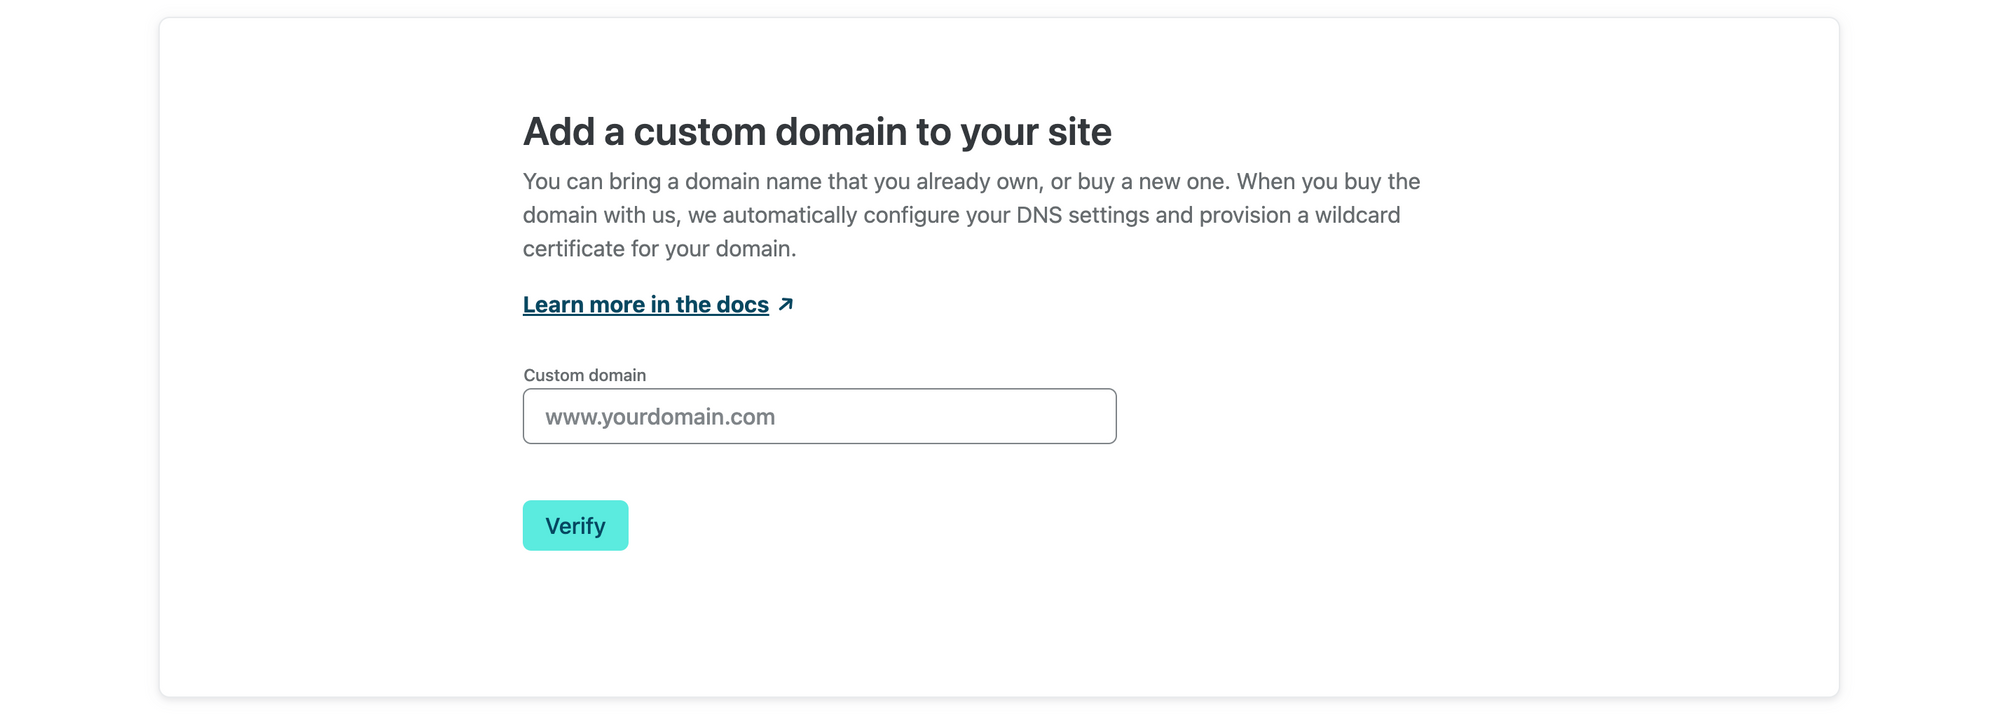
Specify the domain name and click Verify. If the domain is registered, you'll be asked to verify that you are the owner. If you are the owner, click Add domain to add the domain to the site. Under the Custom domains tab, click on Check DNS configuration for the records to be added to your DNS host.
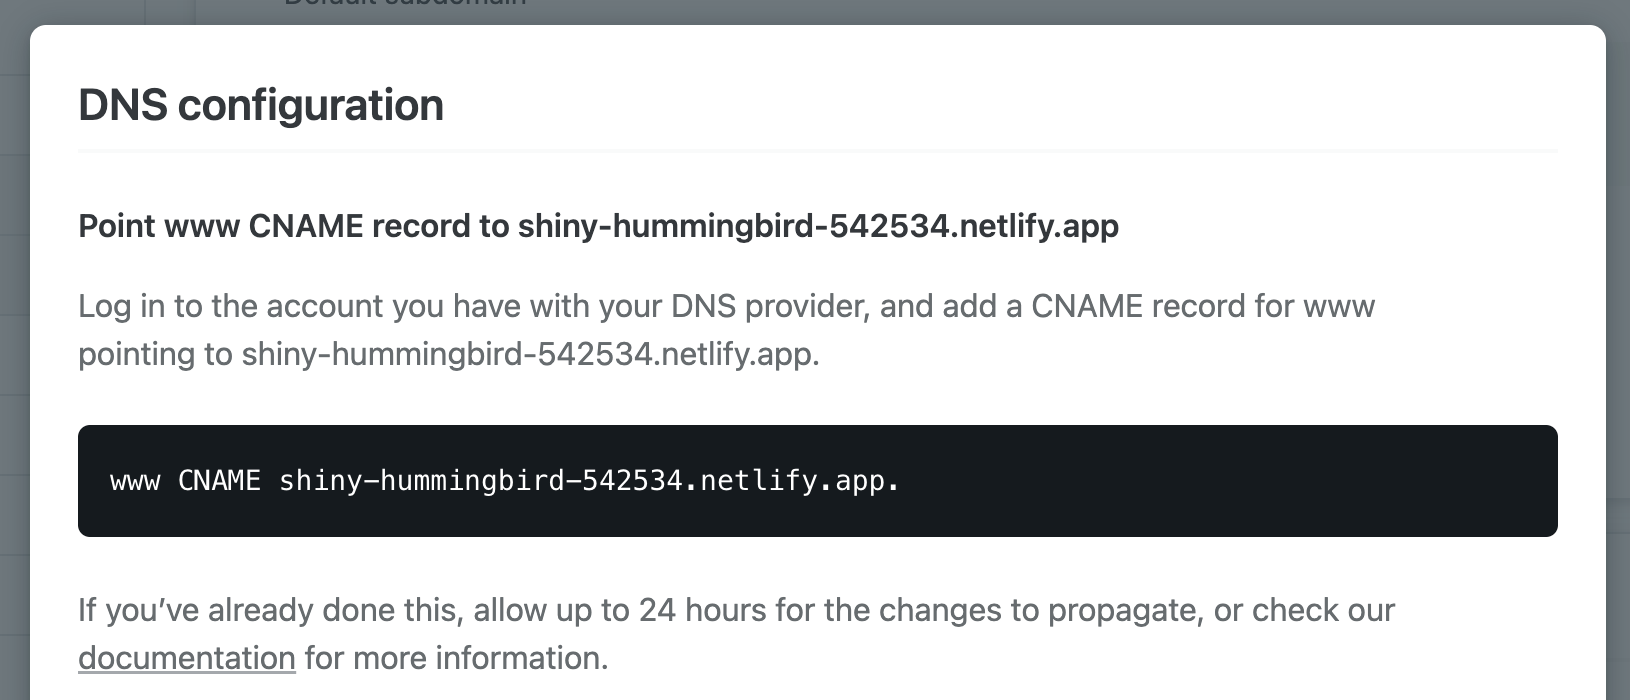
Add a CNAME record as specified for this service e.g. CNAME www.example.com shiny-hummingbird-542534.netlify.app, and wait for the DNS changes to be propagated. If you are using Cloudflare as your DNS host, disable the Proxy option while the certificate is being issued for your site.
You can use dig to check whether the DNS records have propagated e.g. dig www.example.com. You can also use the Google Admin Toolbox. Once DNS is set up, your static website will be publicly available on your custom domain. Netlify will automatically provision a TLS certificate from Let's Encrypt once the domain is pointing to the Netlify servers.