How to Run Umami Analytics on Railway
A step-by-step guide to running the free, open-source Umami Analytics on Railway.
What is Umami Analytics?
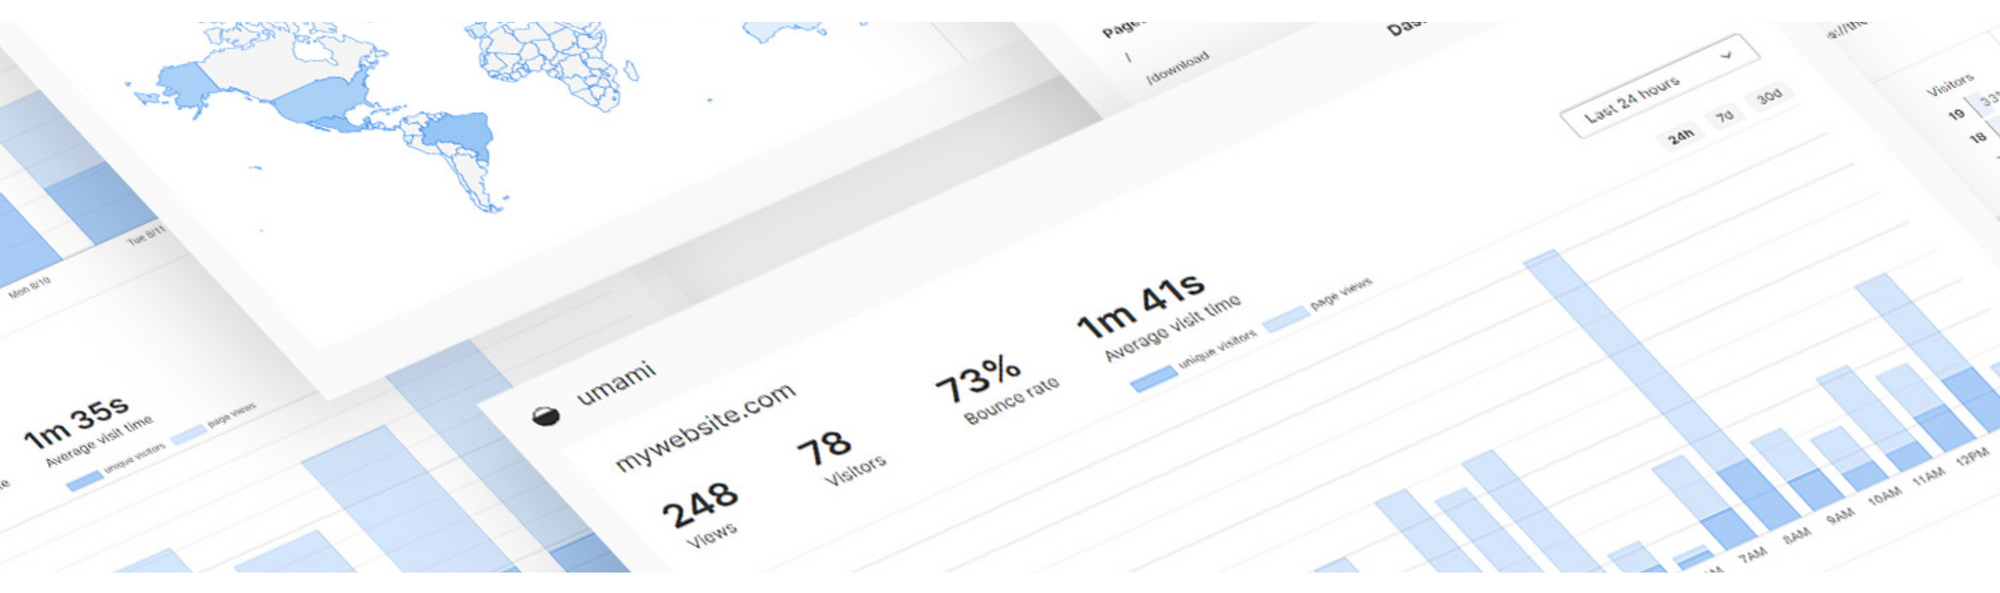
Umami claims to be a lightweight, privacy-focused alternative to Google Analytics, Matomo, Amplitude, Mixpanel et al. It offers meaningful insights into website traffic and engagement, without collecting personal information from users. It does not use cookies either (ergo, no annoying GDPR cookie notice), or track users across websites. Umami is open source, multi-lingual, mobile-friendly, and very popular (4M+ downloads), to say the least. The tracking script is only 2kb, and Umami collected metrics can easily fit on a single page.
Umami is available as a self-hosted version, with a managed cloud version due for release soon. All you need is a web server with Node.js v12 or newer, and a MySQL or PostgreSQL database. You can run the web server and database on the same machine, or install Umami on a web server and connect to a remote database. If you prefer the all-in-one approach, see this guide for running Umami on DigitalOcean. For the latter, you can deploy the web server and Umami on Vercel, Netlify, Render or Railway, with the database on DigitalOcean, AWS, Google Cloud, Supabase, PlanetScale etc.
Of all these options, Railway probably offers the most seamless one, with their free tier sufficient to cover both the web server and database. And they package it into a seamless one-click deployment with a PostgreSQL database as well.
What is Railway?
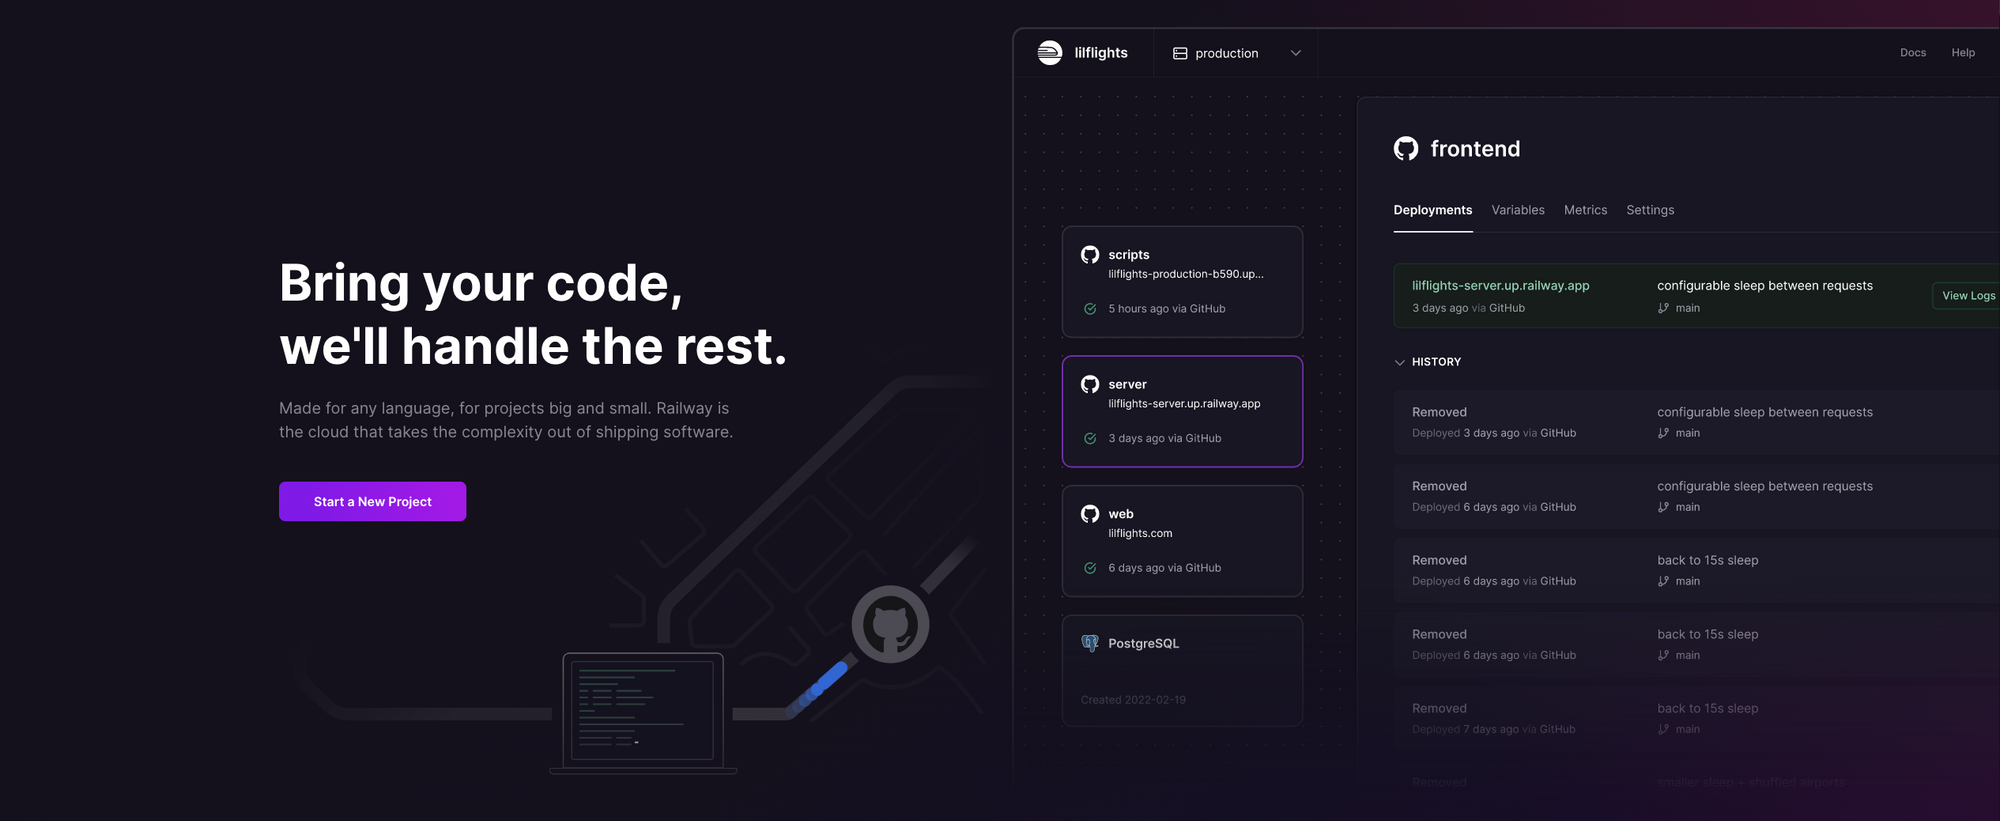
Railway is a modern app hosting platform that makes it easy to deploy production-ready apps quickly. Railway offers persistent database services for PostgreSQL, MySQL, MongoDB, and Redis, as well as application services with a GitHub repository as the deployment source. For the latter, Railway can automatically determine the application runtime and deploy the service. For Umami, Railway offers a one-click starter, as well as the option to deploy continuously from a forked repository. If you are just starting out, Railway's free tier should be sufficient. Let's explore both deployment options below.
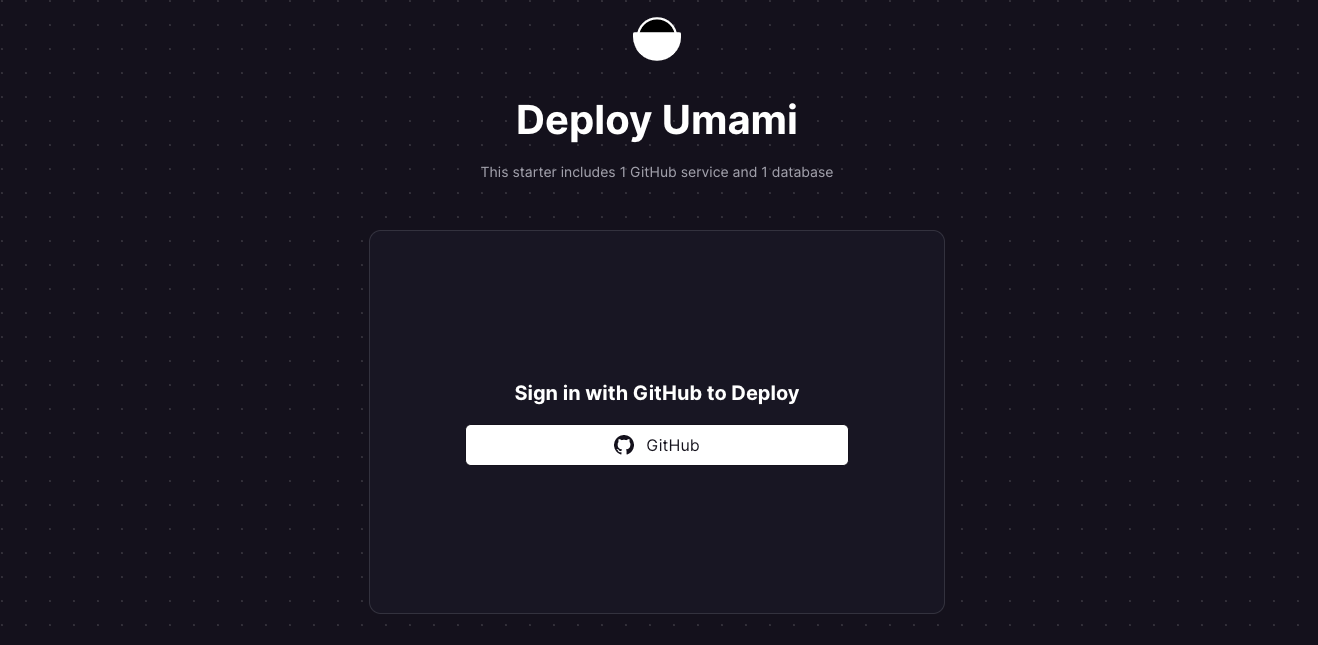
Option #1: Deploy Umami using the One-Click Starter
Launch the Umami starter on Railway, and sign in with GitHub to deploy the service.
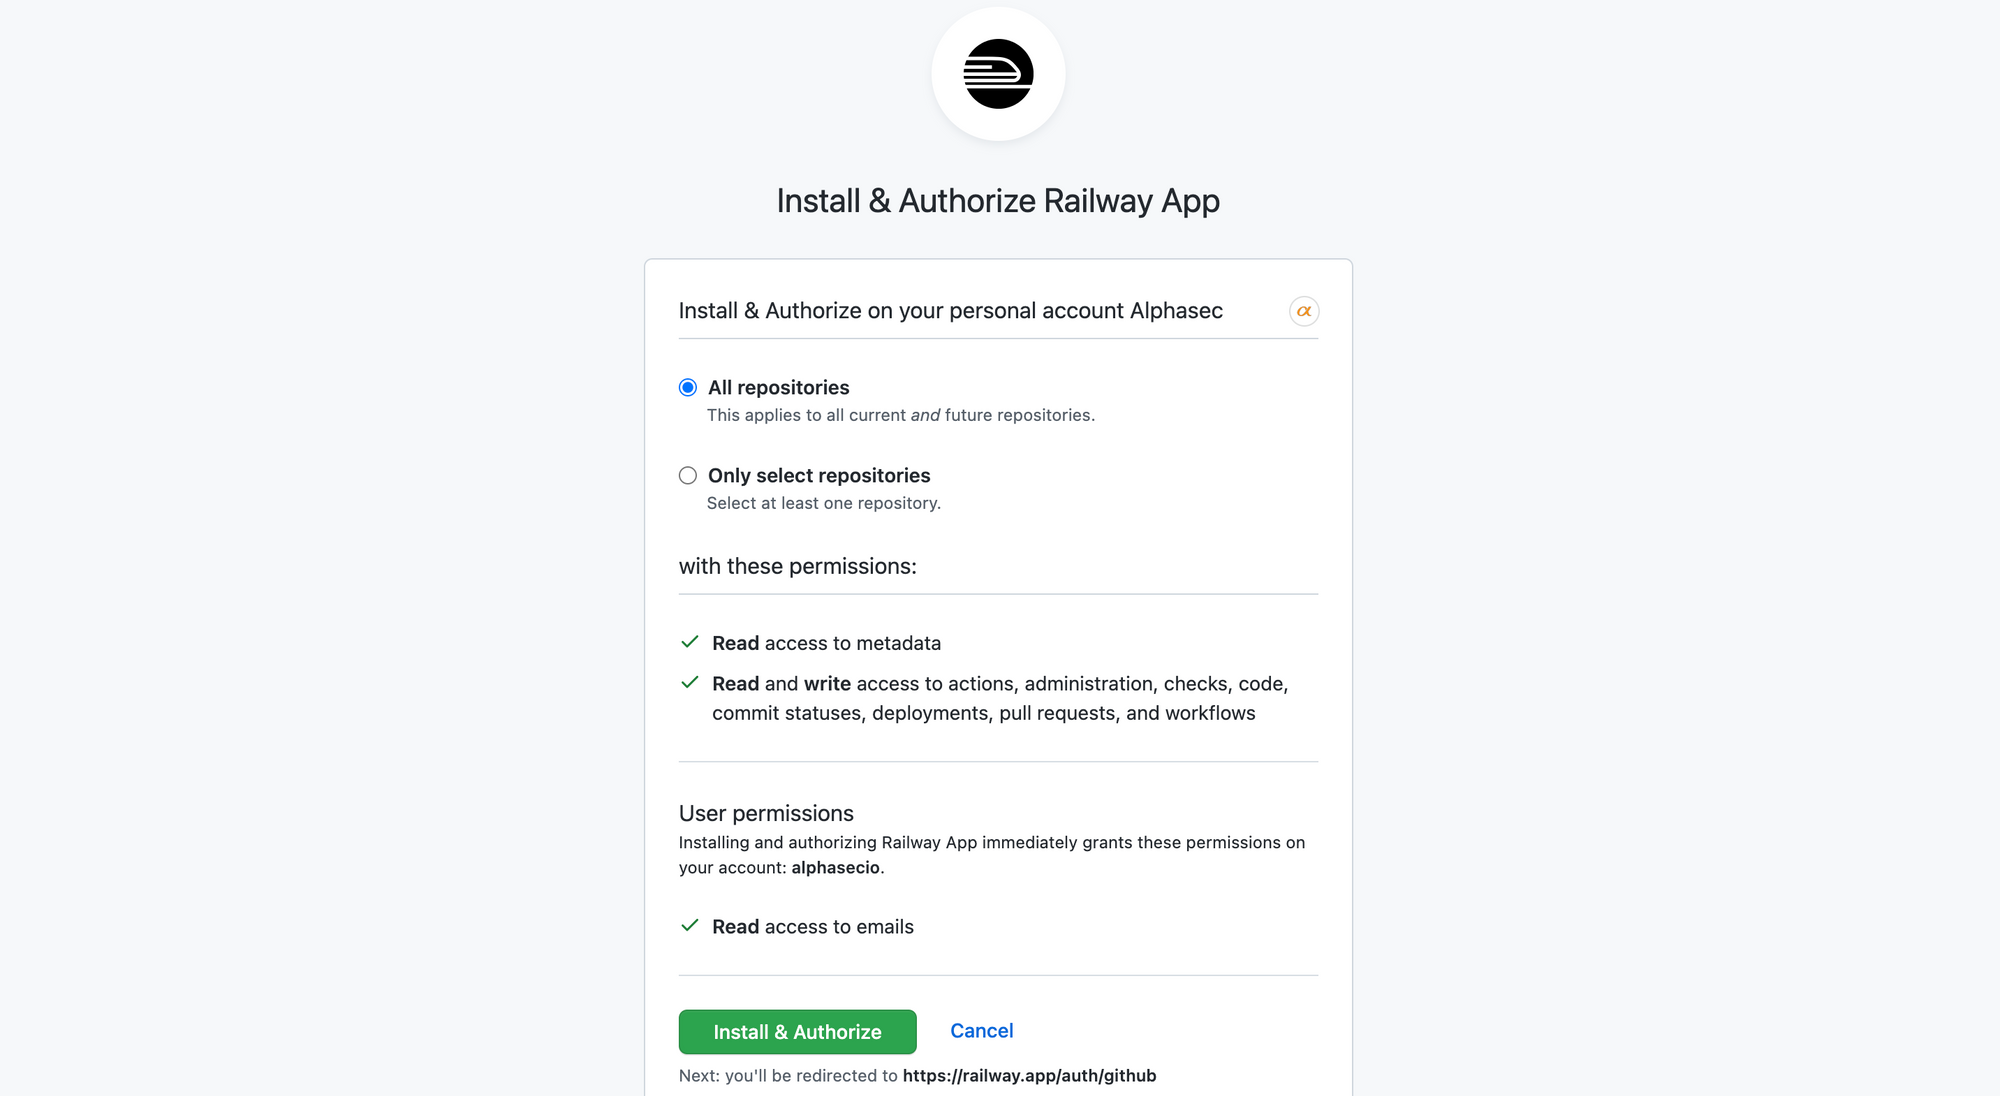
Configure the GitHub accounts and orgs that Railway should have access to. Keep the defaults and click Install & Authorize.
You'll be prompted for the repository details and HASH_SALT environment variable. If you choose to keep this repository private, you'll need to authenticate to GitHub during the CLI access below.
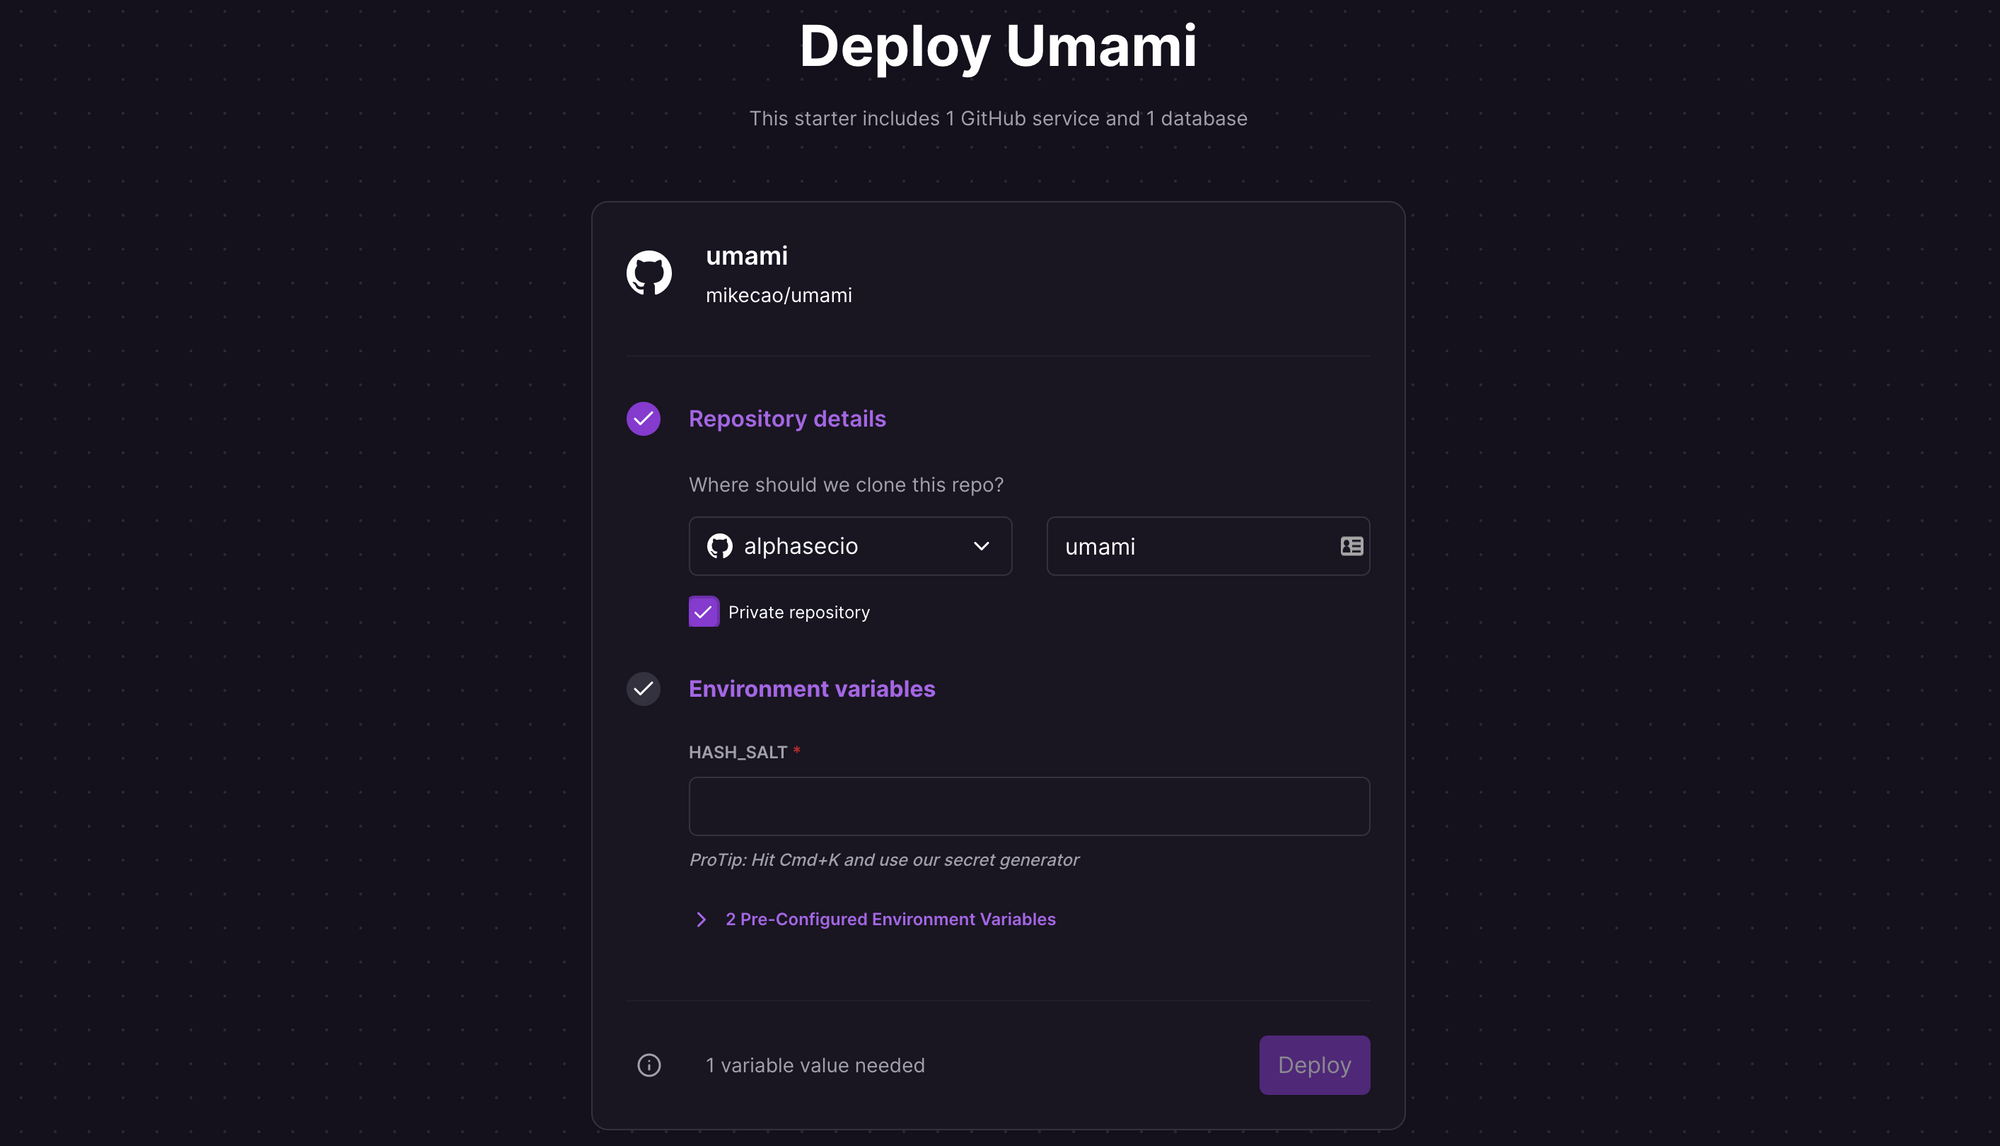
Hit Cmd+K, use the built-in secret generator to create and populate the HASH_SALT field, and click Deploy. Your project should be ready in seconds.
Clone your project locally using git. Download and install the Railway CLI client to link your local setup to your Railway project. I'm using the Google Cloud Shell to run this, but feel free to choose your own workstation.
# If you don't have npm, install it first
sudo apt install npm

# Railway CLI client requires node v12 or newer. If you get node version-related errors, upgrade it first
sudo npm install -g n
sudo n lts
sudo n latest
sudo n prune

# Install the Railway CLI client
npm i -g @railway/cli

# Alternately, you can also install the Railway CLI using curl
curl -fsSL https://railway.app/install.sh | sh

# Clone your Umami project repo locally (assuming project name is umami)
git clone <GitHub_repo>
cd umami

# Login to your Railway account and authenticate with a pairing code
railway login --browserless
Before authenticating, you'll be asked to verify that the pairing code matches - do so and click Verify. Look for the Project ID under Settings > General. You can also get it by clicking on the Set up your project locally link at the bottom left of the screen.
# Link to the existing Umami project
railway link <project_id>
Now, let's create the database tables and a login account.
# Get project environment variables
railway variables

# Install the required tables and scripts using the variables above
railway run psql -h hostname -U username -d databasename -f sql/schema.postgresql.sql

# Deploy the current directory to Railway
railway up
Once the build completes, you'll get the deployment URL. If you want to use a custom domain instead, see this doc.
Option #2: Deploy Umami using a Forked Repository
Log in to your GitHub account and fork the Umami repository. This will let you receive and merge future updates to Umami conveniently.
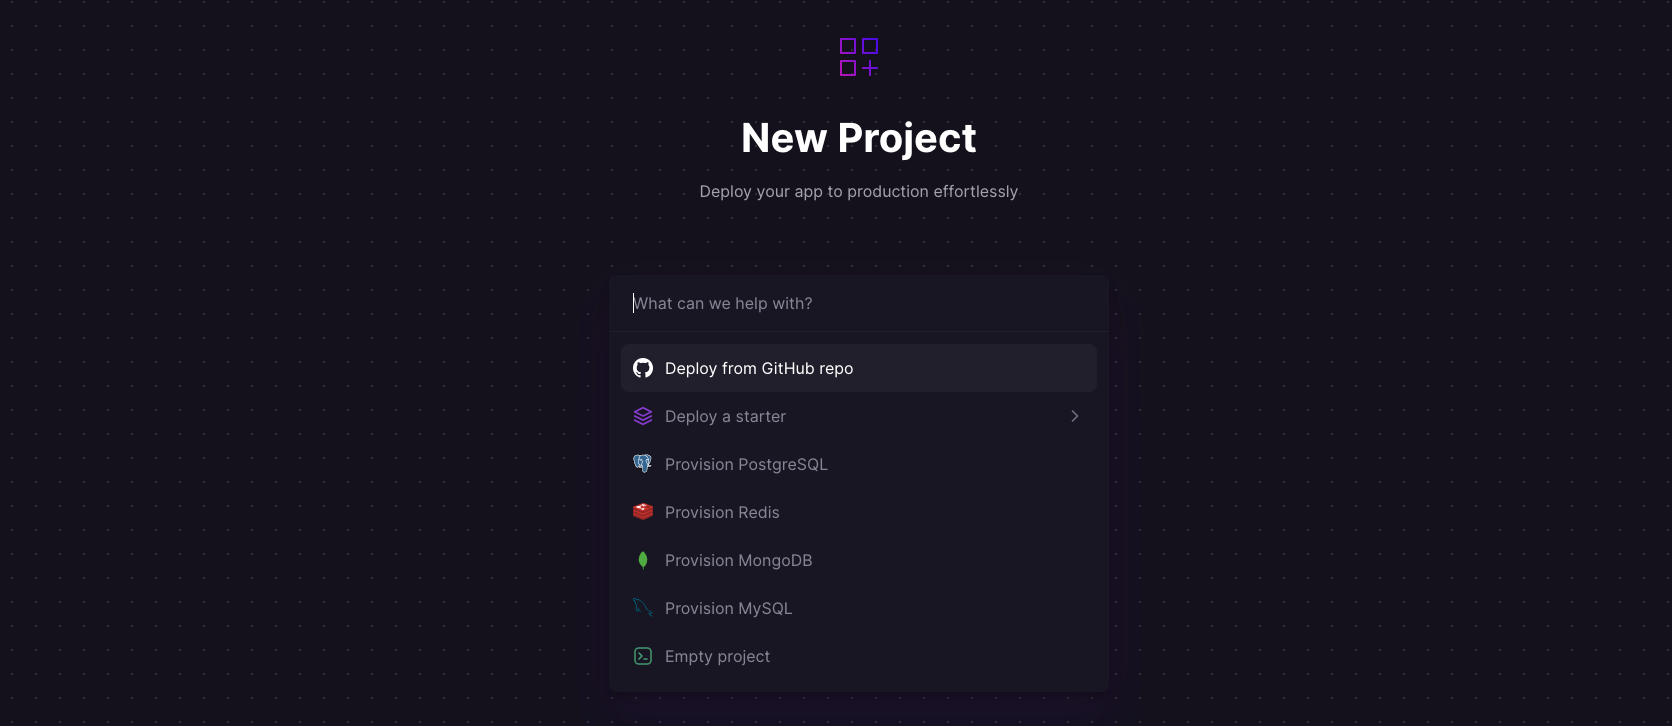
Create an account on Railway connected to GitHub. When redirected, click Authorize Railway App to continue. Review and agree to Railway's Terms of Service and Fair Use Policy. Click on + New Project > Deploy from GitHub repo, select the forked repository, and click Deploy Now.
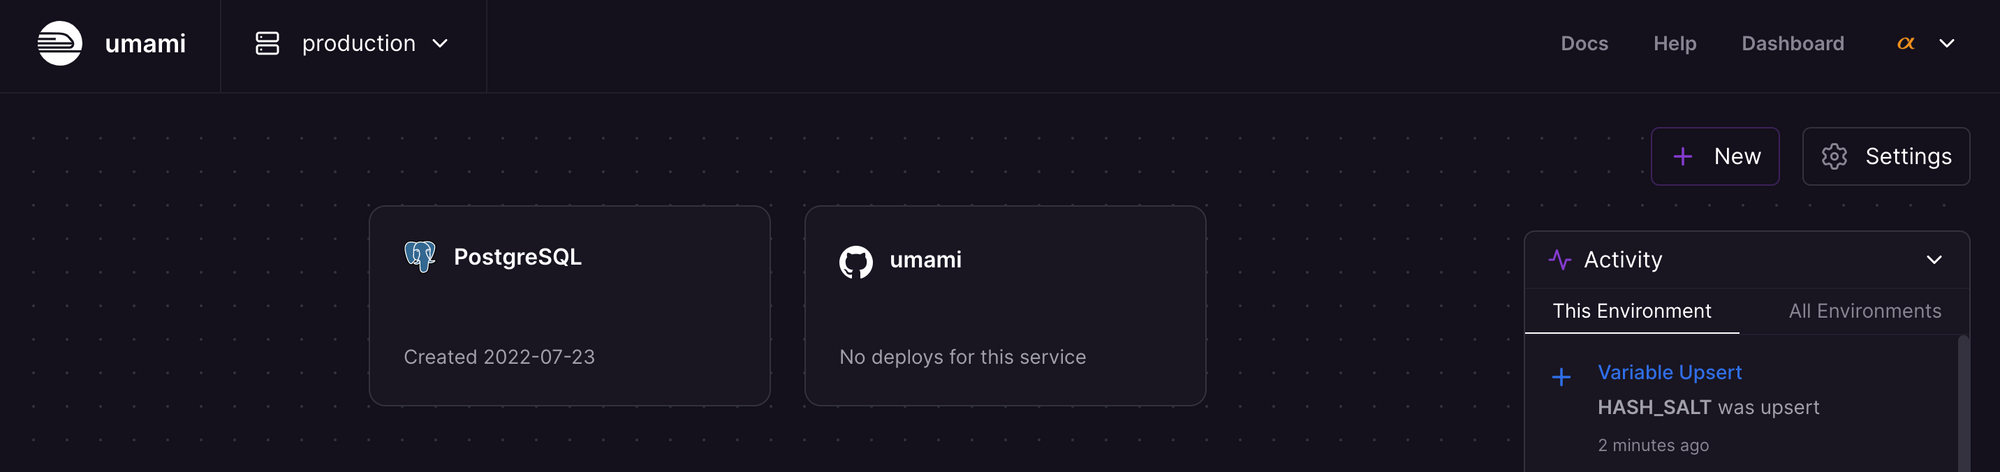
Once the Umami service is deployed, click + New > Database > Add PostgreSQL to add the PostgreSQL database. Now follow the same steps outlined in option #1 above, from the Railway CLI client installation onwards.
Configure Your Website with Umami Analytics
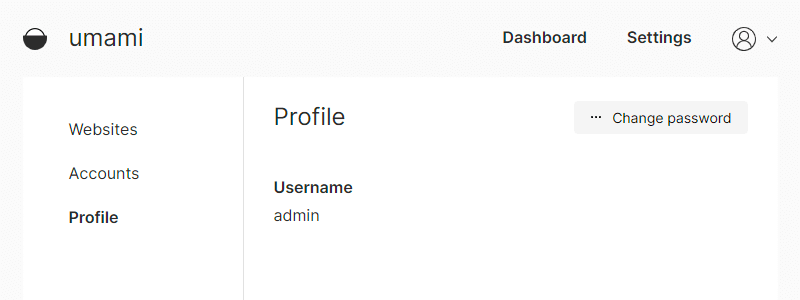
Launch the Umami dashboard using the deployment URL. Login with username admin and password umami. Make sure you change the default password.
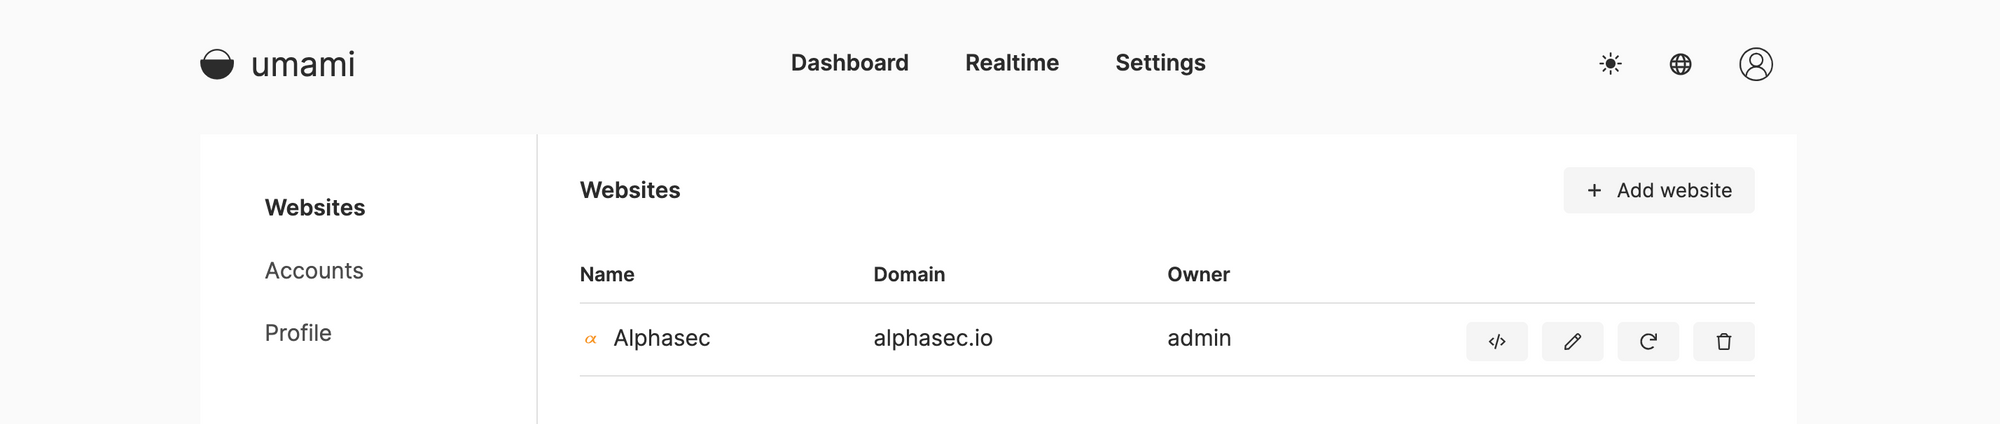
From Settings > Websites, click on Add website to configure a new web property. Specify the Name and Domain, and click Save. Click </> icon to get the tracking code, and insert the script within the <head> section of your website.
And that's it! Watch as the dashboard gets populated with metrics for your website traffic and engagement. While Umami claims to be an alternative to incumbent web analytics solutions, it is definitely not as feature-rich. For large or complex web properties whose revenues are dependent on an in-depth understanding of web traffic analytics, you'll need to evaluate the tradeoffs necessary to meet your privacy goals.