Phishing Attack Simulation with Gophish
A step-by-step guide to phishing attack simulation and employee awareness using Gophish.
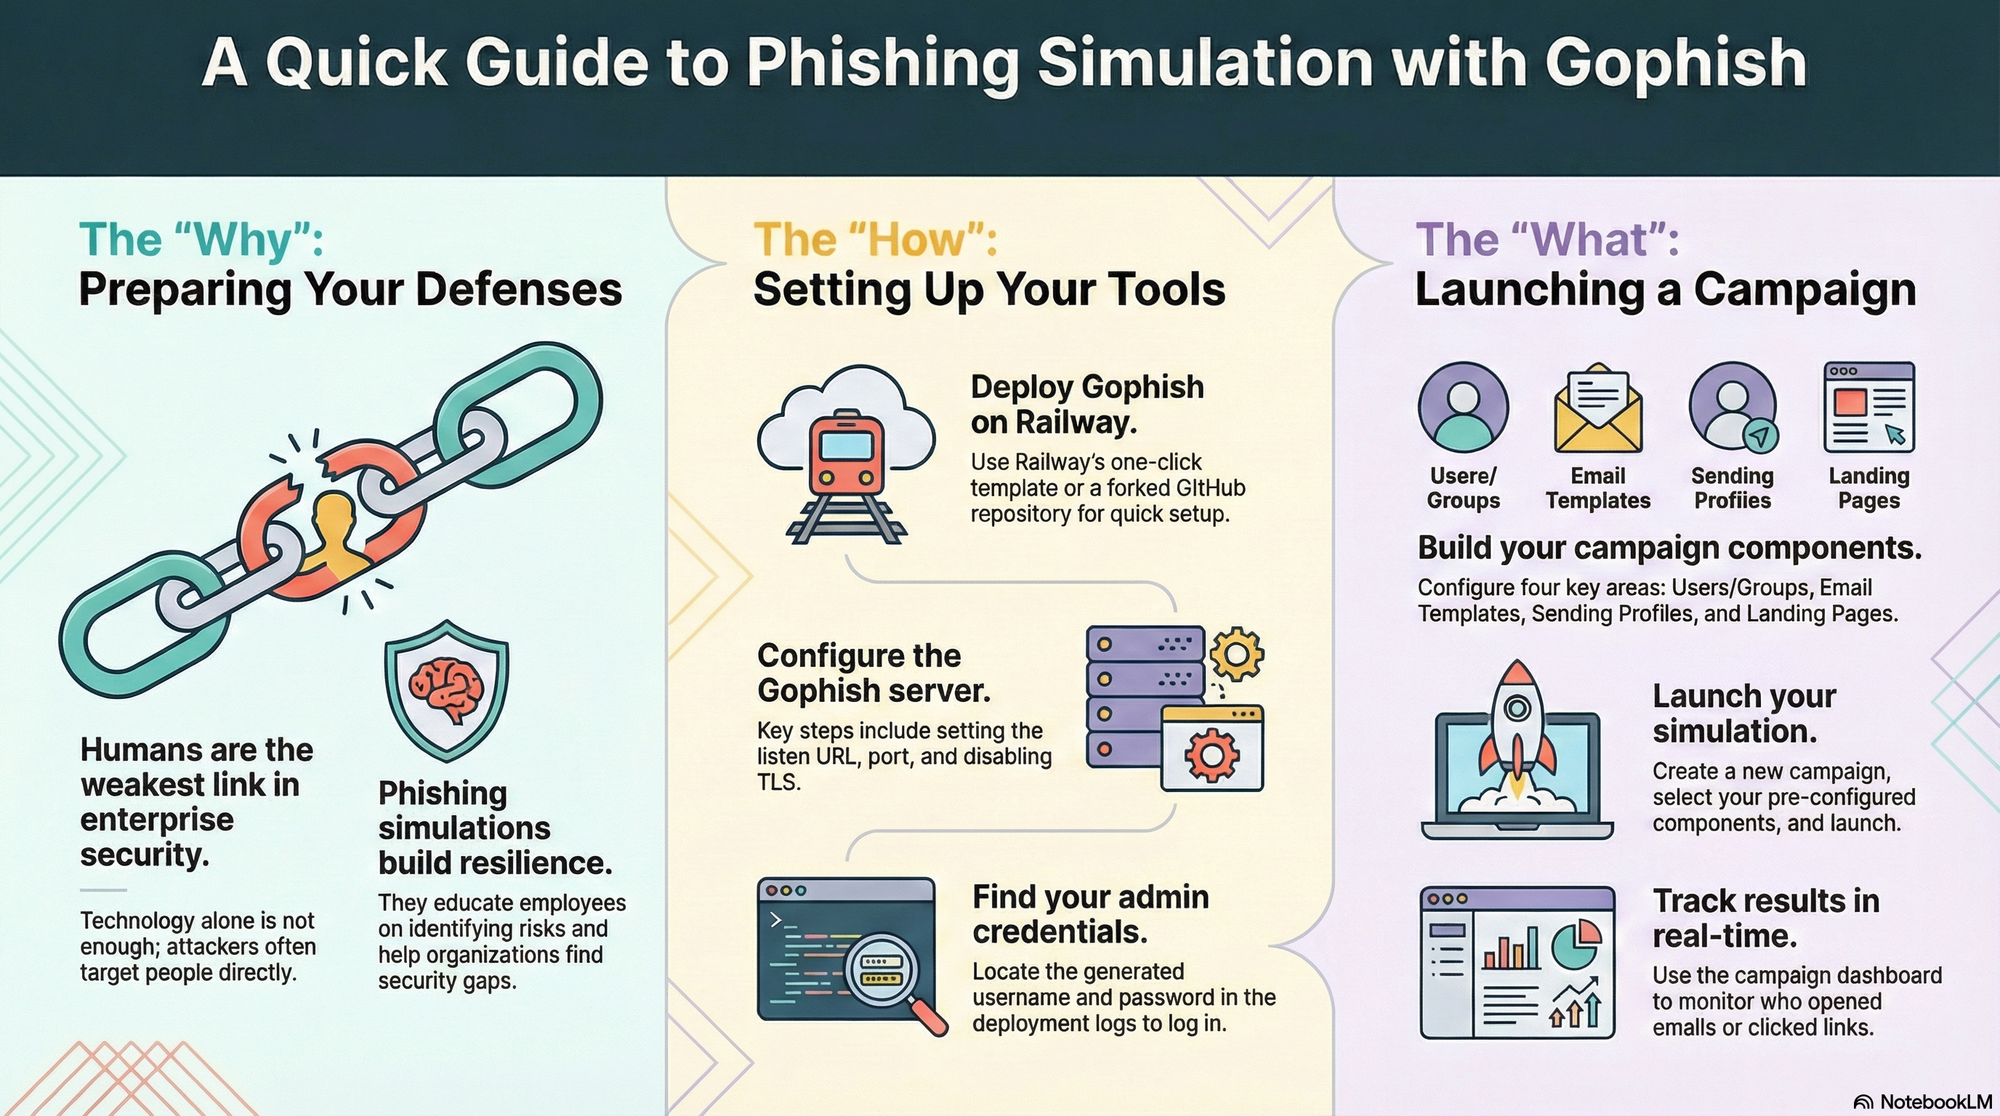
For a while now, phishing has been a common and effective way for attackers to gain access to sensitive information such as login credentials, financial records, and personal data. Anti-phishing technology solutions have gotten better over time, but phishing is a constant cat-and-mouse game between the attackers and defenders. And, as is the case with most aspects of enterprise security, humans tend to be the weakest link in the defence.

Organisations like Google have successfully thwarted an entire class of phishing attack for years using hardware security keys like Google Titan and Yubikey (USB-A/NFC, USB-C/NFC or USB-C/Lightning). But they also rely heavily on user awareness and preparation for the eventual attacks. By running phishing simulations, organisations can educate their employees about the tactics used in phishing attacks and test their resilience to these types of attacks. This helps to ensure that employees are aware of the risks, and know how to identify and report suspicious emails, texts, or other forms of communication. It also helps organisations to identify weaknesses in their defences and take steps to address them. Overall, phishing simulations are a useful tool for improving the security of an organization and reducing the risk of a successful phishing attack.
What is Gophish?
Gophish is an open-source phishing framework that makes it easy to test your organisation's resilience to real-world phishing attacks. You can create phishing templates using a full HTML editor, launch scheduled email campaigns to groups of users, and track the responses in near real-time. Gophish is written in the Go programming language, and offers binaries for Windows, Mac and Linux, as well as a Docker container for easy installation. Gophish can also be deployed on cloud hosting services like DigitalOcean, but we'll use Railway today.
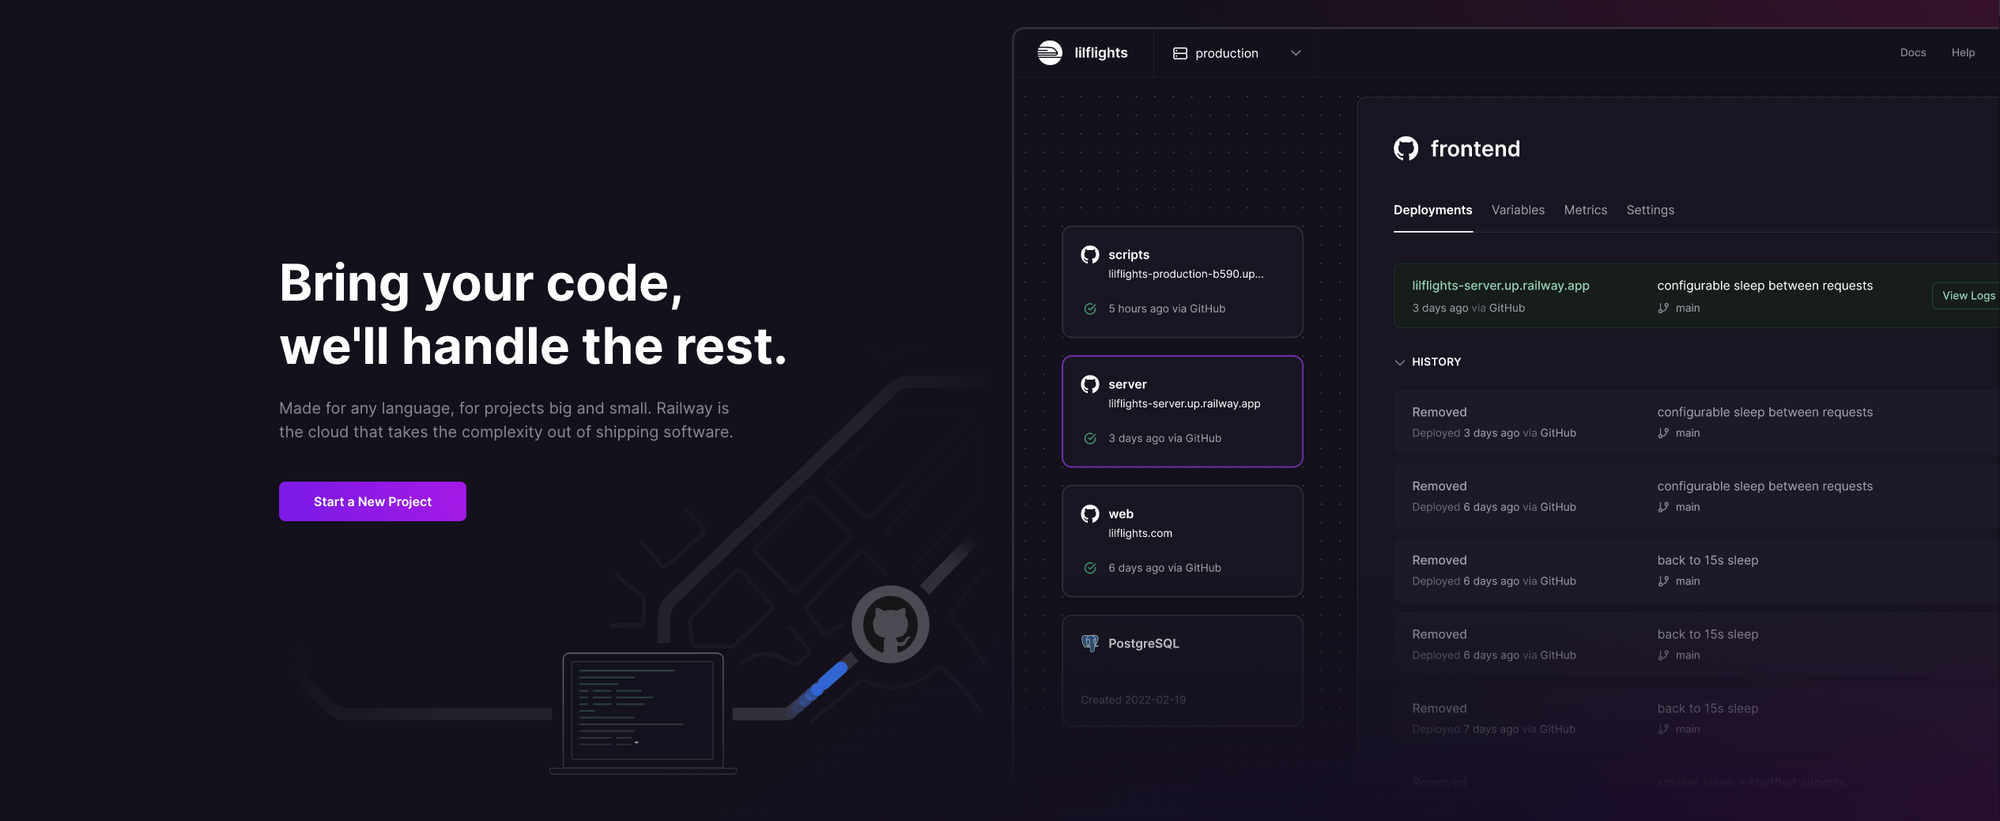
What is Railway?
Railway is a modern app hosting platform that makes it easy to deploy production-ready apps quickly. Railway offers persistent database services for PostgreSQL, MySQL, MongoDB, and Redis, as well as application services with a GitHub repository as the deployment source. For the latter, Railway can automatically determine the application runtime and deploy the service. We'll use this approach to deploy Gophish. Railway does not offer an always-free plan anymore, but the free trial is good enough to try this.
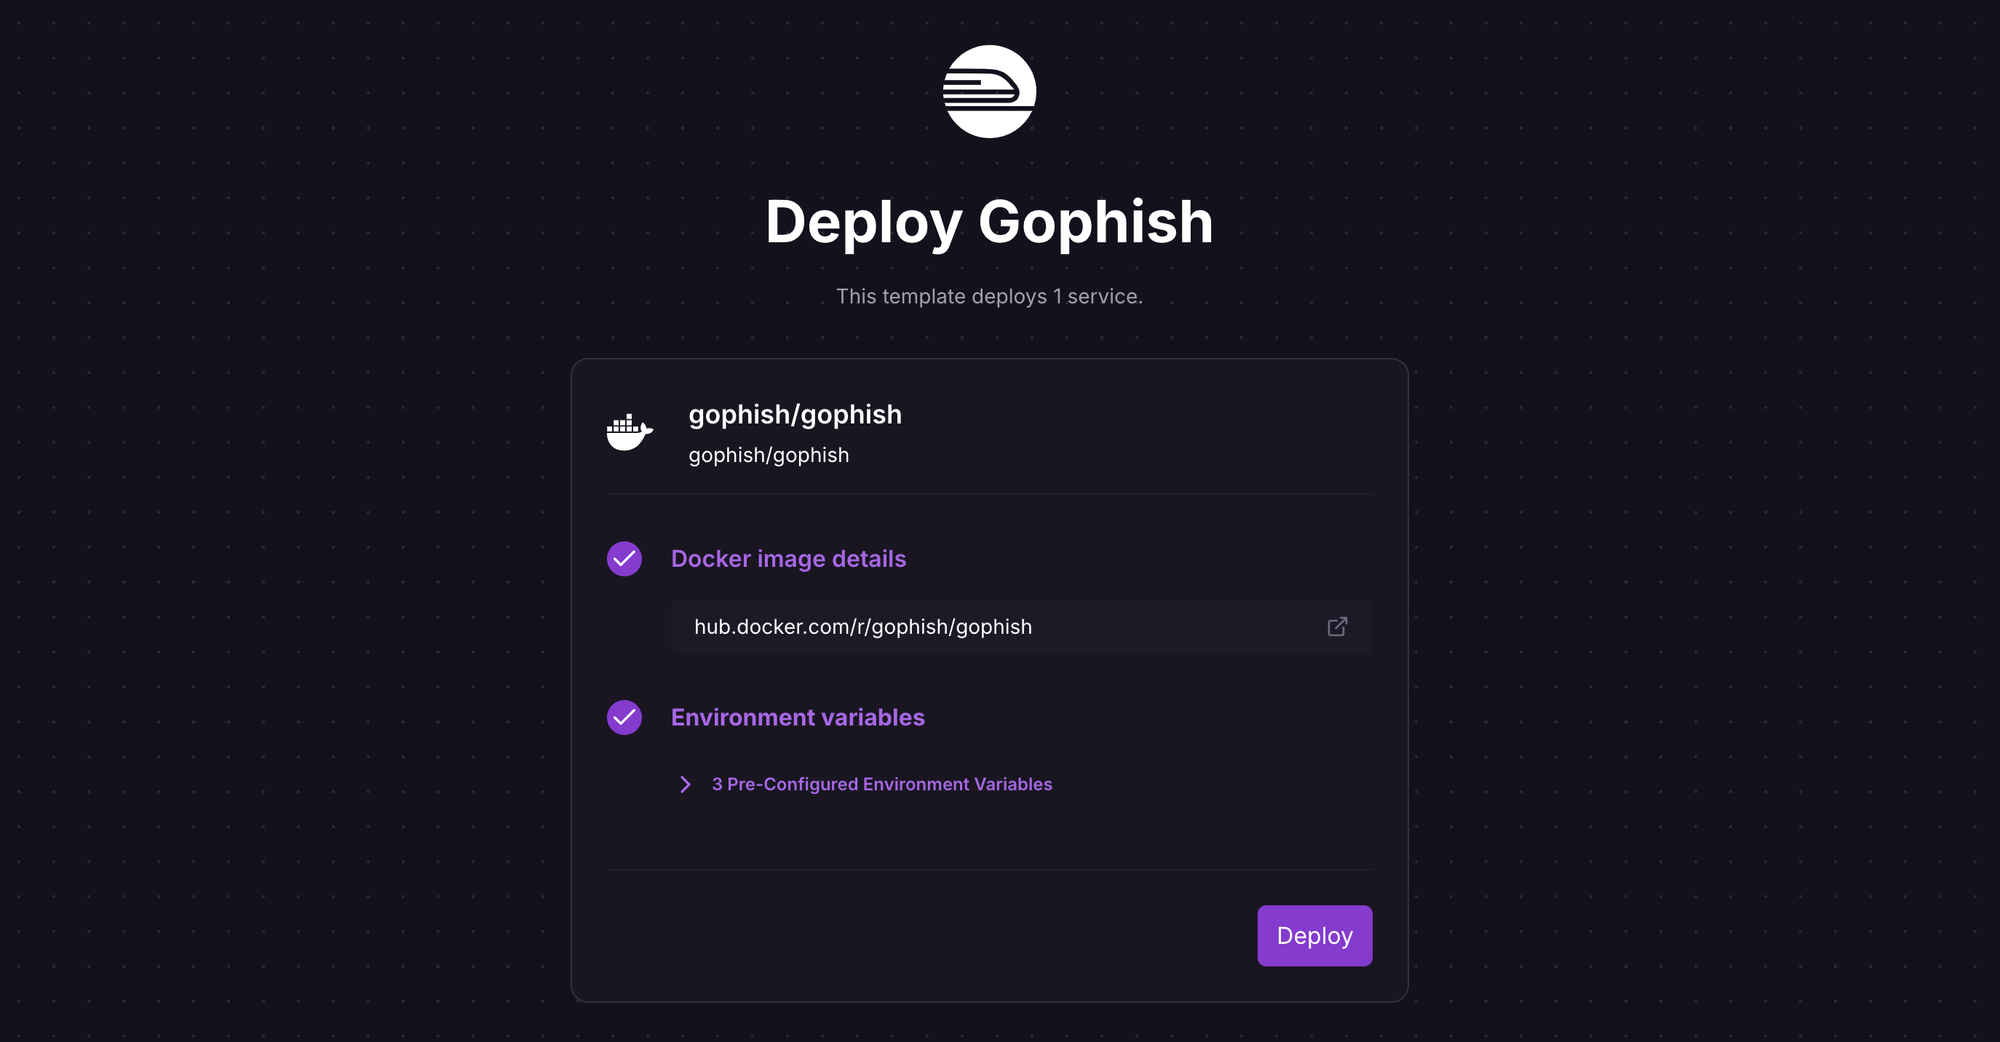
Option 1: Deploy Gophish using One-Click Template
If you don't already have a Railway account, sign up using GitHub, and click Authorize Railway App when redirected. Review and agree to Railway's Terms of Service and Fair Use Policy if prompted. Launch the Gophish one-click starter template (or click the button below) to deploy it instantly on Railway.
Review the settings and click Deploy; the deployment will kick off immediately. The template uses the Gophish Docker image with some environment variables pre-configured to work on Railway; if you want to understand (or change) environment variables, see the source here and the docs here.
Once the deployment completes, the Gophish admin server will be available at the default xxx.up.railway.app domain - launch the URL to access the web interface. If you are interested in setting up a custom domain, I covered it at length in a previous post - see the final section here.
Under the Deployments section of the deployed service, click View Logs for the latest deployment, and find an entry similar to Please login with the username admin and the password 0f564e8fxd9171d25. You'll need these credentials to log into the admin server.
Option 2: Deploy Gophish using a Forked Repository
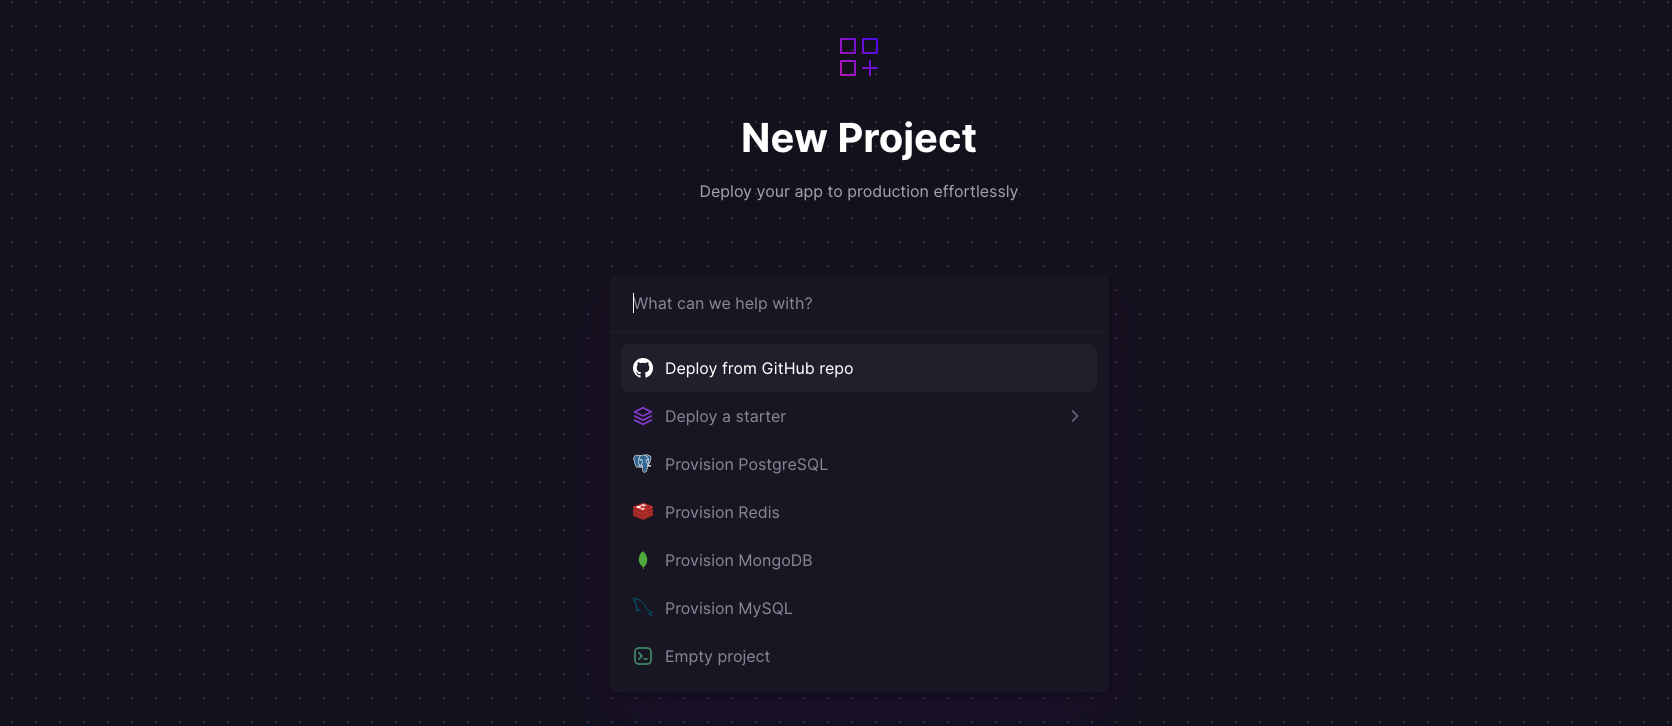
Log into your GitHub account, and fork the Gophish repository. Sign up for an account with Railway using GitHub, and click Authorize Railway App when redirected. Review and agree to Railway's Terms of Service and Fair Use Policy. Click on + New Project > Deploy from GitHub repo, and select your repository. The deployment will kick off immediately, but we need to do a few more things to configure Gophish correctly.
Once the deployment completes, go to Settings > Domains and click Generate domain to expose the service to the public internet - you'll get a default xxx.up.railway.app domain. If you are interested in a custom domain, I covered it at length in a previous post - see the final section here.
Next, in the Variables tab, create a new variable PORT with the value 3333 (the admin server listens on this port). Under Deployments, click View Logs for the latest deployment, and find an entry similar to Please login with the username admin and the password 0f564e8fxd9171d25. You'll need these credentials to log into the admin server.
Finally, edit the config.json file in your forked Gophish repository, and make the following changes:
- Change the value of
listen_urlfrom127.0.0.1:3333to0.0.0.0:3333(this will make the service listen on the public address). - Change the value of
use_tlsfromtruetofalse(Railway will automatically create and maintain the TLS endpoint). - Add the Railway domain in
trusted_originse.g."xxx.up.railway.app"(use your custom domain instead if you have configured it).
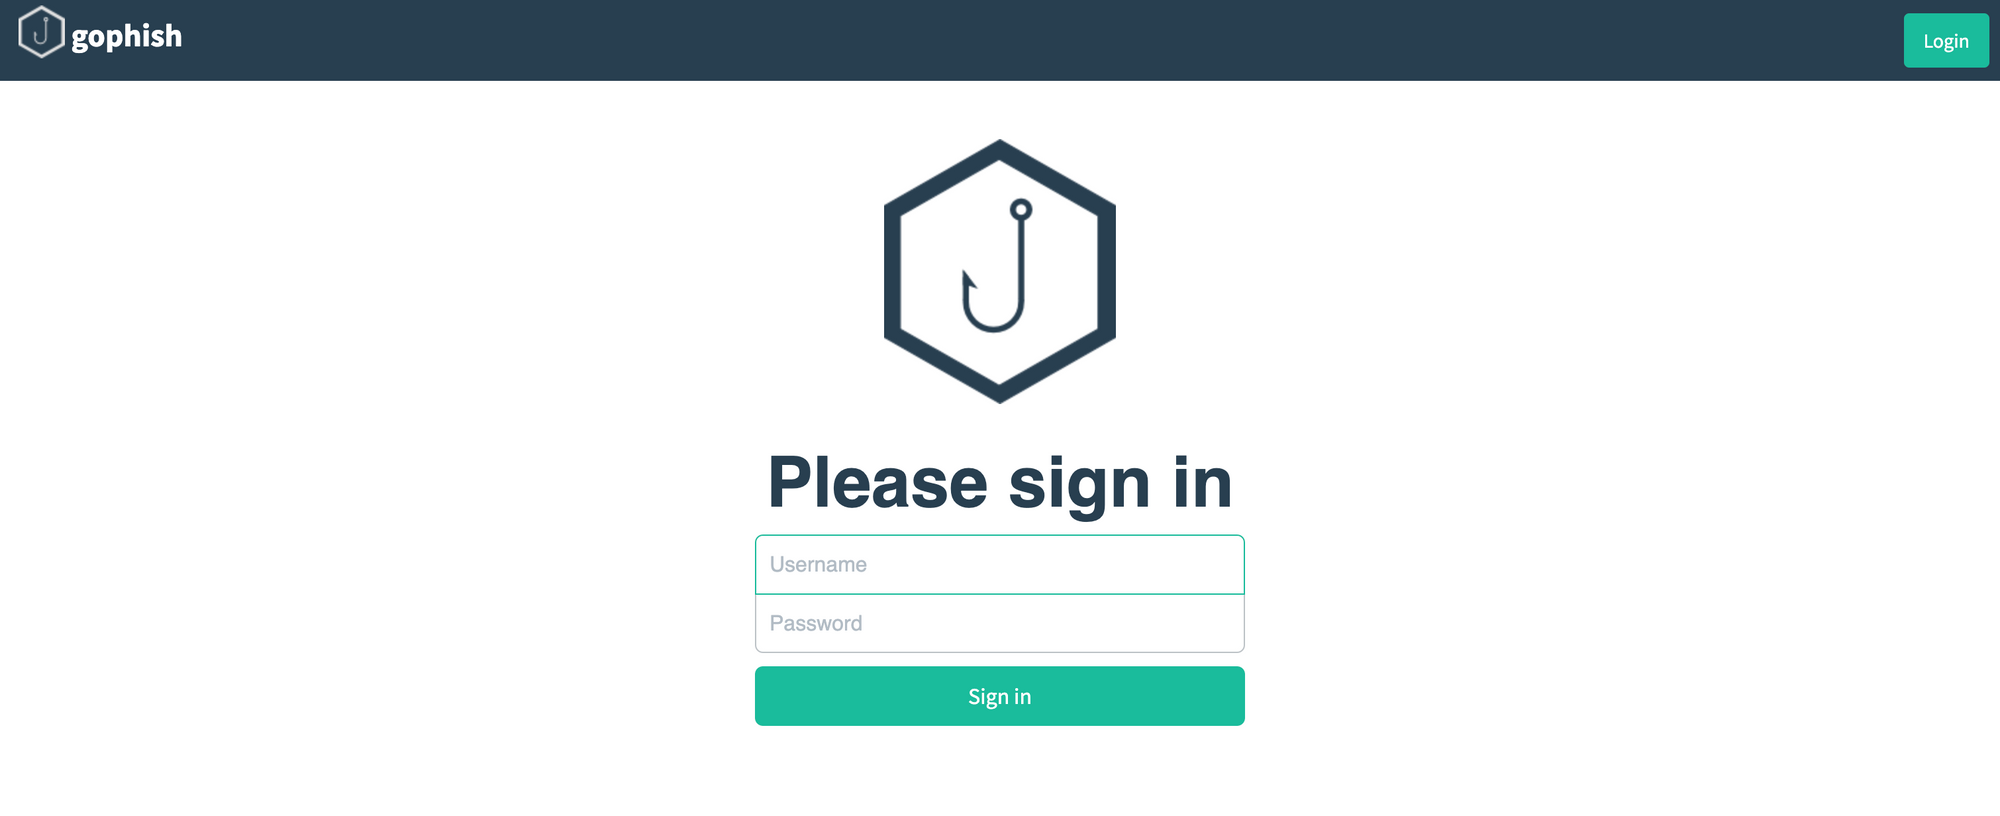
Once you commit your changes, Railway will trigger the deployment again. If all goes well, you'll see the following when you launch the deployment URL.
Run Phishing Attack Simulations with Gophish
Login to the Gophish admin server using the temporary credentials found in the deployment logs, and change the password upon login.
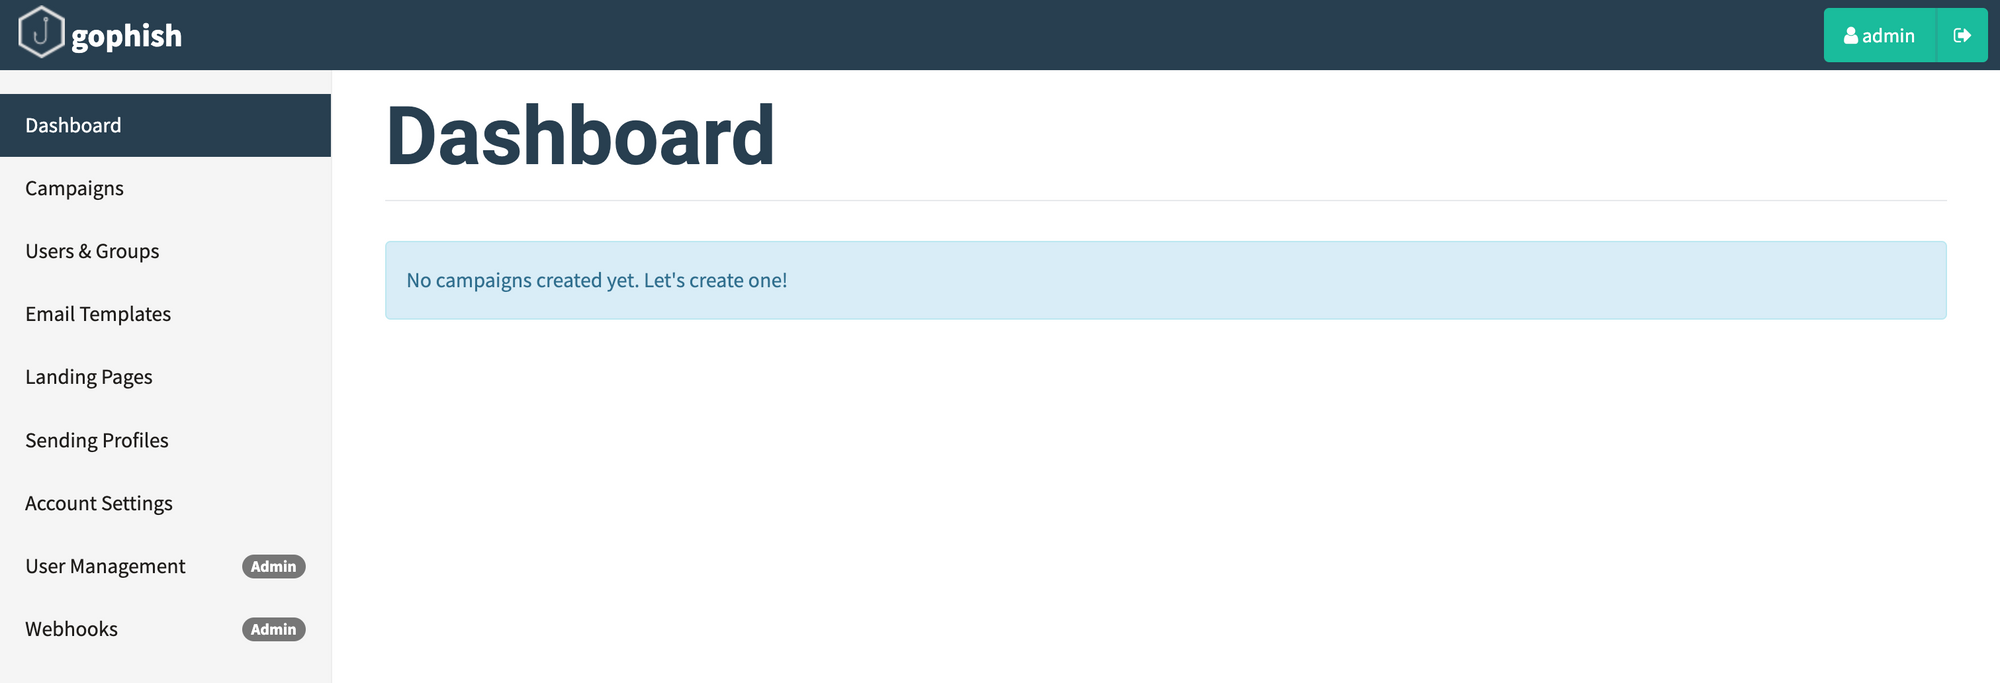
Now that you have a functional setup, play around with the various settings to generate realistic (in your context) phishing templates. In the minimum, you'll need to configure:
- Users & groups to send the simulated phishing emails
- Phishing email templates, including attachments (see supported)
- Sending profiles to specify sending SMTP relay details
- Landing pages returned to users when they click the phishing links
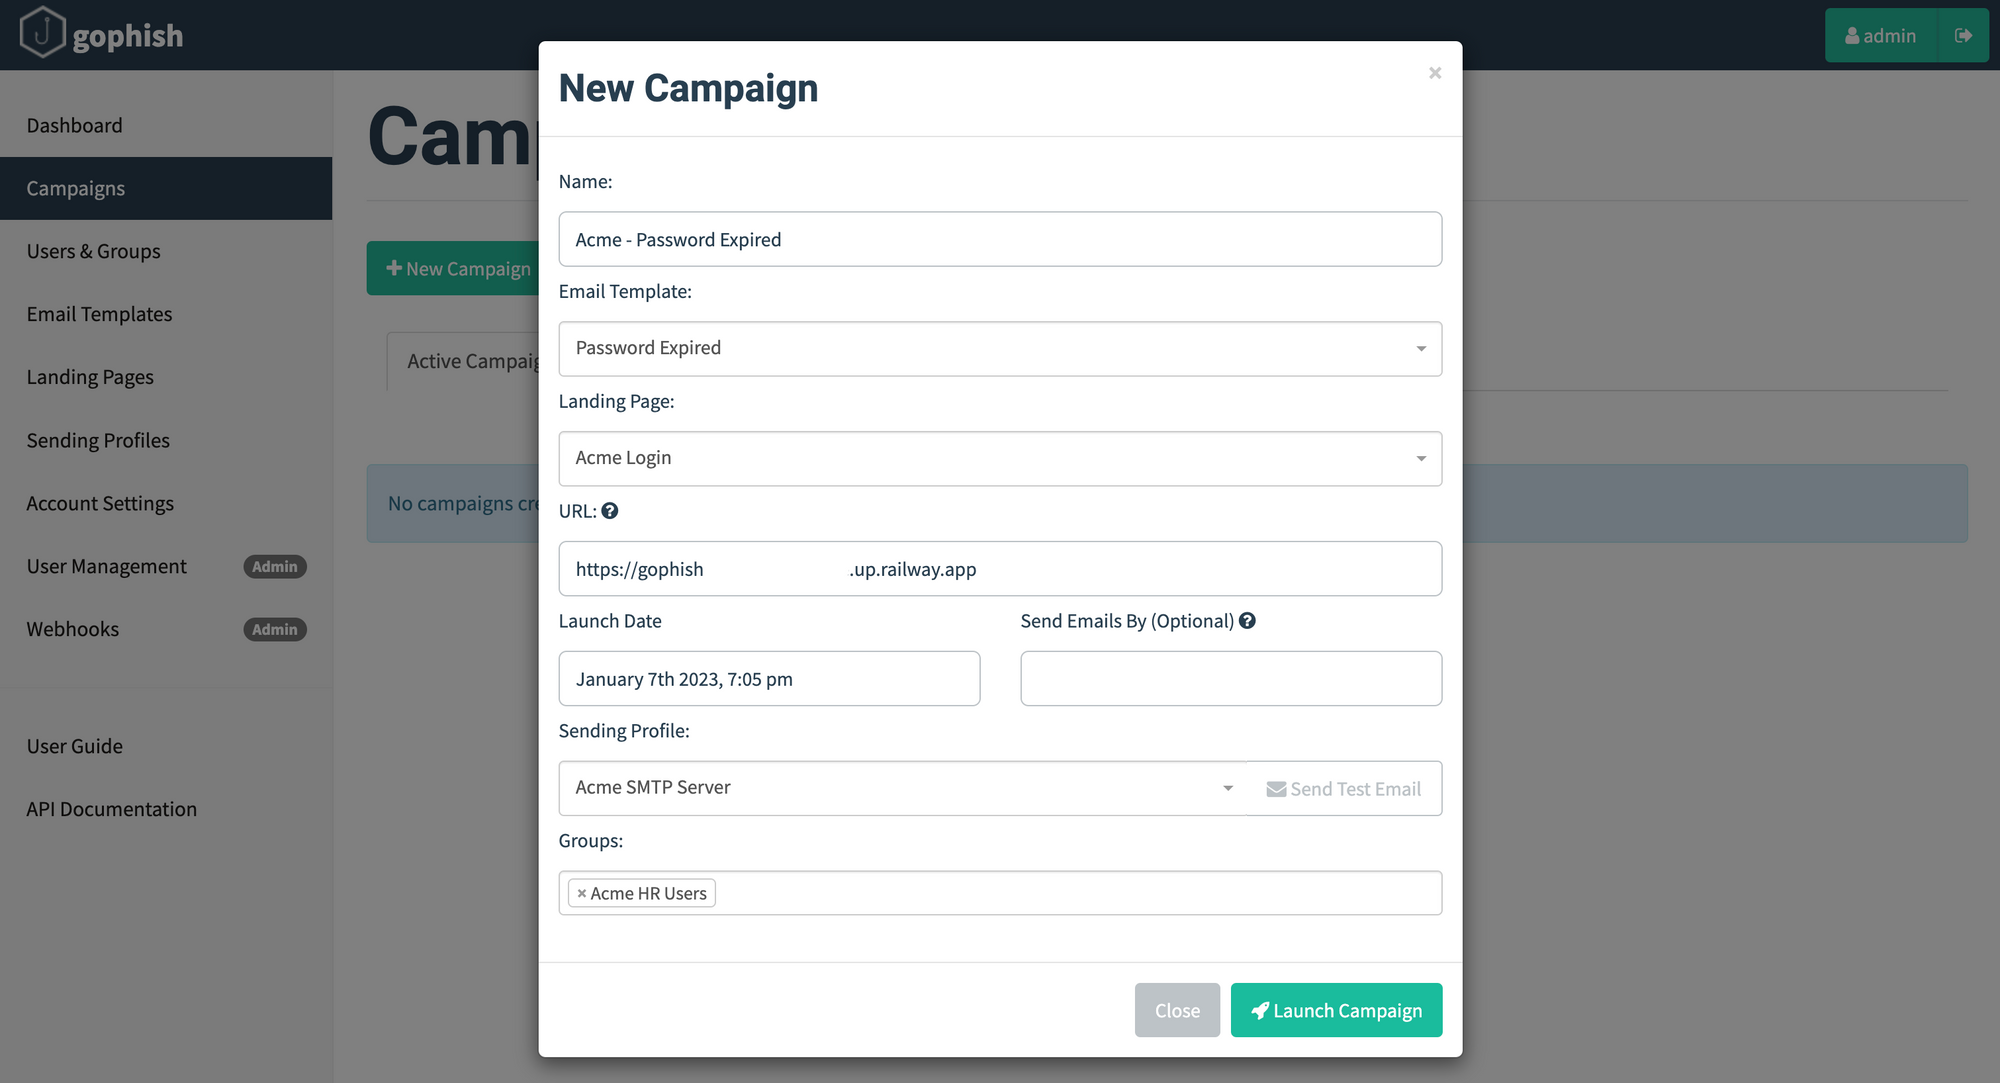
Once you have configured the above settings, it's time to create and launch a campaign. Navigate to the Campaigns page and click New Campaign. Most of the fields are self-explanatory and use the templates configured earlier; the URL is the domain of the Gophish listener. Click Launch Campaign to trigger the campaign.
Well, obviously you'd hope that all your users are savvy (and your anti-phishing technology works, if deployed) and avoid these emails like the plague but, nevertheless, you can track the results in near real-time from the respective campaign dashboard. Of course, Gophish doesn't have all the bells and whistles you might find in a commercial phishing simulation solution, but its works well enough for organisations (nee startups) on a budget, or those just kicking the tires to find out the effectiveness of such campaigns.
