Immutable Transparency Logs with Sigstore Rekor
A step-by-step guide on creating an immutable ledger and storing transparency logs with Sigstore Rekor.

Sigstore, a Linux Foundation project, is a new approach for signing, verifying and protecting software. It offers a set of tools for developers to sign software releases, and for users to verify the signatures - see my post on sigstore for an overall primer and this post for a deep dive on cosign. In this post, I'll discuss another one of the core technologies that sigstore relies upon - Rekor.
What is Rekor?
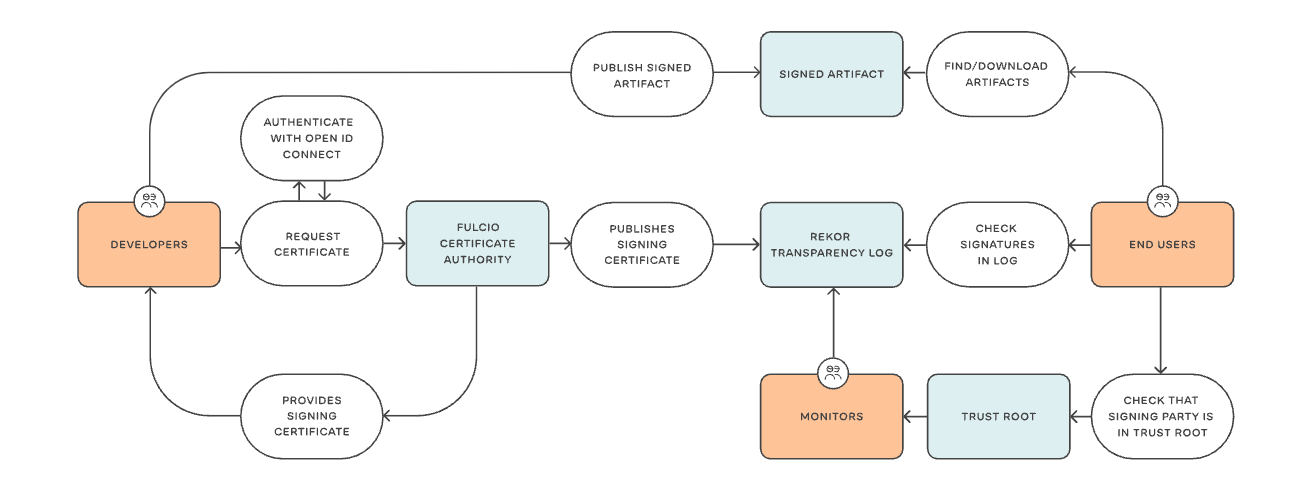
Cosign helps to sign software artifacts and verify the signatures, and Fulcio helps with authentication by binding public keys to email addresses. Rekor, on the other hand, offers an immutable, tamper-resistant ledger for signed metadata; it fulfils the signature transparency role in the sigstore ecosystem. Monitors can be used to detect tampering i.e. examine Rekor logs and search for anomalies.

The Rekor community runs a public instance at rekor.sigstore.dev as a best-effort public good transparency service, and publishes signed tree hashes to Google Cloud Storage. Rekor offers a REST API for validation and a transparency log for storage; the API is accessible via a command line interface (CLI) client, rekor-cli. Using the client, you can create and verify entries, query the log for inclusion proof, verify log integrity, and retrieve log entries. Rekor can also be used on its own, to work with different manifest schemas and to fulfil different use cases.
The rest of this tutorial shows how to:
- Install the Rekor CLI
- Sign and upload entries with Rekor CLI
- Verify entries in the public Rekor Server
- Install a Rekor Server locally
- Verify entries in the local Rekor Server
Install Rekor CLI on a DigitalOcean Droplet
For this walk-through, I'll use DigitalOcean; if you don't have an account, sign up here - you’ll receive a $200, 60-day credit when you add a valid payment method. Set up your team and project, and deploy the Docker 1-Click Droplet from the marketplace. This droplet includes the Docker CE and Docker Compose packages, along with their respective dependencies. In addition to package installation, the droplet also configures Docker according to the official recommendations. Click Create Docker Droplet, select the data center region, the CPU option, an authentication option, the hostname, and click Create Droplet.
Once the droplet is ready, select it and launch the Droplet Console as root from the menu options. Run the following commands to install Go and other packages.
# Install Go; the latest release is at https://go.dev/dl/
curl -OL https://go.dev/dl/go1.19.3.linux-amd64.tar.gz
tar -C /usr/local -xvf go1.19.3.linux-amd64.tar.gz

# Edit the ~/.profile (or ~/.bash_profile) file
nano ~/.profile

# Add the following environment variables
export GOPATH=$HOME/go
export PATH=$PATH:/usr/local/go/bin:$GOPATH/bin

# Check that Go has been installed properly
source ~/.profile
go version
Next, install Rekor CLI using Go.
# Enable rekor-cli Go modules
export GO111MODULE=on
go mod init github.com/sigstore/rekor/cmd/rekor-cli

# Install rekor-cli client
go get -v github.com/sigstore/rekor/cmd/rekor-cli@latest

# Check that rekor-cli has been installed properly
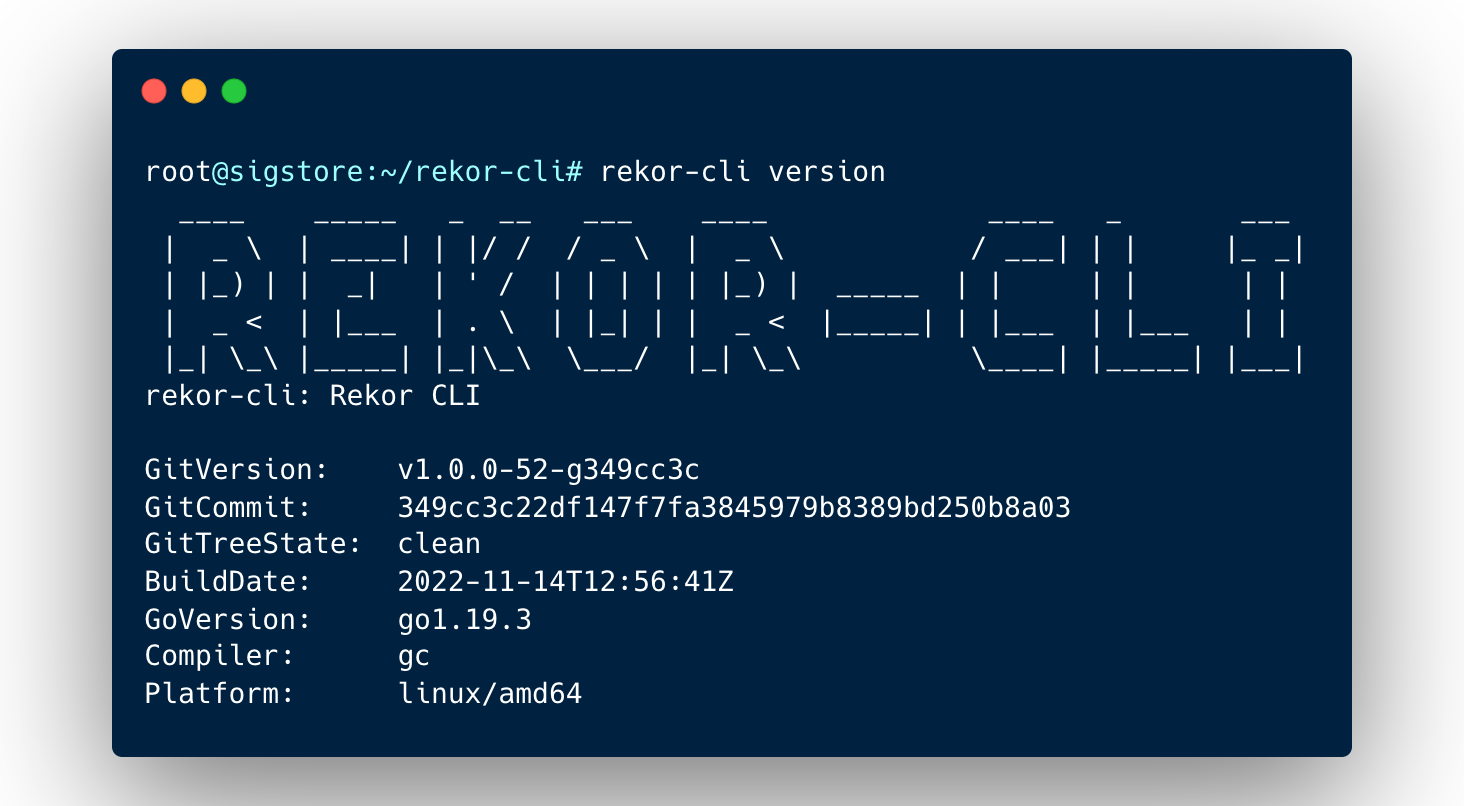
rekor-cli version
If this does not work for you, build Rekor CLI manually as follows.
# Update package metadata and install essential build packages
apt update && apt install build-essential

# Clone the Rekor repo and build the rekor-cli package
git clone https://github.com/sigstore/rekor.git rekor-cli
cd rekor-cli
make rekor-cli
cp rekor-cli /usr/local/bin/

# Check that rekor-cli has been installed properly
rekor-cli version
Sign Artifacts and Upload Entries with Rekor CLI
In this section, we'll generate a key pair and sign an artifact using ssh-keygen, and use rekor-cli to upload an entry to the public Rekor Server at rekor.sigstore.dev. You can sign data in other formats too - see the (partial) documentation here. Also, Cosign supports Rekor in experimental mode now.
# Generate a key pair; I'll skip the password, but you could set it
# The private and public keys will be stored in id_rekor and id_rekor.pub respectively
ssh-keygen -f id_rekor -C user@example.com

# Create a simple README file as our artifact
echo "Hello, World!" > README.md

# Sign the artifact with the private key
ssh-keygen -Y sign -n file -f id_rekor README.md

# Upload the public key / signature and artifact URL to the public Rekor transparency log server
rekor-cli upload --artifact README.md --signature README.md.sig --pki-format=ssh --public-key=id_rekor.pub
If the upload succeeds, you'll see a response similar to: Created entry at index <INDEX>, available at: https://rekor.sigstore.dev/api/v1/log/entries/<UUID>
Verify Entries in the Public Rekor Server
Search entries in the transparency log using an artifact name, a public key, or a SHA hash (prefixed by sha256:).
rekor-cli search --artifact README.md OR
rekor-cli search --public-key id_rekor.pub --pki-format=ssh OR
rekor-cli search --sha sha256:<HASH>
Retrieve entries from the transparency log using either the log index or the artifact UUID generated when the entry was uploaded.
rekor-cli get --log-index <INDEX> OR
rekor-cli get --uuid <UUID>
Verify log entry using the public key / signature and artifact URL - this can be used to prove that your artifact is indeed stored in the transparency log.
rekor-cli verify --signature README.md.sig --pki-format=ssh --public-key id_rekor.pub --artifact README.md
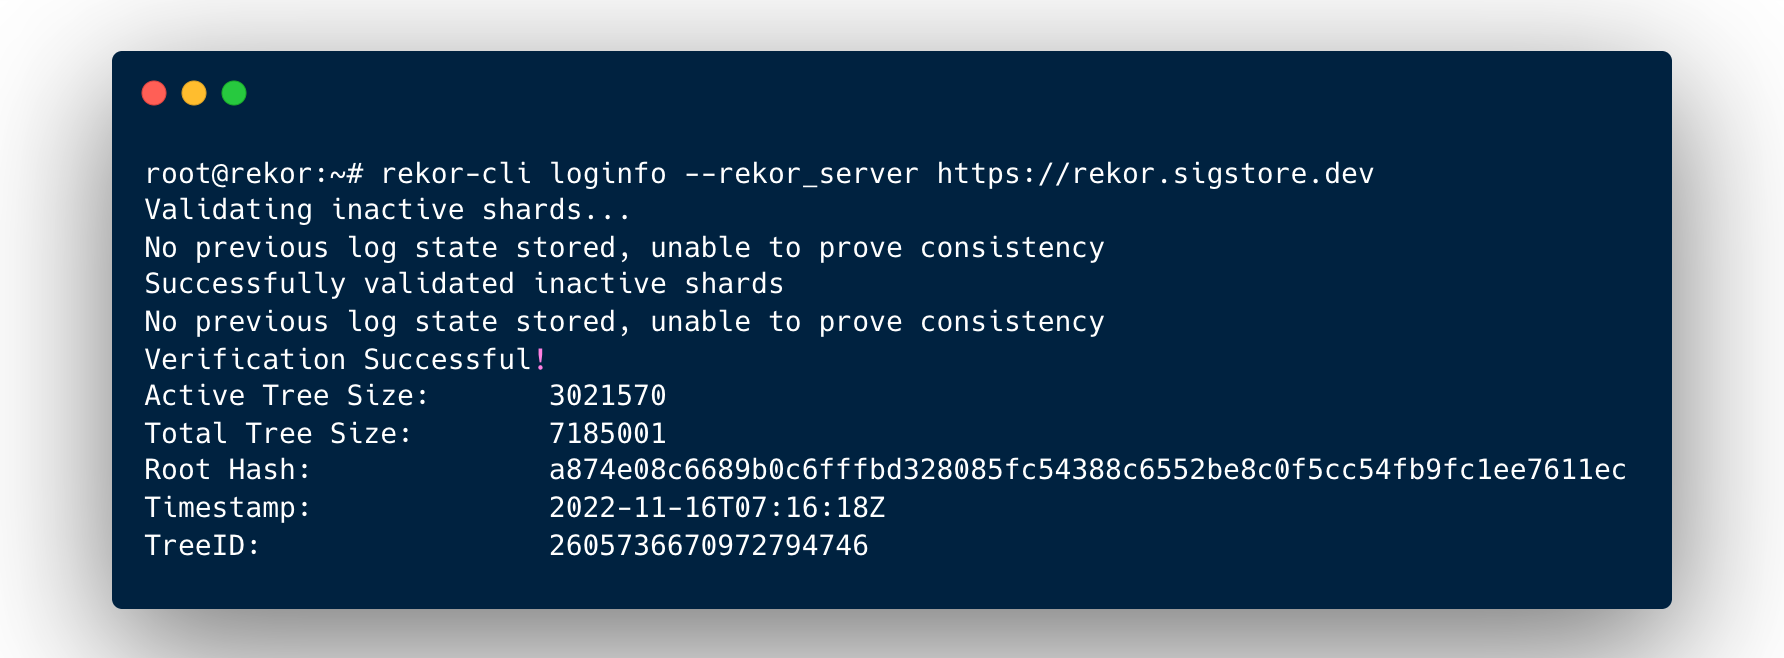
Finally, run the loginfo command to retrieve the public key of the transparency log itself and verify the signature on the signed tree head.

Install a Local Rekor Server on the Droplet
To build a Rekor server, you need Go v1.17+, a MySQL-compatible database (we'll use MariaDB), and Trillian, the append-only log.
# Install and configure MariaDB
cd ~
apt install -y mariadb-server

mysql_secure_installation
Enter current password for root (enter for none): <enter>
Set root password? [Y/n] n
Remove anonymous users? [Y/n] Y
Disallow root login remotely? [Y/n] Y
Remove test database and access to it? [Y/n] Y
Reload privilege tables now? [Y/n] Y

# Clone the Rekor repository and create test database
git clone https://github.com/sigstore/rekor.git rekor-server
cd rekor-server/scripts
sh -x createdb.sh
The script creates a test database (user: test, password: zaphod) with the tables needed for Trillian. For testing purposes, the defaults should be fine. Install and run the Trillian components next.
# Clone the Trillian repository and build the necessary modules
cd ~
git clone https://github.com/google/trillian.git
cd trillian

cd cmd/trillian_log_server/
go build
cp trillian_log_server /usr/local/bin/

cd ../trillian_log_signer/
go build
cp trillian_log_signer /usr/local/bin/

cd ../createtree/
go build
cp createtree /usr/local/bin/
Next, deploy the Rekor Server using the docker-compose file.
# Install Docker Compose if it is not already installed
apt install docker-compose

cd ~/rekor-server
docker-compose -f docker-compose.yml up
Once docker-compose builds and runs the services, the Rekor Server will be available at http://<DROPLET_IP>:3000. I'll skip HTTPS configuration here.

Verify Entries in the Local Rekor Server
Launch another instance of the Droplet Console, and run the loginfo command again, but this time against the local Rekor Server instance.

Obviously, there are no log entries yet, but the signature on the signed tree head is retrieved successfully. Feel free to play around with other rekor-cli commands. You'll need to explicitly add the --rekor_server http://<DROPLET_IP>:3000 flag to run commands against the local Rekor Server instead of the default public one.
While Rekor v1.0 is technically ready for production use, the project is still a work in progress, and I'd exercise caution depending on the criticality of the use case.