How to Set up Argent X Wallet on StarkNet
A brief guide to setting up Argent X Ethereum L2 wallet on StarkNet.
Today's post is a brief exploration of Argent X and StarkNet, two new and exciting technologies that are getting popular in the world of Ethereum.
What is Argent X?
Argent is a simple and secure mobile crypto wallet. It is open-source and built on zkSync, a zero knowledge proof (ZKP) based Layer 2 (L2) rollup solution for Ethereum. It's a mouthful, I know. Argent's claim-to-fame is that it is the most popular social recovery-based wallet; it relies on multiple transaction signatures and uses social trust for wallet recovery instead of the traditional seed phrase. See my previous post for a deep dive into multi-signature wallets.
Argent X, on the other hand, is an open-source, Chrome plugin-based wallet for the StarkNet (Alpha) L2 platform. It is different from Argent wallet though and is not interoperable at the time of writing. While StarkNet is extremely versatile (e.g. each account is a separate smart contract that must be deployed before use), it also adds another layer of complexity for the average user. Argent X is intentionally designed to hide that complexity, and allow users to transact easily with low fees.
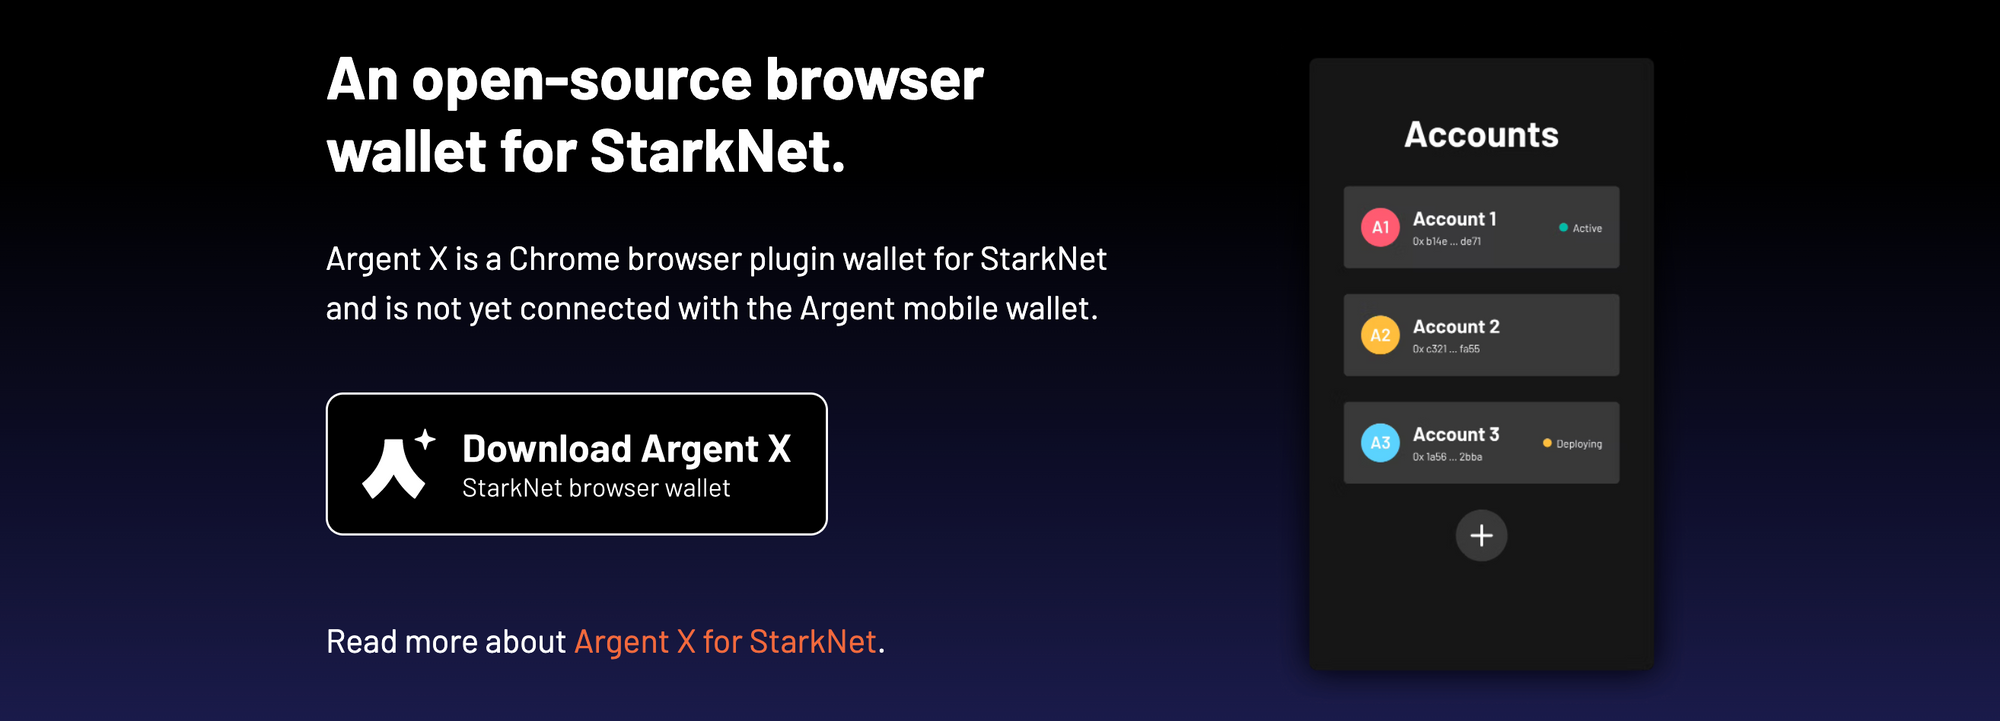
Create and Transact with Argent X Wallet
First, download and install the Argent X wallet browser extension from the Chrome web store. Create a new wallet, review and accept the terms of the StarkNet program and set a unique password. It is worth noting that StarkNet is still in Alpha, so do think twice before transacting with large sums of money.
It will take a minute or so for the wallet contract to be deployed on-chain; this is a unique feature that differentiates StarkNet-based wallets from regular Layer 1 (L1) Ethereum wallets. Set up account recovery - use the low security option for now (i.e. backup using seed phrase). The high security option is coming soon, and likely leverages the social recovery capabilities Argent is known for.
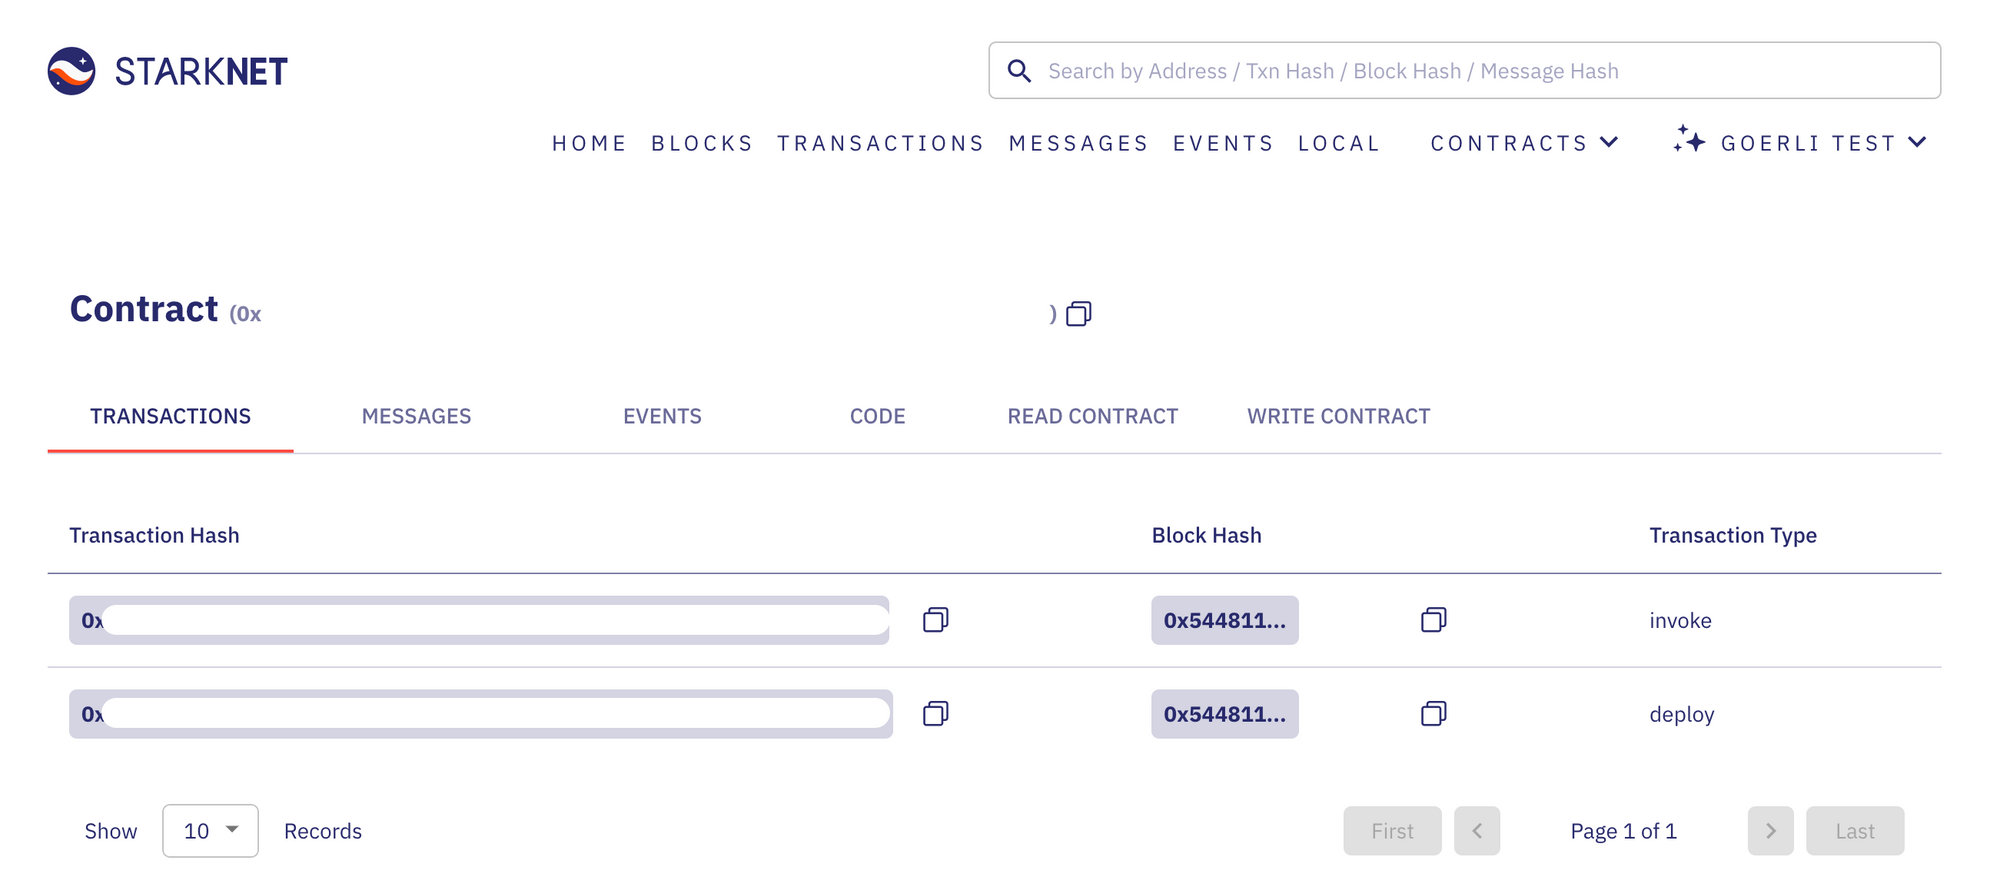
If you'd like to review the transactions manually, use the StarkNet block explorer (we'll use the testnet version as the operations are being done on Goerli).
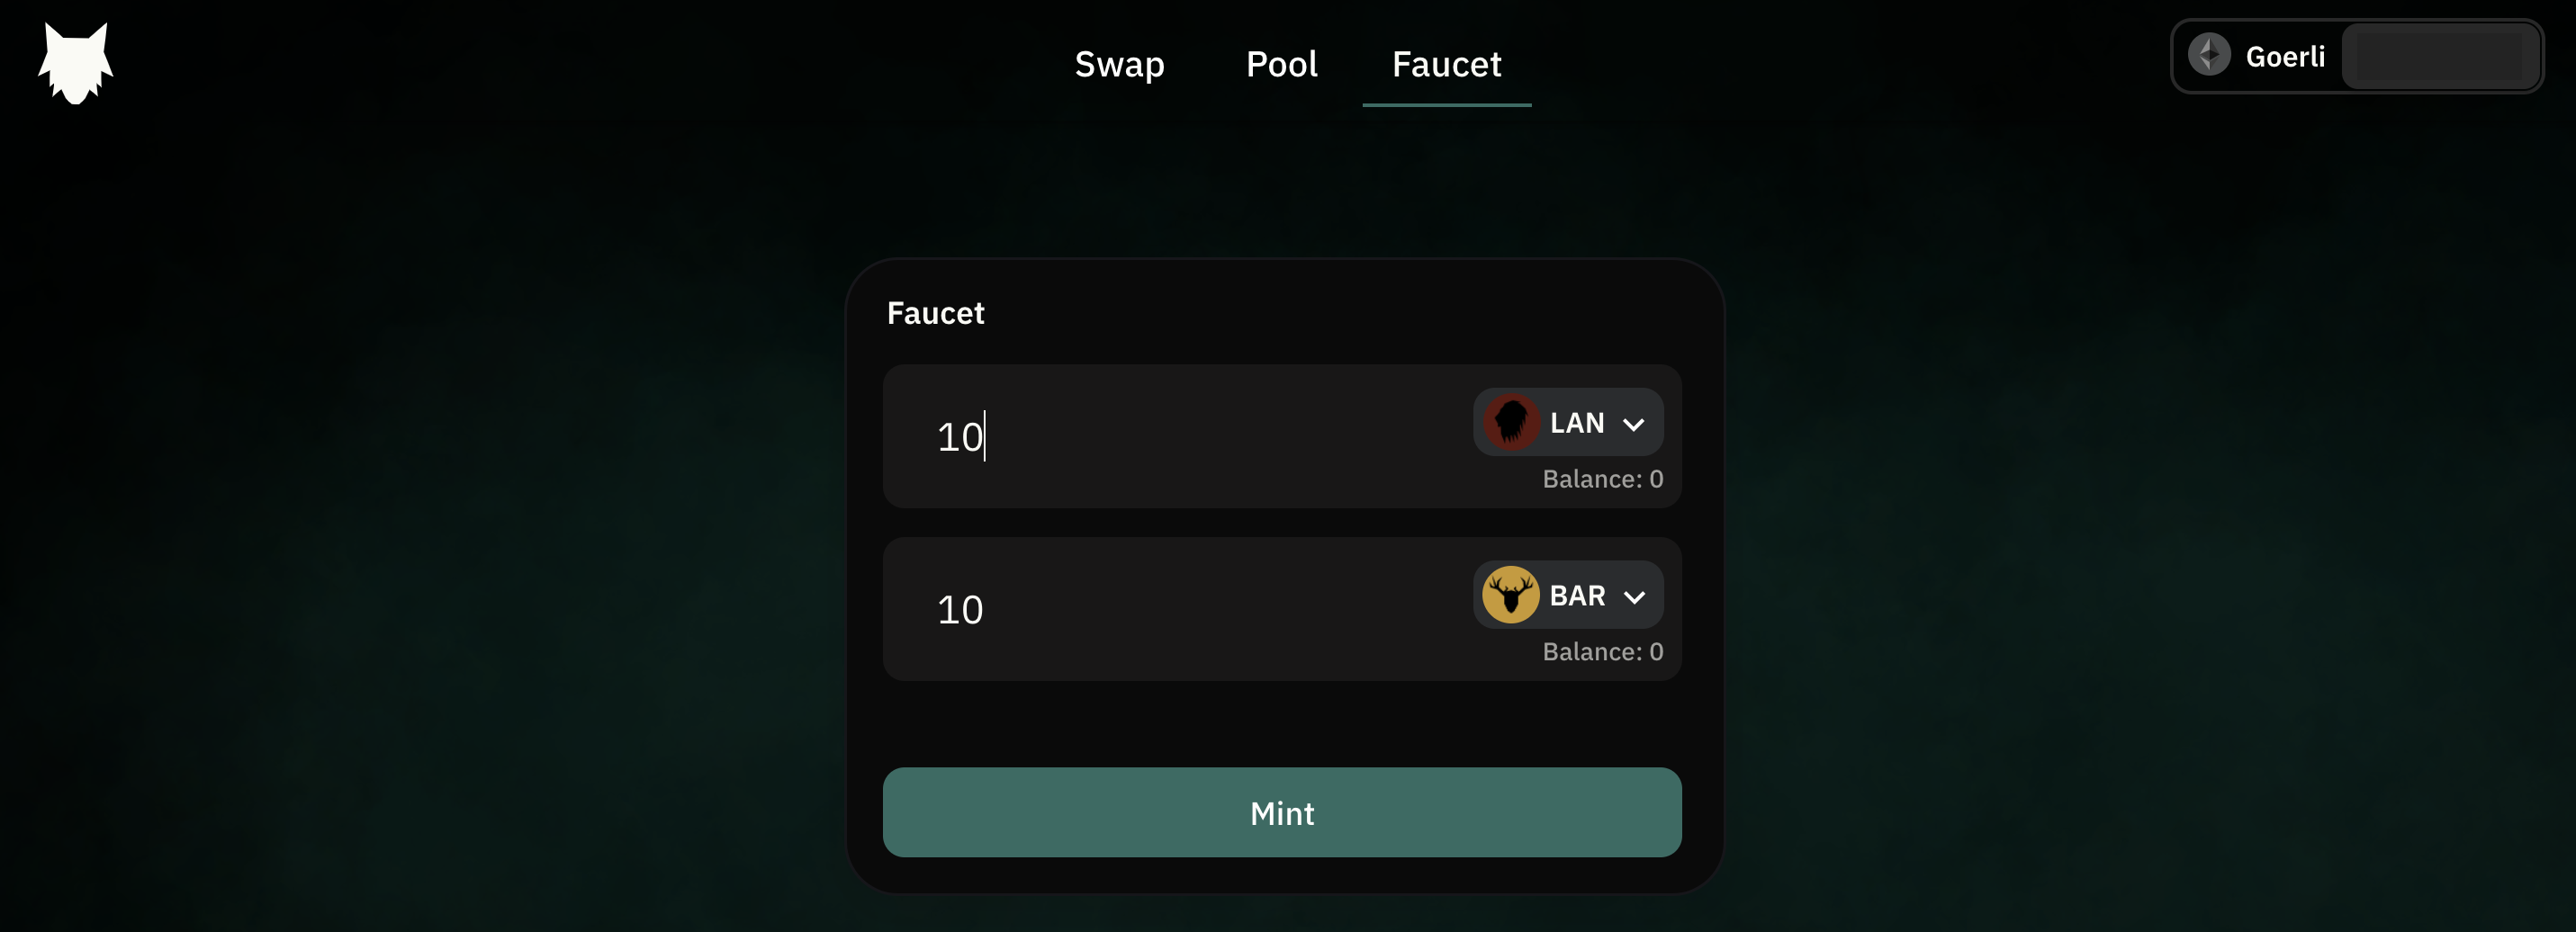
Once the account is ready, let's fund it with test tokens. I'll use the StarkSwap faucet to mint 10 test LAN and BAR tokens each. It will take a couple of minutes for the tokens to be available in your wallet.
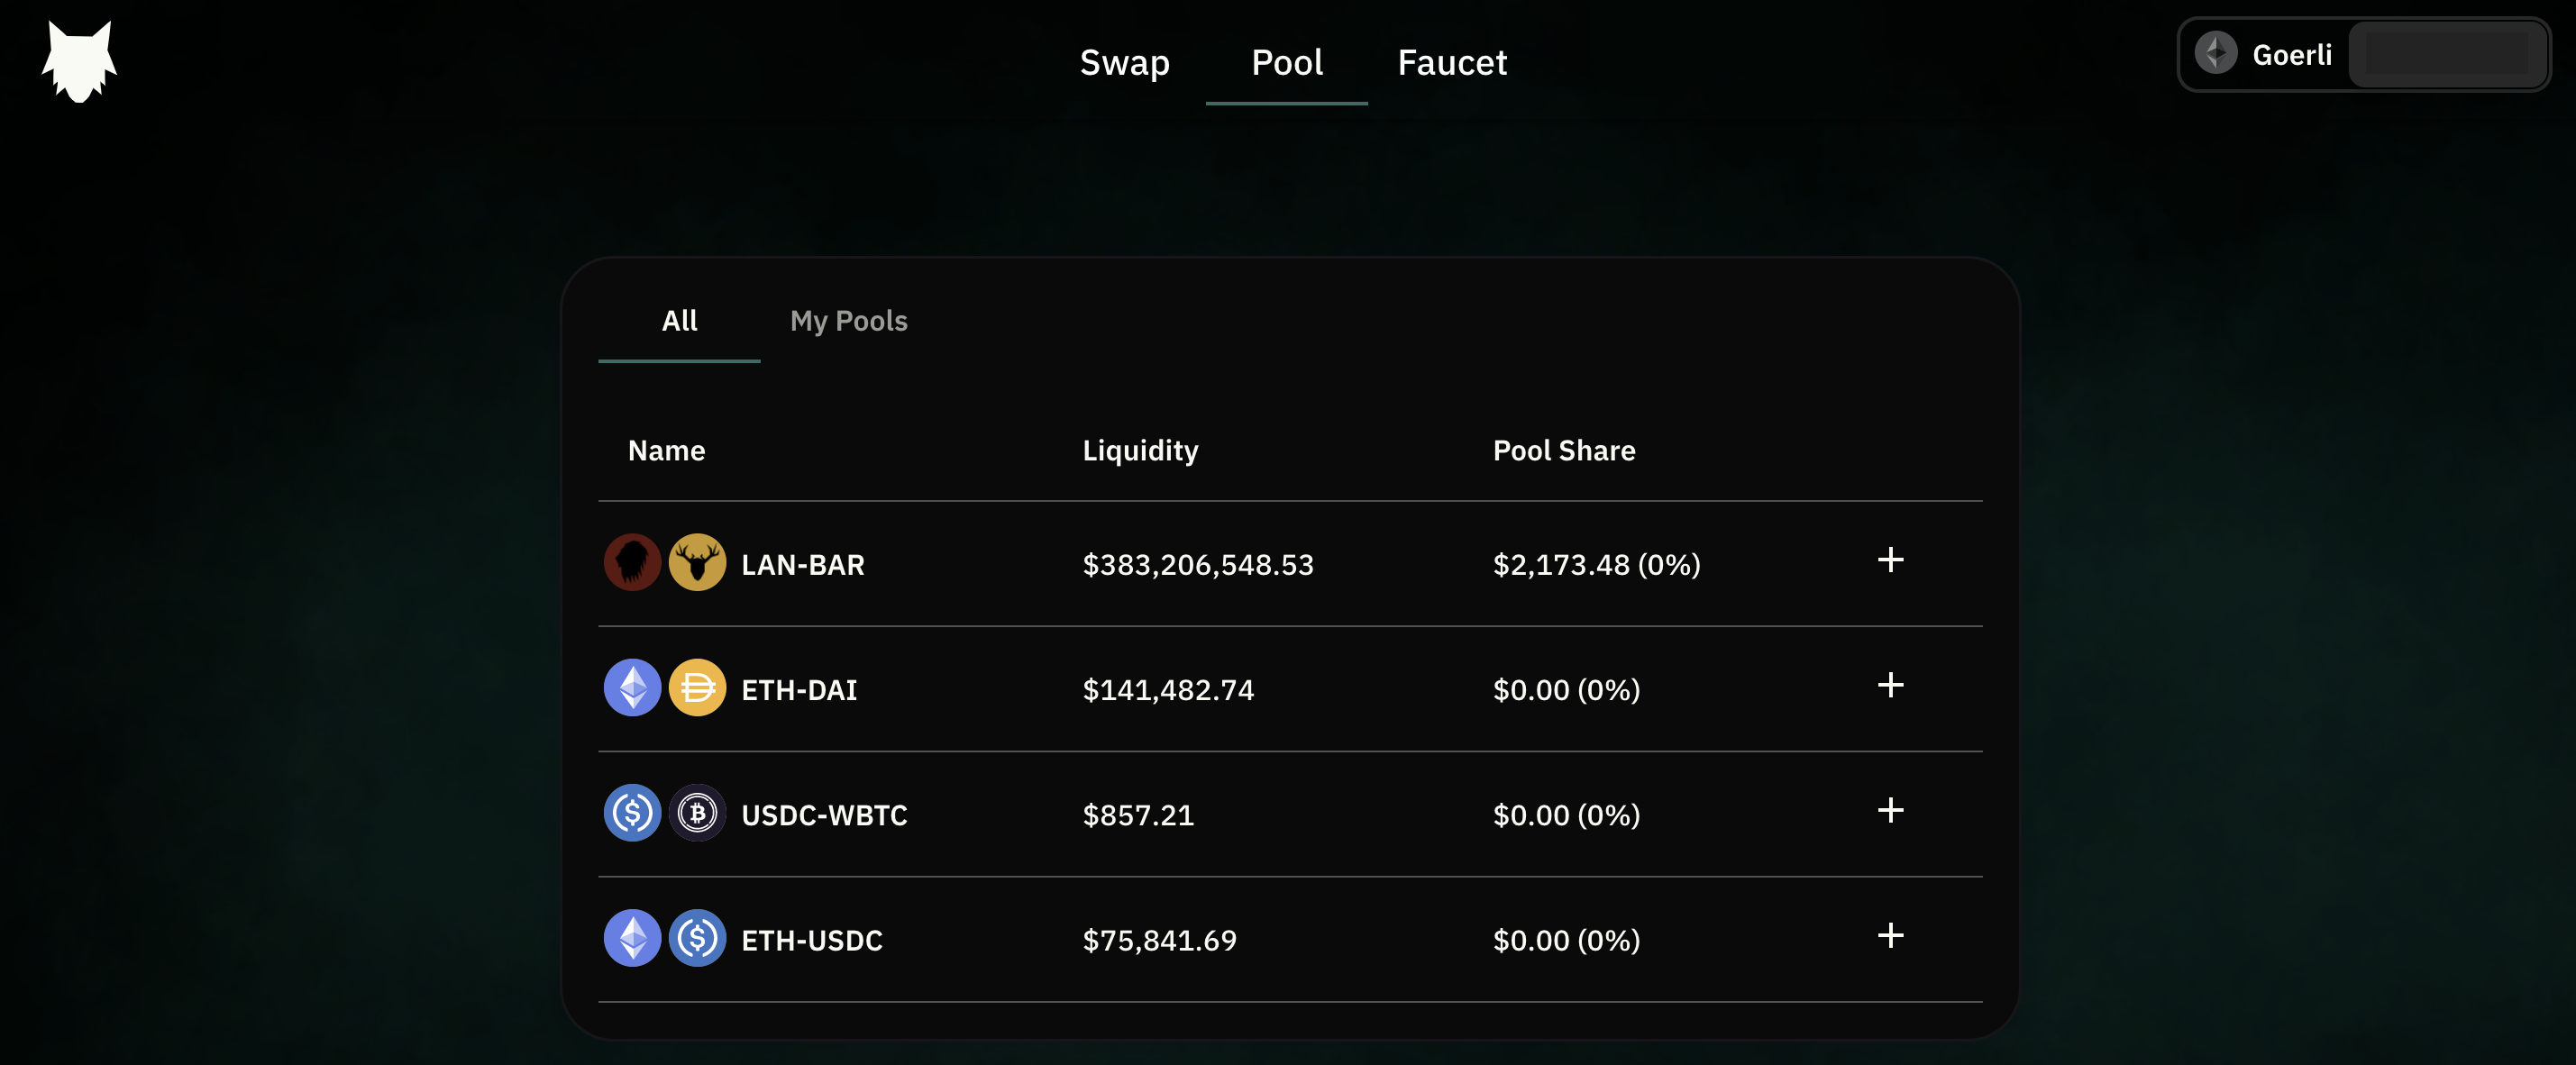
Next, I'll use the newly minted tokens to provide liquidity to LAN-BAR pool. Click on +, specify the amount of LAN or BAR tokens you wish to deposit into the pool, and click Deposit.
Once this is done, you can also try swaps between LAN and BAR tokens. StarkWare does not have a native token at the time of writing and, with the latest trend of retroactive usage-based airdrops, it doesn't harm to play around with the platform.
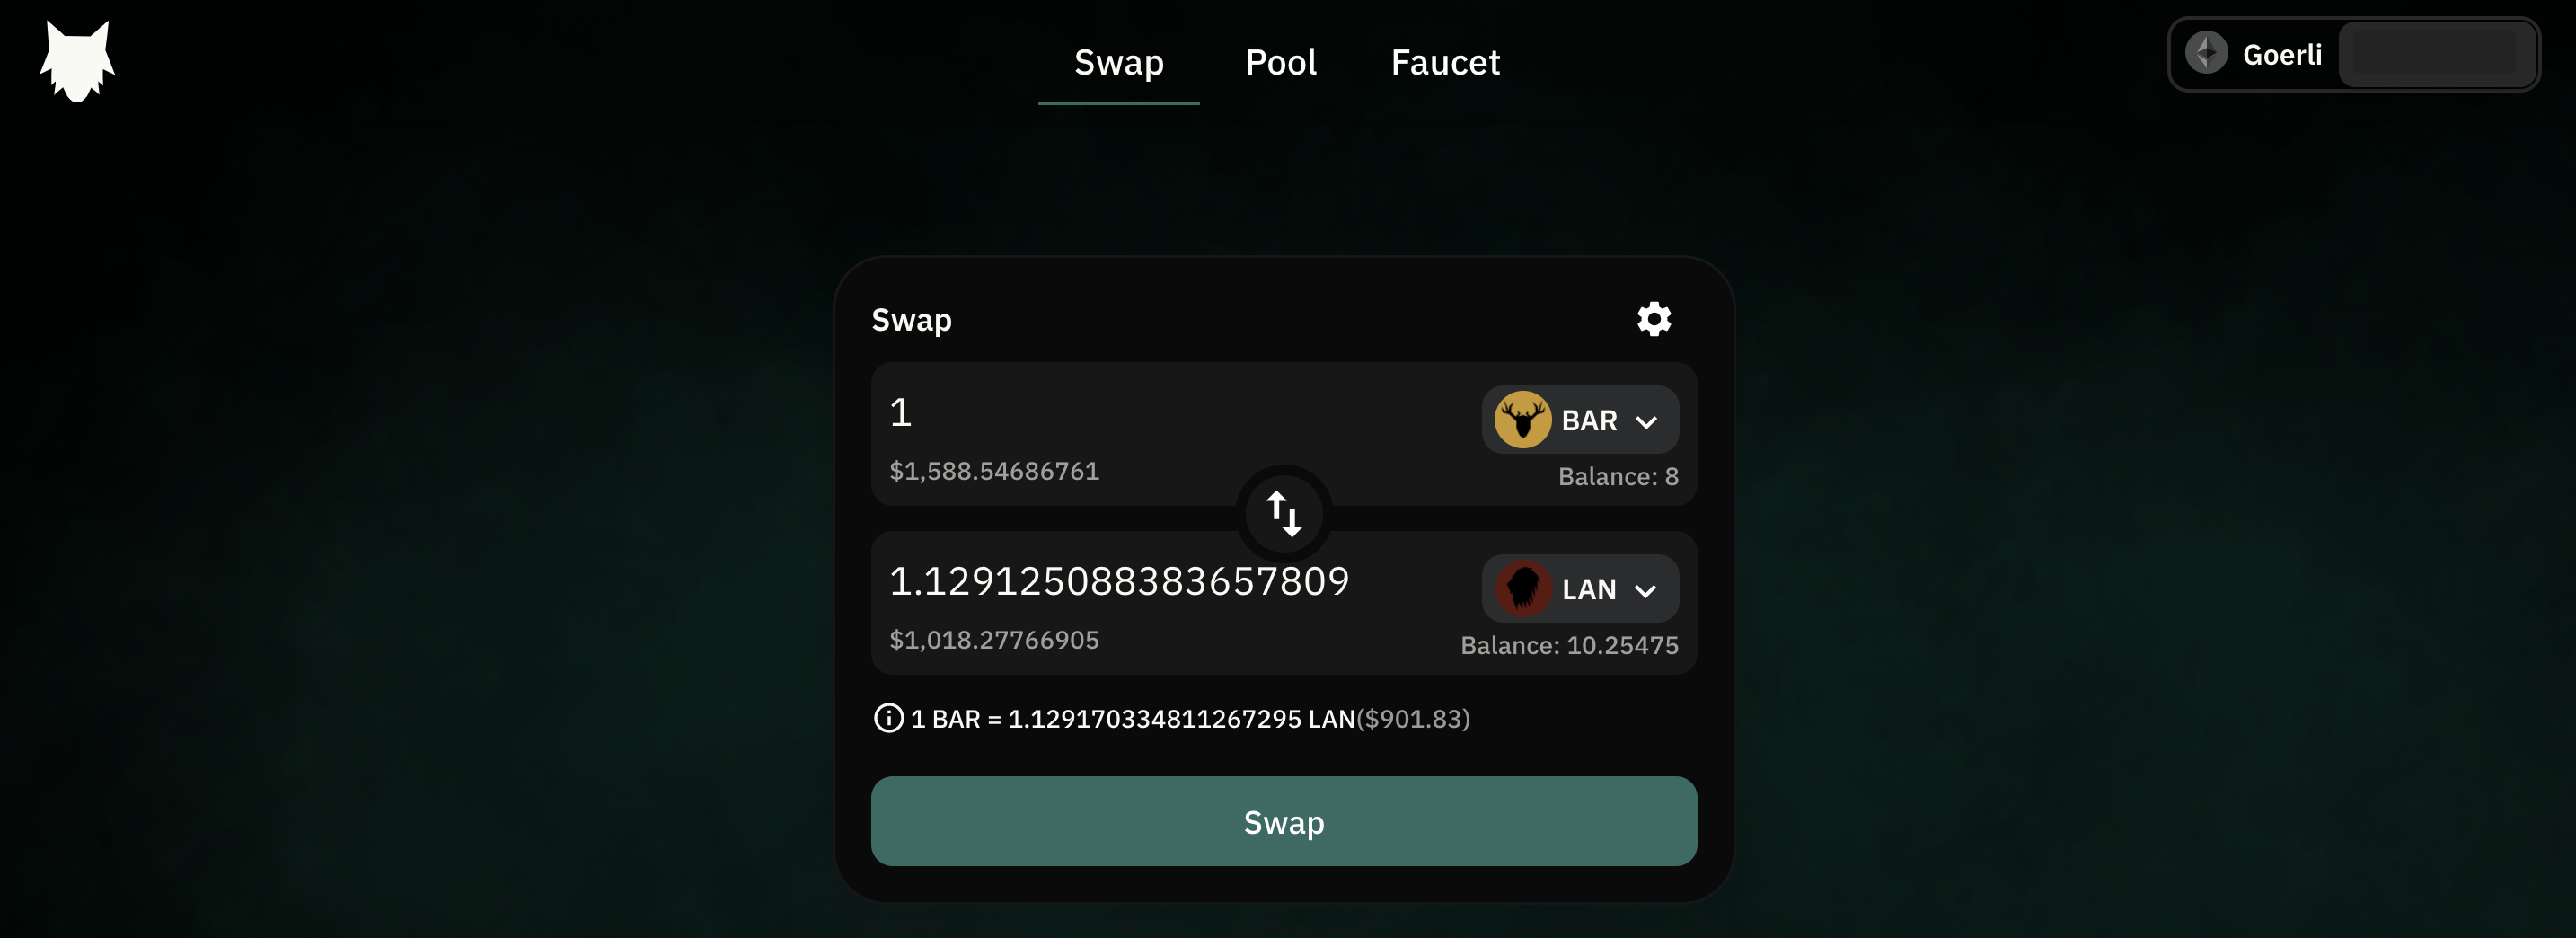
So far, we have only explored L2 activities. You can also click on Add funds to bridge your assets from Ethereum L1 to StarkNet L2. Clicking on Bridge from Ethereum takes you to the StarkGate bridge, which expectedly is also in Alpha. Review and accept the terms before you proceed.
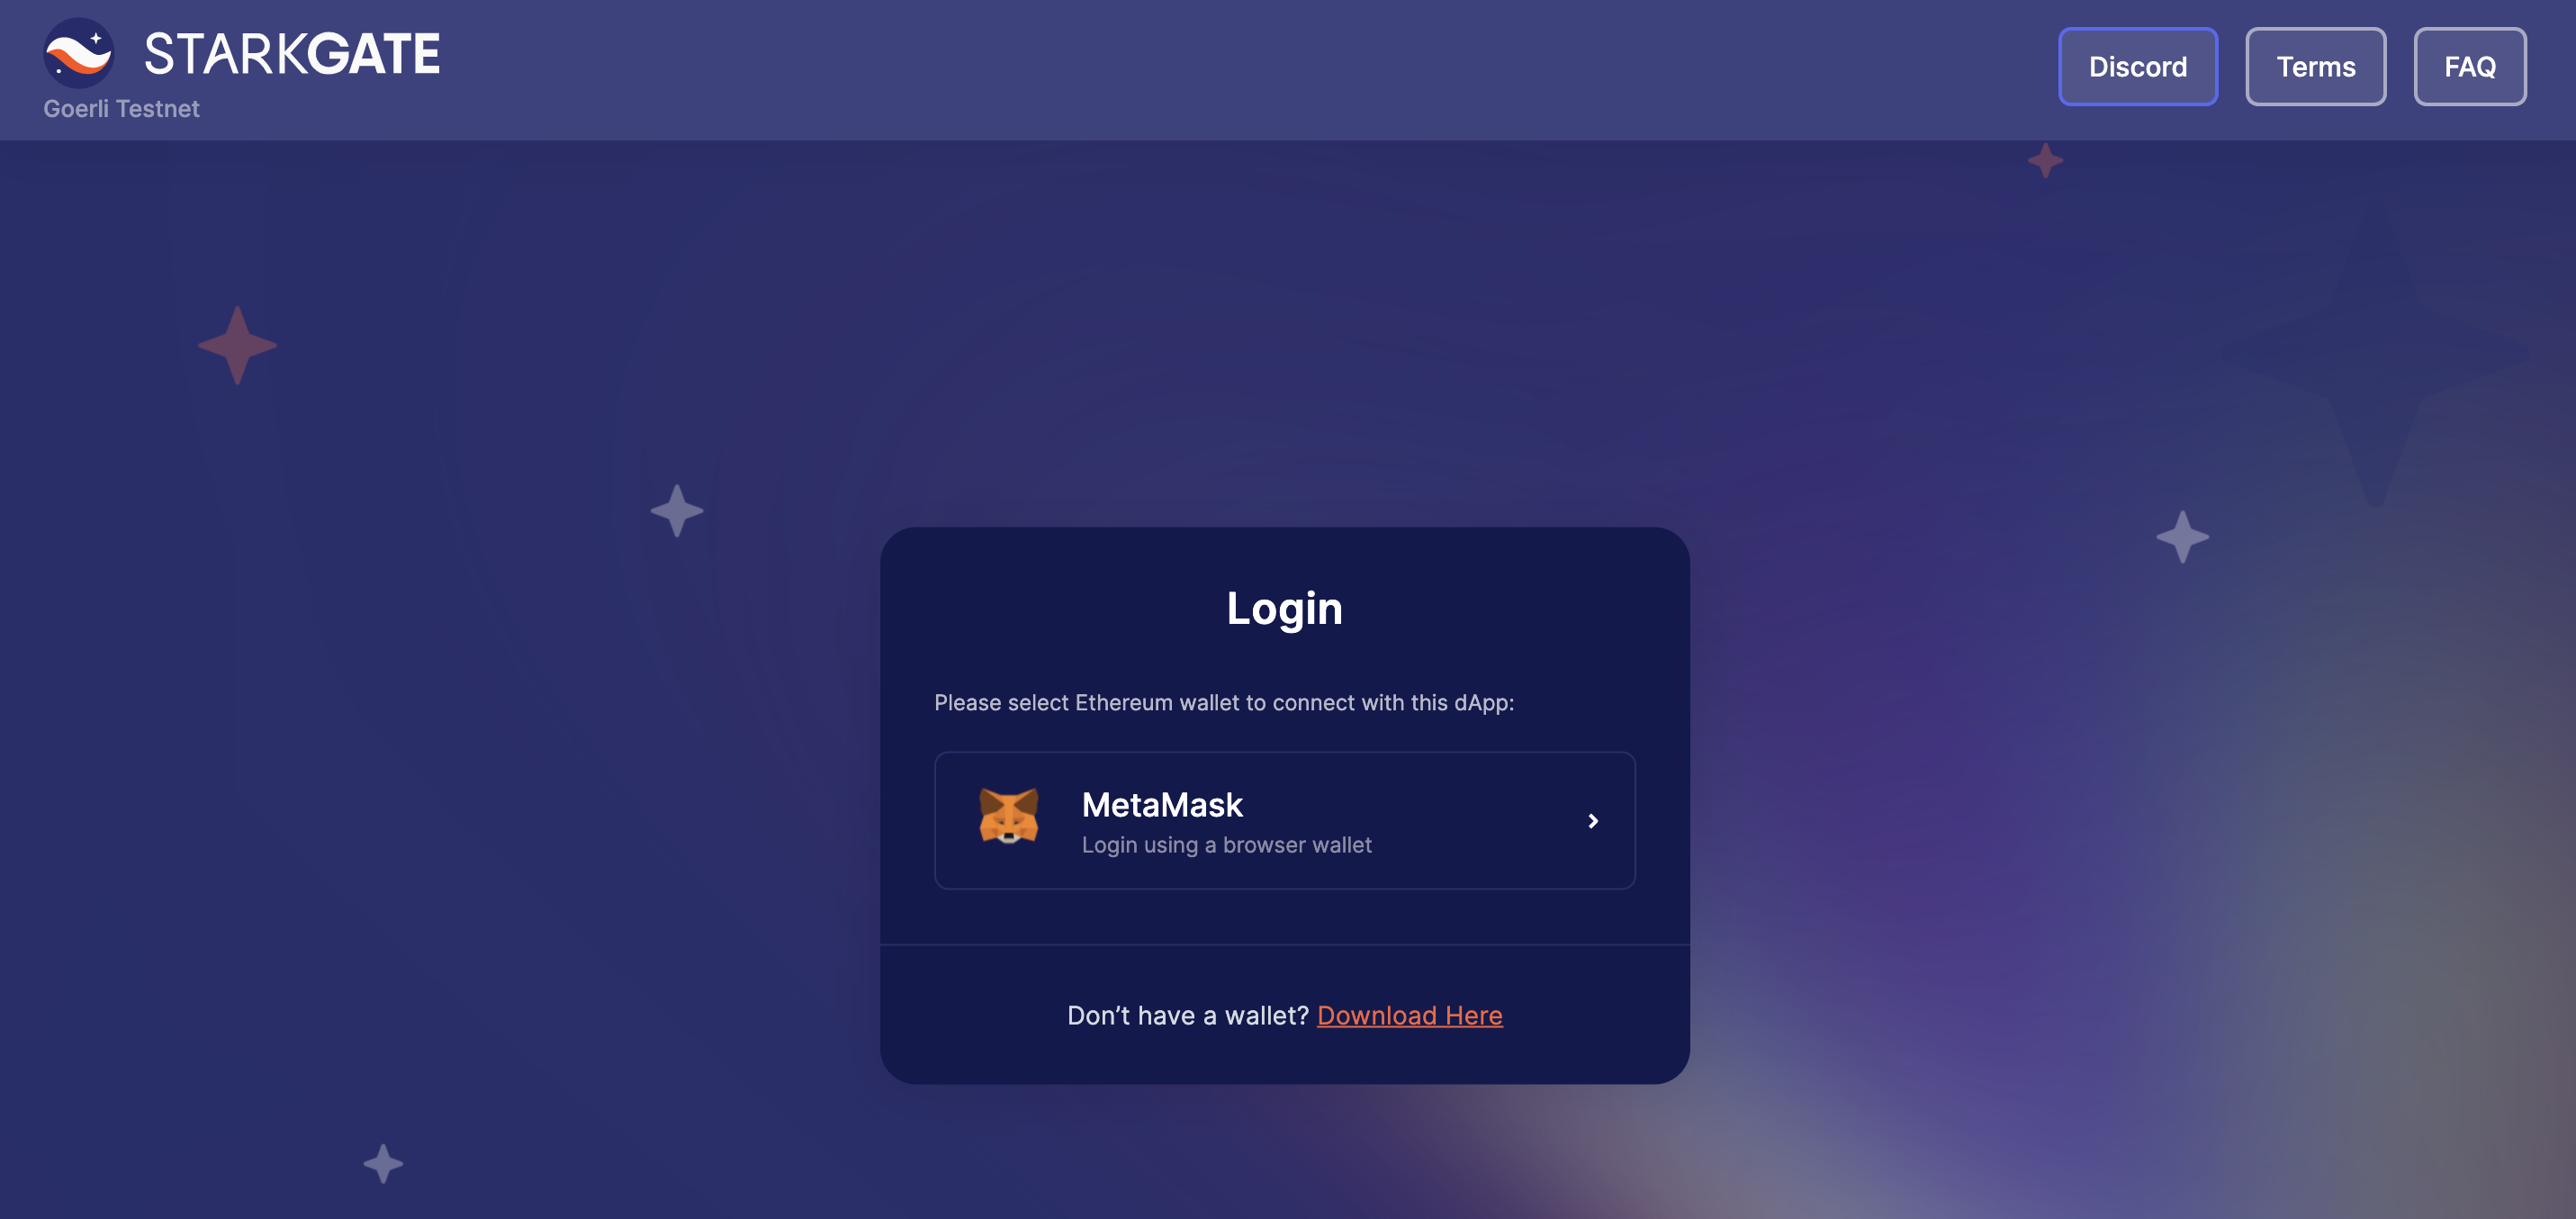
Change the Ethereum network in your MetaMask wallet to Goerli, and click on the Metamask option. Once connected, you'll be prompted to connect to your StarkNet wallet. Click on the StarkNet Wallet option and select Argent X from the wallets available. Once you connect, you'll see both wallets connected to StarkGate.
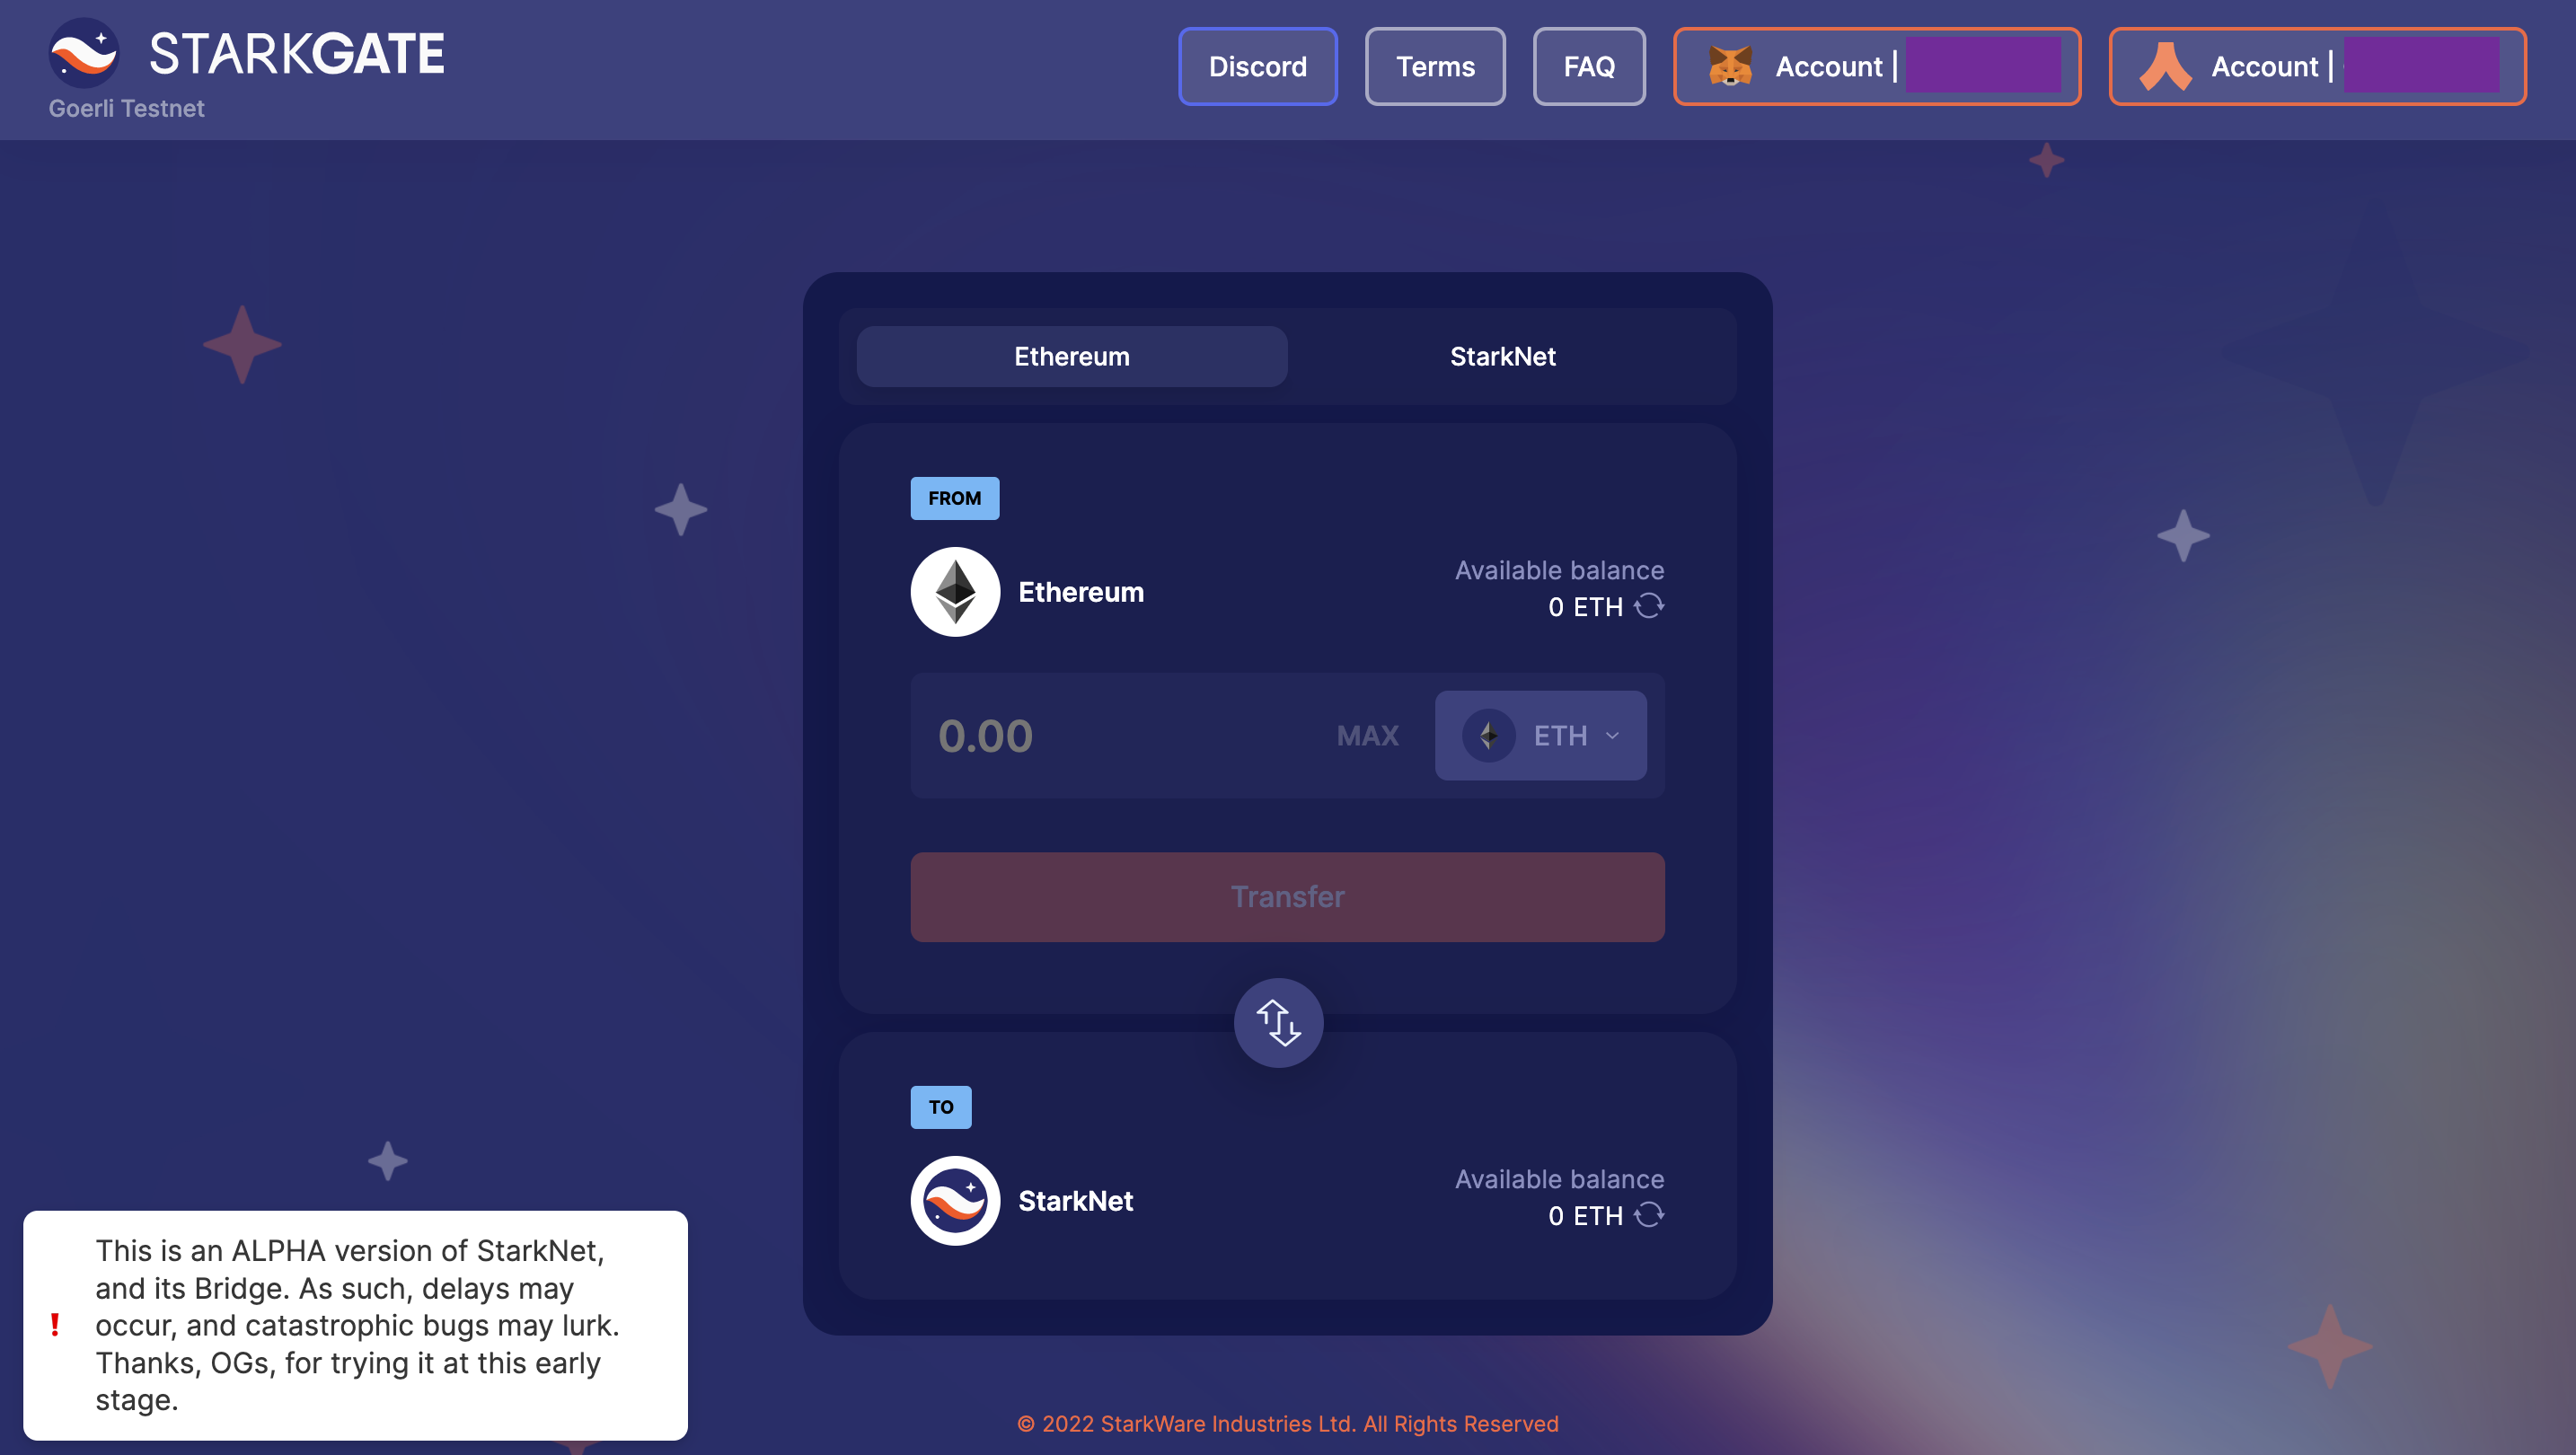
Use one of the Goerli faucets to send some test ETH to your account. Once you receive the ETH, specify the amount (keep some for gas fees) and click Transfer. Confirm the transaction in MetaMask and ... wait. While the L1 transaction should complete quickly, the L2 transaction may take a bit longer (remember, we are still in Alpha). Once done, you'll have the bridged ETH to play around with in StarkNet L2-supported applications. Hope this has been a fun little exercise; these are early days in the L2 universe and the really exciting things are yet to come.