Passwordless Login with Magic Links
A brief on passwordless web authentication with Magic links.
Passwords are the bane of our online presence. Rarely does a week go by without news of a password dump following a data breach or data leakage incident. In a previous post, I covered some password management techniques for developers, namely hashing, salt and pepper. Today, let's explore how we can ditch the password altogether using passwordless authentication, a new approach gaining favour with several SaaS startups.
Generally, authentication (or login) to a web application requires you to have a valid identity (username) and a password, which is a knowledge-based secret. You can augment this with additional factors - something you have (e.g. security code on a mobile device or a smart card) or something you are (e.g. fingerprint or other biometric scan). Passwordless authentication replaces the password (something you know) with one or more of the other factors. This can reduce the burden on users, and offer strong security when implemented correctly with multiple factors (i.e. passwordless multi-factor authentication).
What is Magic?
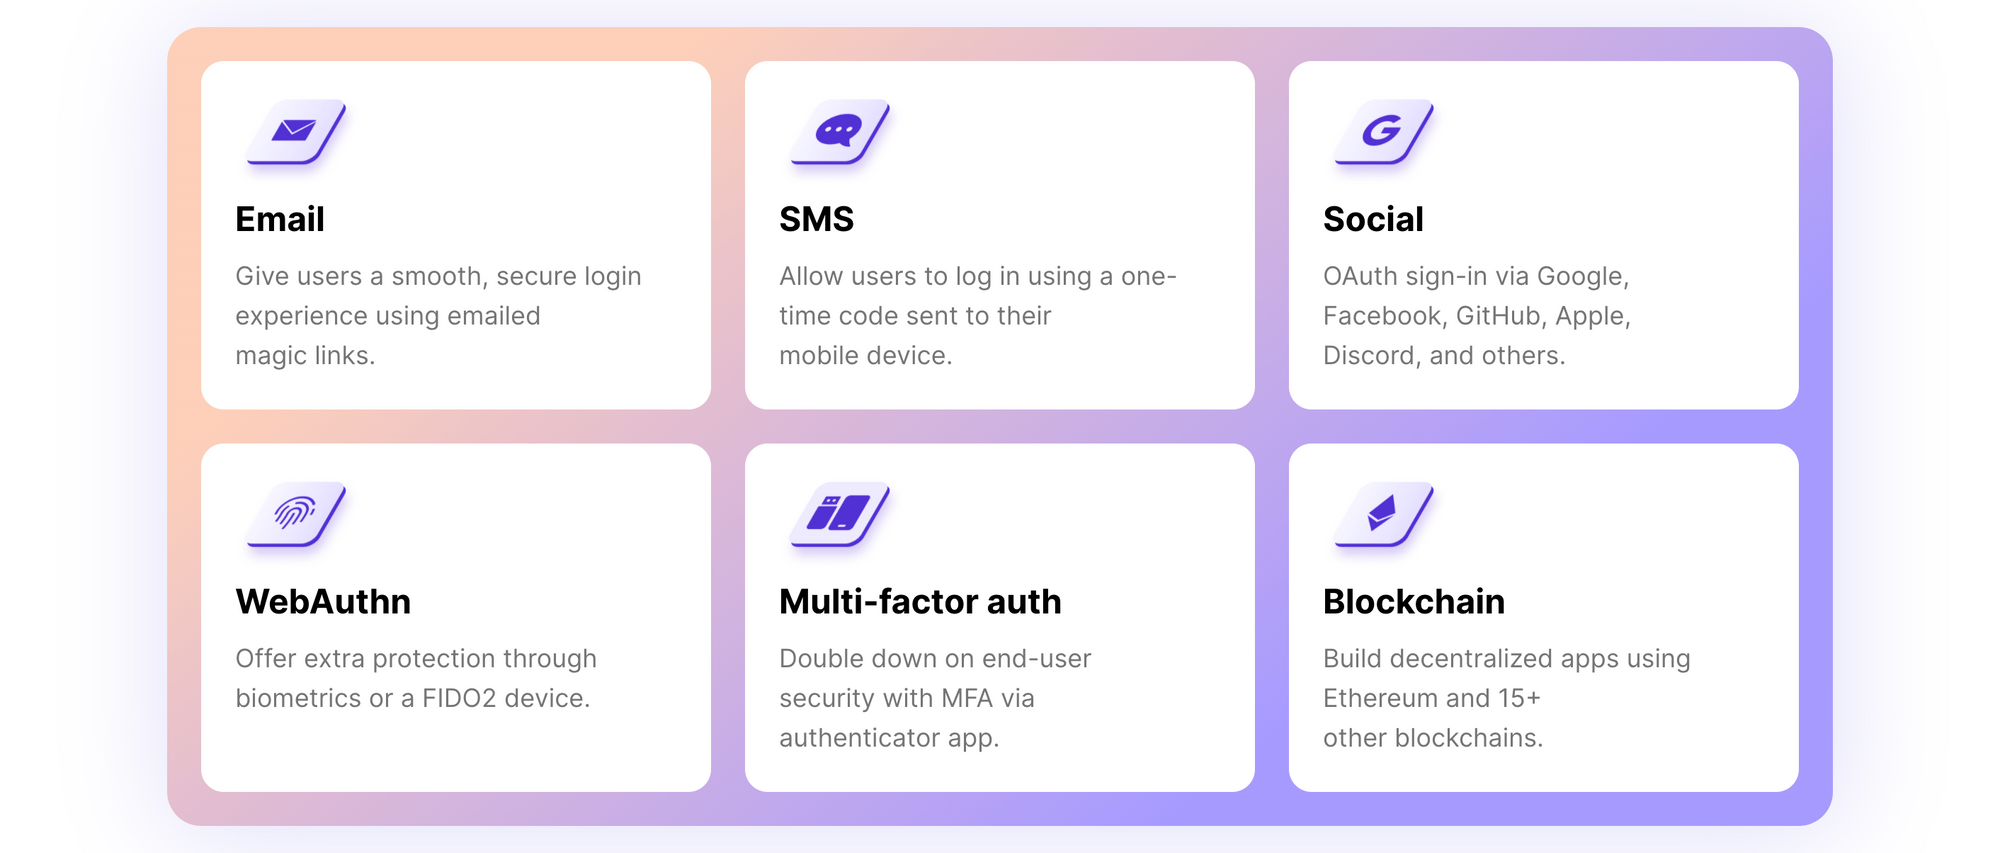
Magic is a plug-and-play developer SDK that enables passwordless authentication for your application in just a few lines of code. It supports several login methods, both traditional and new - email, SMS, social logins, WebAuthn and multi-factor authentication. It even supports Ethereum and several other blockchain networks using decentralized ID tokens.
Magic offers allow and block lists to control who is and isn't allowed to log into your app. Additionally, to prevent against phishing attempts using spoofed versions of your app, you can whitelist specific domains to use the API keys. If you are keen to know more, the security model used by Magic is explained here.
For a limited time, you can get started with 10,000 free logins. Beyond that, you pay $0.0085 per login, with pricing protection after a user's 4th login in a month.
Create a Simple Magic App
Head over to Magic and create an account. Next, create a new app (say, Magic Demo) and review the settings. I'm going to stick with the defaults for this walk through, but feel free to play around with the settings. The Publishable API Key is all you need to get started.
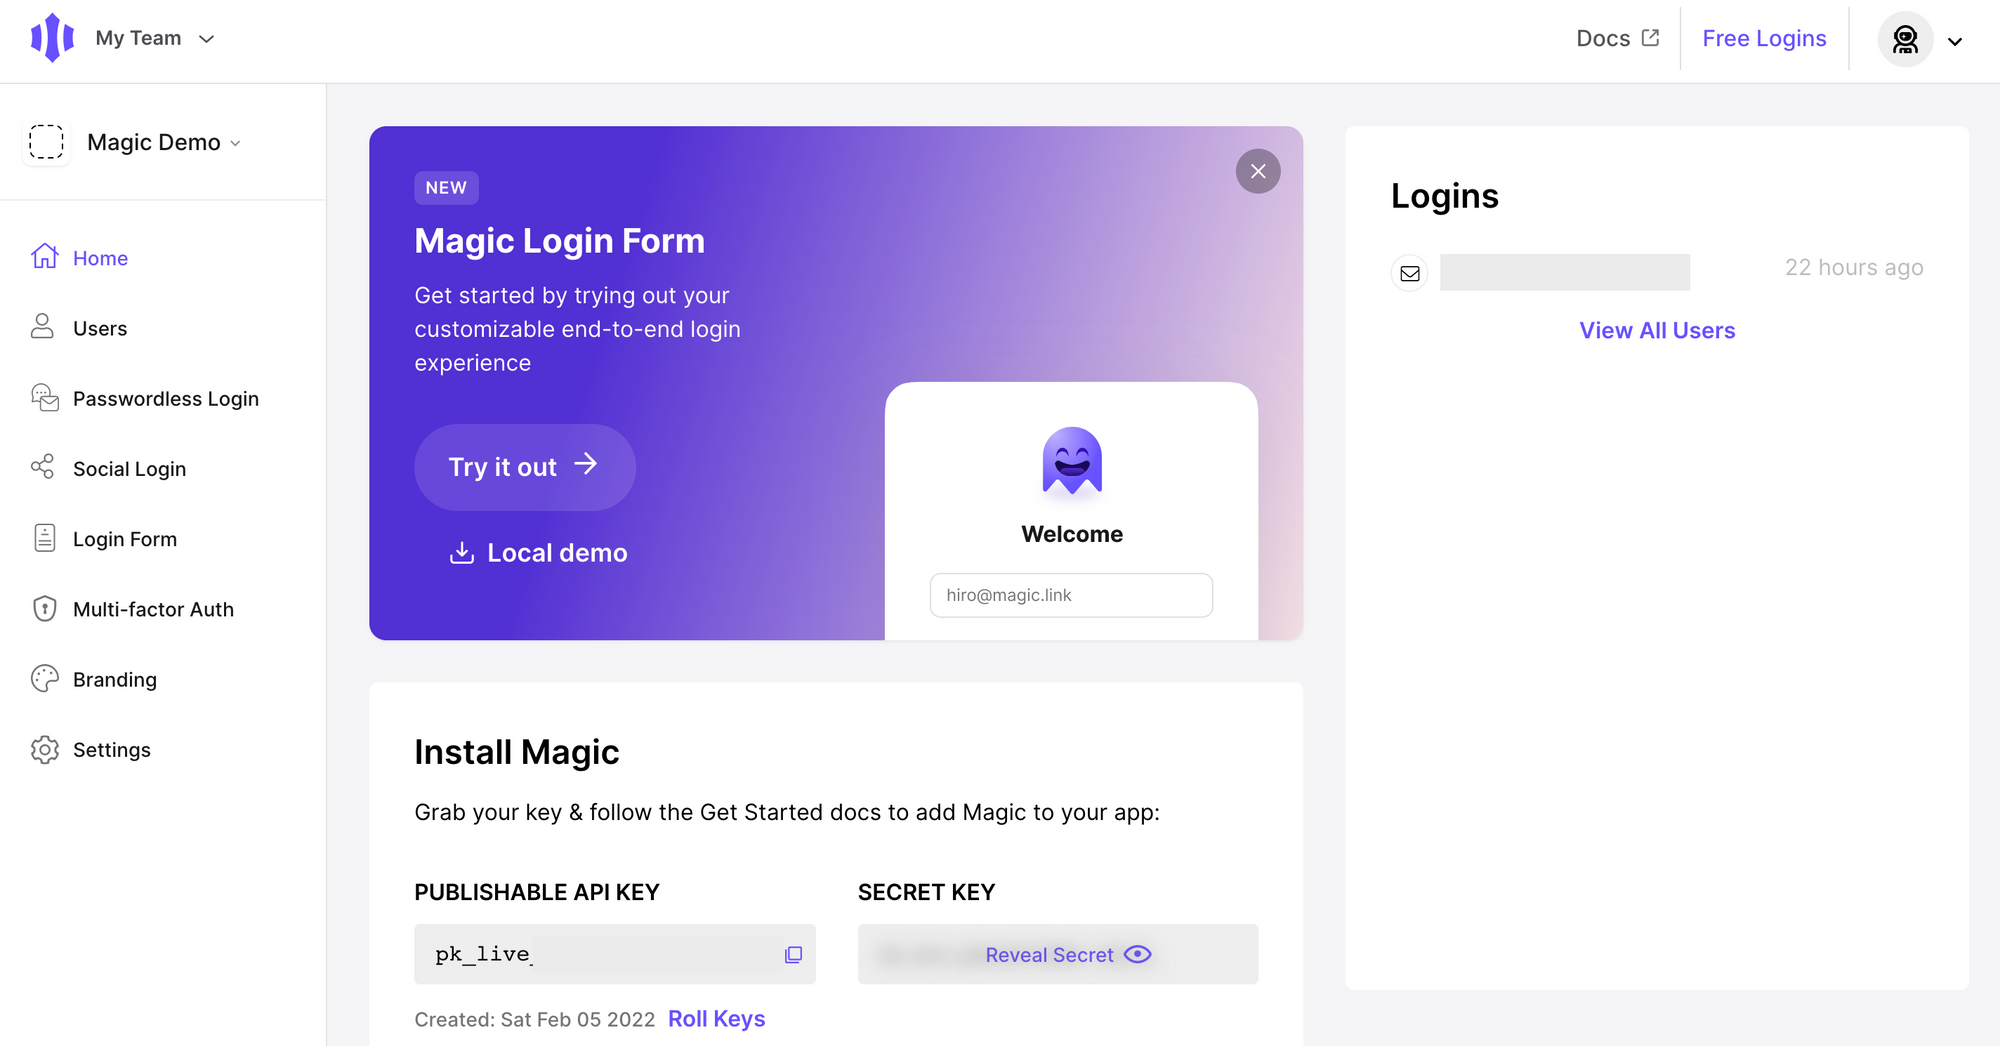
If you already have an app that you plan to integrate with Magic, follow the instructions in the docs. I'm going to use Magic's sample code and create a static website hosted on Netlify instead.
Click on the Local demo button and download the .zip file to your local machine. As I won't be running a web server, I only need the files inside the public folder. When hosting static websites, Netlify looks for an index.html as the website base, so I renamed login.html to index.html.
Also, to accommodate this change, I updated the value of the data-redirect-uri attribute in logout.html from "/login" to "/index". The right API key is already included in the download, so there is nothing to update.
Host a Static Website on Netlify
Netlify offers hosting and serverless backend services for web applications and static websites. There are plenty of choices but, frankly, Netlify makes it really easy to host static websites. If you don't already have an account, create one, and set up a team workspace.
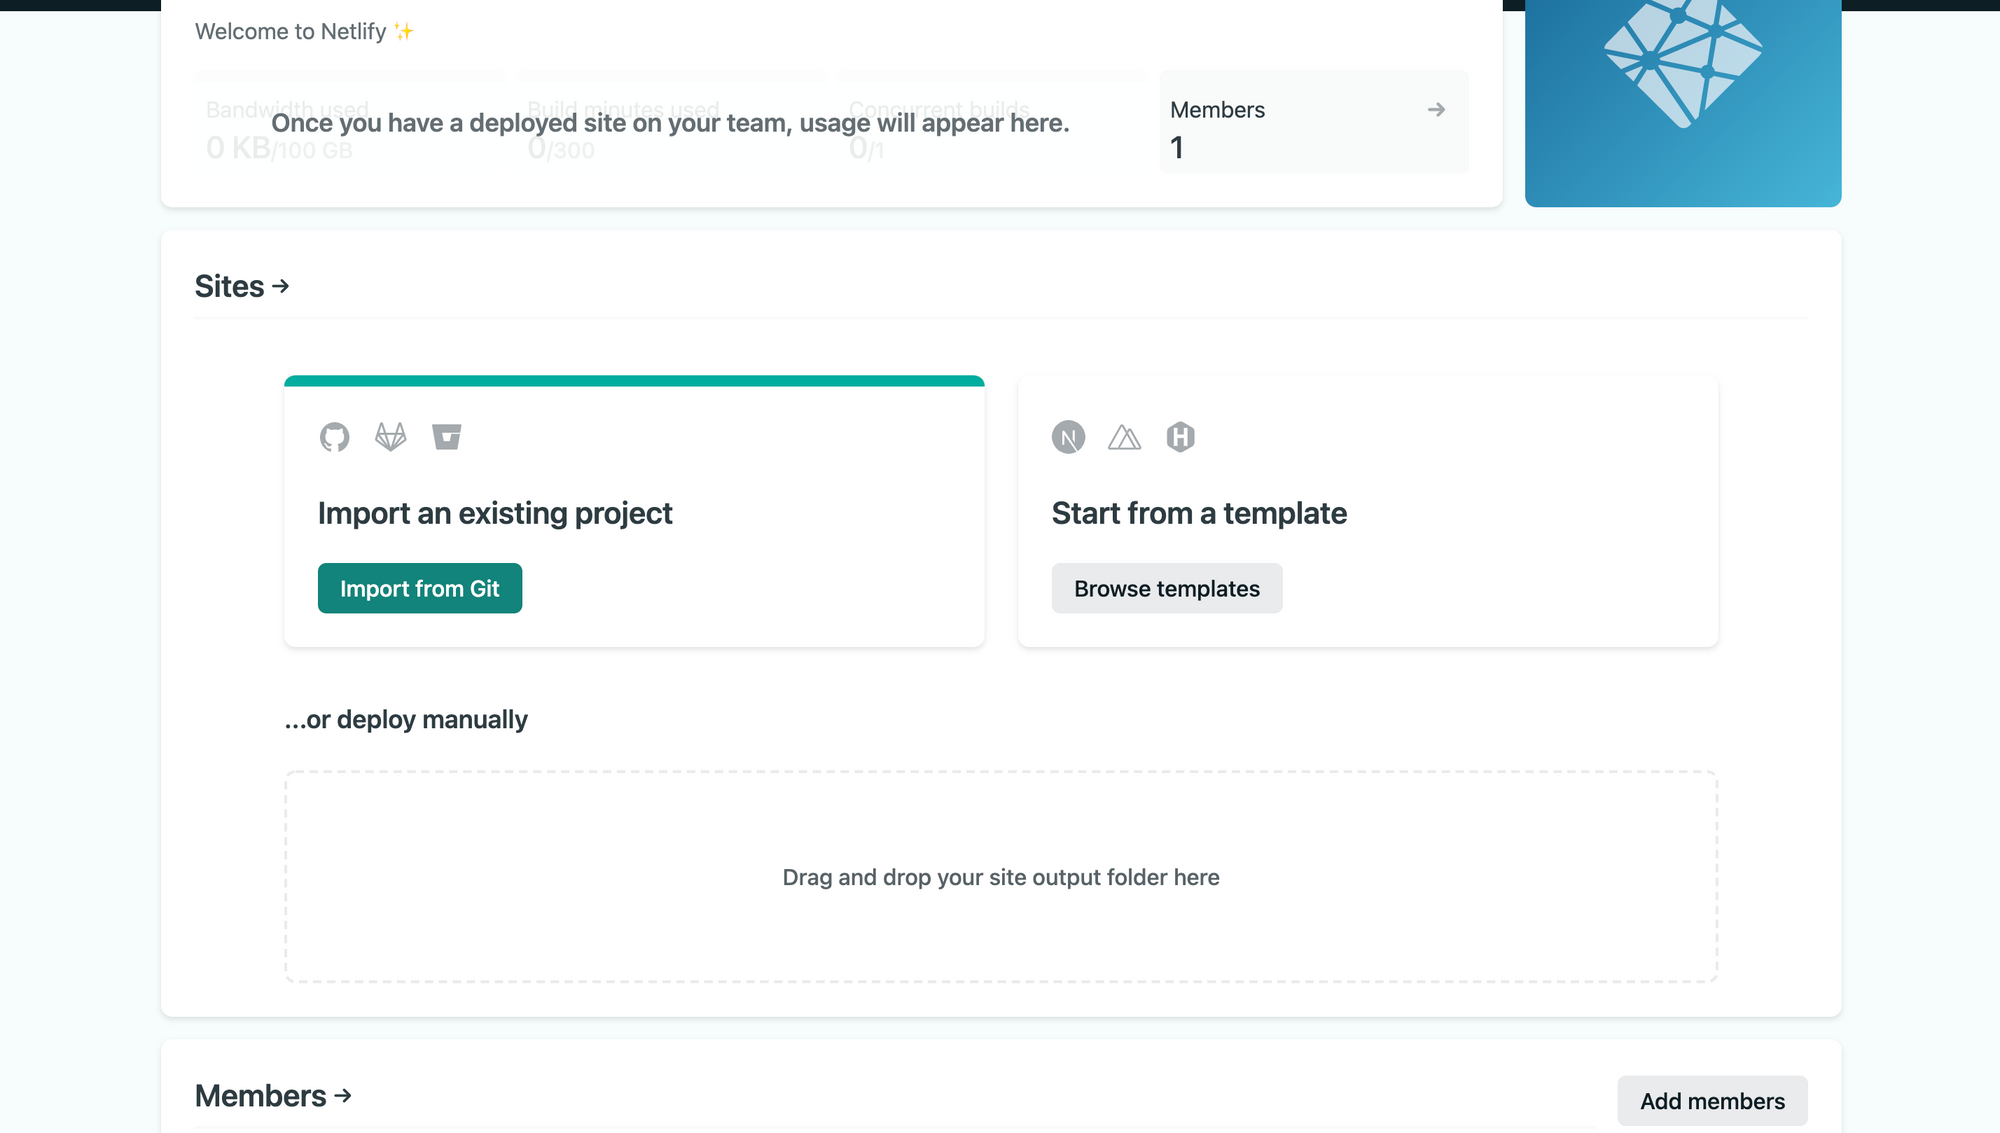
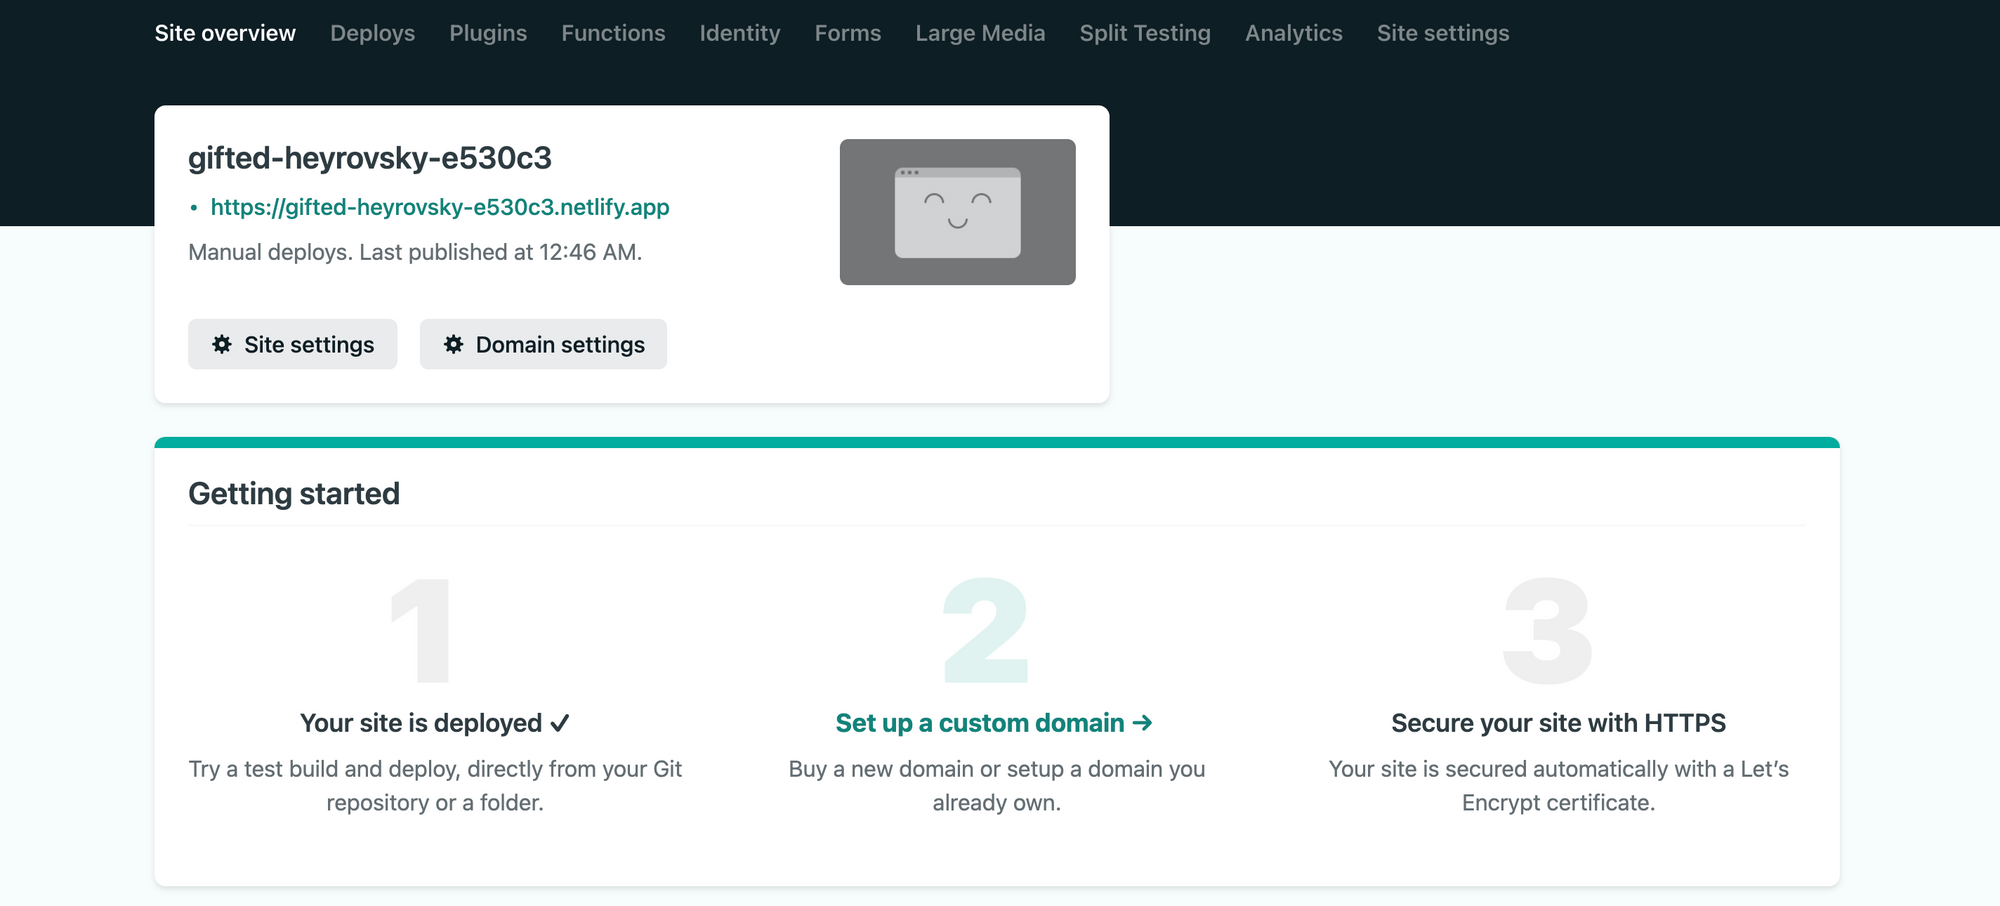
Drag and drop the public folder under the Sites section to create a new site. Just like that, your site will be deployed and available to use.
Test the Passwordless Authentication Flow
You can simply click on the <your-site-name>.netlify.app link to experience the passwordless login demo. I just changed the site name to a more readable https://magic-demo.netlify.app first.

To test the flow, enter a valid email address and click the Login in / Sign up button. Click on the magic link sent to your address - you should get redirected to the callback page.
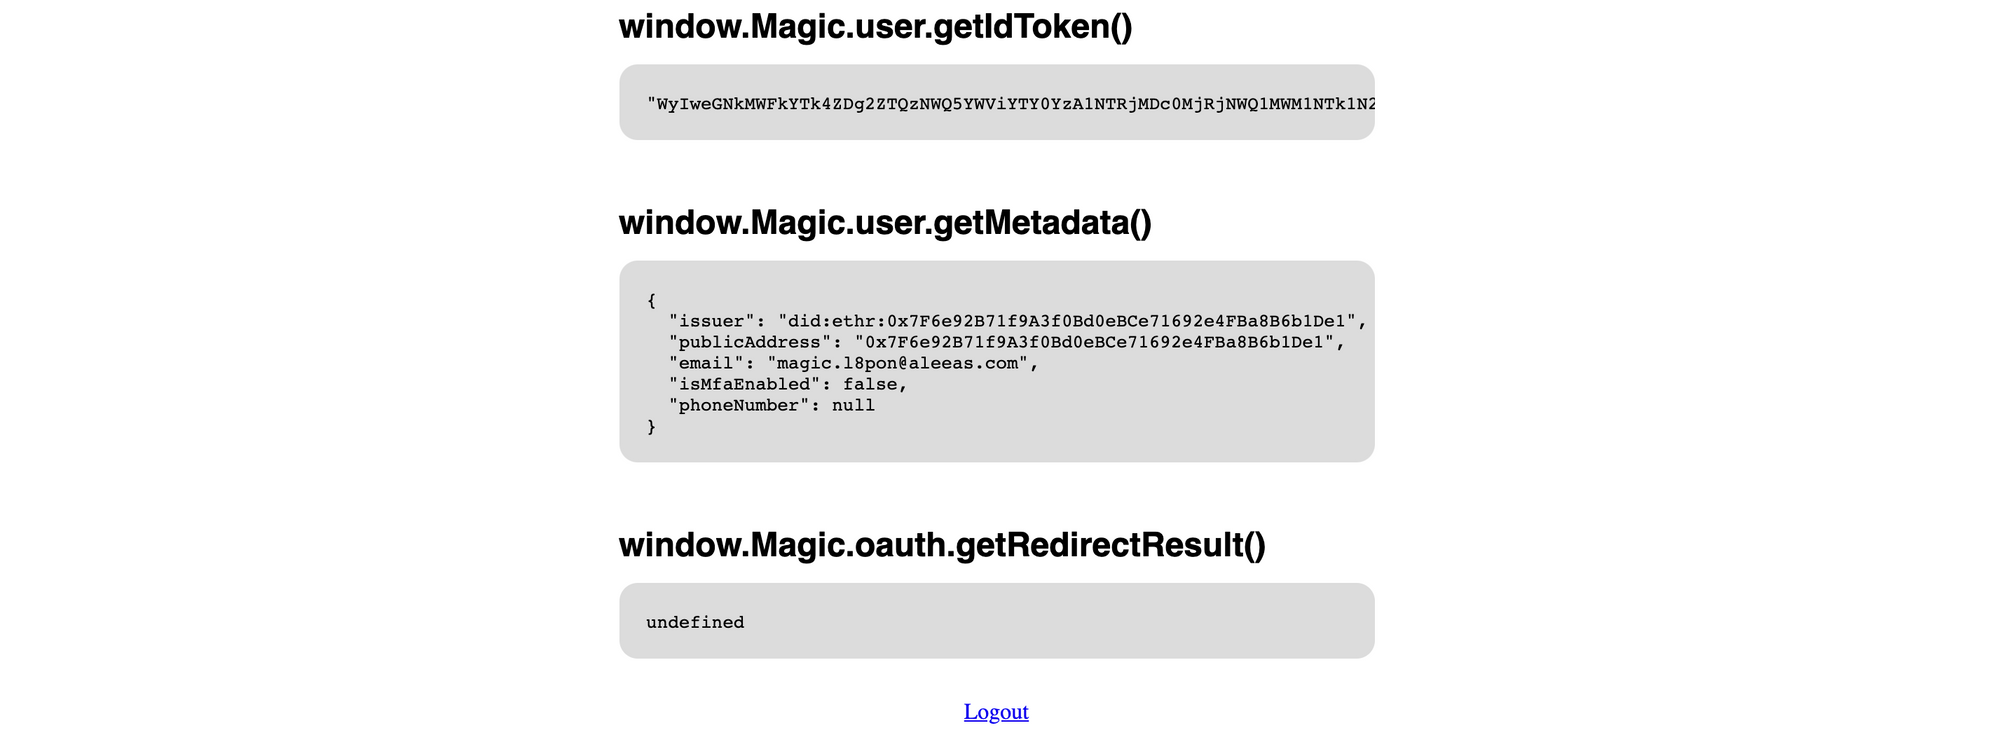
That's pretty much it. You can click on Logout to bring you back to the login page. This was a fairly basic demo using the defaults - you can test other login methods too, including social logins and multi-factor authentication. Decentralized ID using Ethereum is particularly interesting to me; perhaps I'll cover it in a future post.