Identity-based Access to Web Applications with Teleport
A step-by-step guide on identity-based access to web applications with Teleport.
In a previous post, I covered how resource administrators could easily set up remote access to infrastructure resources like virtual machines using Teleport Server Access. Today, I'll extend that conversation to internal web applications.
What is Teleport?
Teleport is an open source project that consolidates connectivity, authentication, authorisation and audit into a single access plane for your infrastructure. It offers identity-based access for users and service principals, fine-grained access controls, and extensive visibility into your infrastructure access and behaviour.
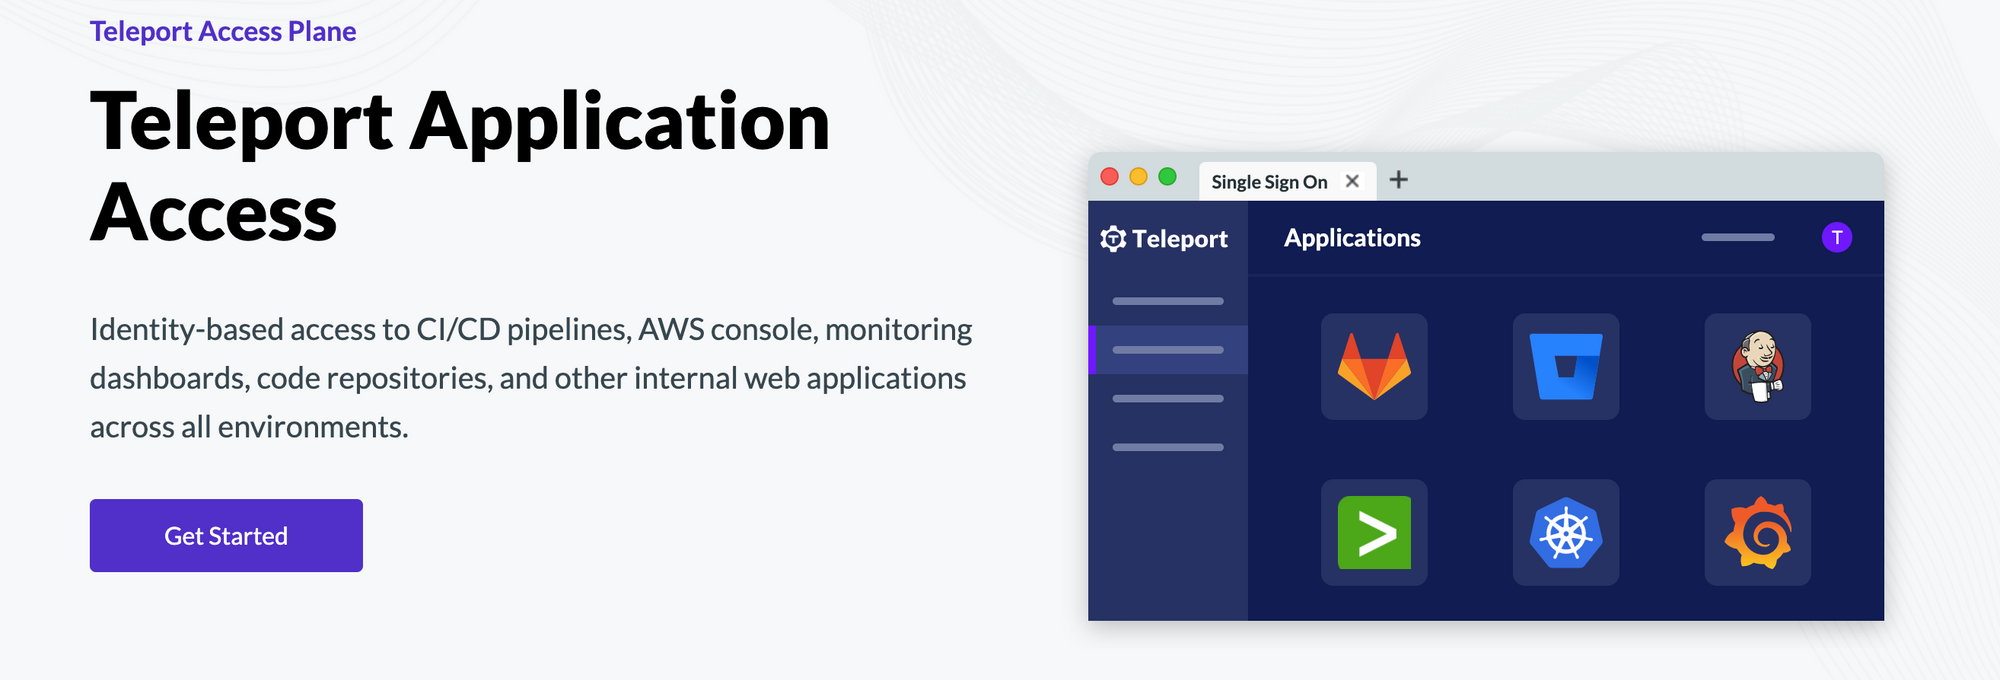
Teleport Application Access offers identity-based access to internal web applications. It is easy to deploy and use, and relies on open standards like X.509 certificates, SAML, OpenID Connect and more. It allows you to implement role-based access controls (RBAC) using modern standards like JSON Web Tokens (JWT), and reduces the operational overheads of securing web applications.
Deploy Teleport on a DigitalOcean Droplet
I'm going to use DigitalOcean for this post - if you don't have an account, sign up here. If you sign up using my link, you’ll receive a $100, 60-day credit as soon as you add a valid payment method to your account.
Assuming you are familiar with droplet creation in DigitalOcean, I won't go into step-by-step detail. Basically, you need to choose a plan (4GB RAM / 2 CPU), an image (Ubuntu 20.04), the data center region, an authentication option (root password for now, but non-root user in a real environment) and the hostname.
Once the droplet is ready, select it and launch the Droplet Console as root from the menu options. Run the following commands to update the Ubuntu instance, and install the Teleport package.
# Download Teleport PGP public key
curl https://deb.releases.teleport.dev/teleport-pubkey.asc \
  -o /usr/share/keyrings/teleport-archive-keyring.asc

# Add the Teleport repository
$ cat<<EOF>/etc/apt/sources.list.d/teleport.list
deb [signed-by=/usr/share/keyrings/teleport-archive-keyring.asc] https://deb.releases.teleport.dev/ stable main
EOF

# Update package metadata and install Teleport
apt-get update

apt-get install teleport
Configure DNS for Teleport Proxy Service
I'm assuming that you already own a domain to map the Teleport server against. If you don't, head over to Cloudflare Registrar or Namecheap and register your domain first. Next, add A records for the Teleport Proxy Service (e.g. teleport.example.com) and each web application that you want to access remotely (e.g. grafana.teleport.example.com). Alternatively, you can add a single wildcard record (e.g. *.teleport.example.com) and let the Certificate Authority issue certificates for each sub-domain.
A teleport.example.com 167.172.56.128A *.teleport.example.com 167.172.56.128
You can use dig to check whether the DNS records have propagated. You can also use the Google Admin Toolbox.
dig teleport.example.comConfigure Teleport for Web Application Access
Next, let's configure the Teleport Proxy Service and set up a TLS certificate for the sub-domain. You need to provide an email address, so either you'll need your MX records configured for the domain, or provide a different email address. Teleport uses Let's Encrypt, a non-profit Certificate Authority, to issue free TLS certificates. Let's Encrypt uses the ACME protocol to verify that you control a given domain name and to automatically issue you a certificate.
# Configure the Teleport Proxy Service to issue Let's Encrypt certificate
teleport configure --acme --acme-email=user@example.com --cluster-name=teleport.example.com > /etc/teleport.yaml

# Start the Teleport service
systemctl start teleport
The following settings should get added to your Teleport configuration file (/etc/teleport.yaml). Ensure that your firewall allows incoming traffic on port 443.
proxy_service:
  enabled: "yes"
  web_listen_addr: :443
  public_addr: teleport.example.com:443
  acme:
    enabled: "yes"
    email: user@example.com
You should now be able to access the Teleport web console using the sub-domain i.e. teleport.example.com. Yup, pretty straightforward.
Run Grafana Application in a Docker Container
For this walk-through, we'll install and run Grafana in a docker container, install the Teleport Application Service and configure it to proxy Grafana, and demonstrate how to access the Grafana internal web application via Teleport. For simplicity, I'm going to install Grafana on the same host as the Teleport Proxy Service, but you can deploy it on a separate node too (get the binaries from Download page if you choose to do so).
# Install Docker and run Grafana in a docker container
apt install docker.io

docker run -d -p 3000:3000 grafana/grafana

# Generate a short-lived token so that the Grafana application can be added to the cluster
tctl tokens add \
    --type=app \
    --app-name=grafana \
    --app-uri=http://localhost:3000
Access Grafana via Teleport Proxy Service
After you run the previous command, the invite token and command to make Grafana accessible via Teleport should get printed to the console output.
# Start Teleport and point it to the application endpoint
teleport app start \
   --token=<invite_token> \
   --ca-pin=sha256:<ca-pin_value> \
   --auth-server=teleport.example.com:443 \
   --name=grafana \
   --uri=http://localhost:3000
Now, create a Teleport user app-user with the role required to access the web application we just connected.
tctl users add --roles=access app-user
User "app-user" has been created but requires a password. Share this URL with the user to complete user setup, link is valid for 1h:
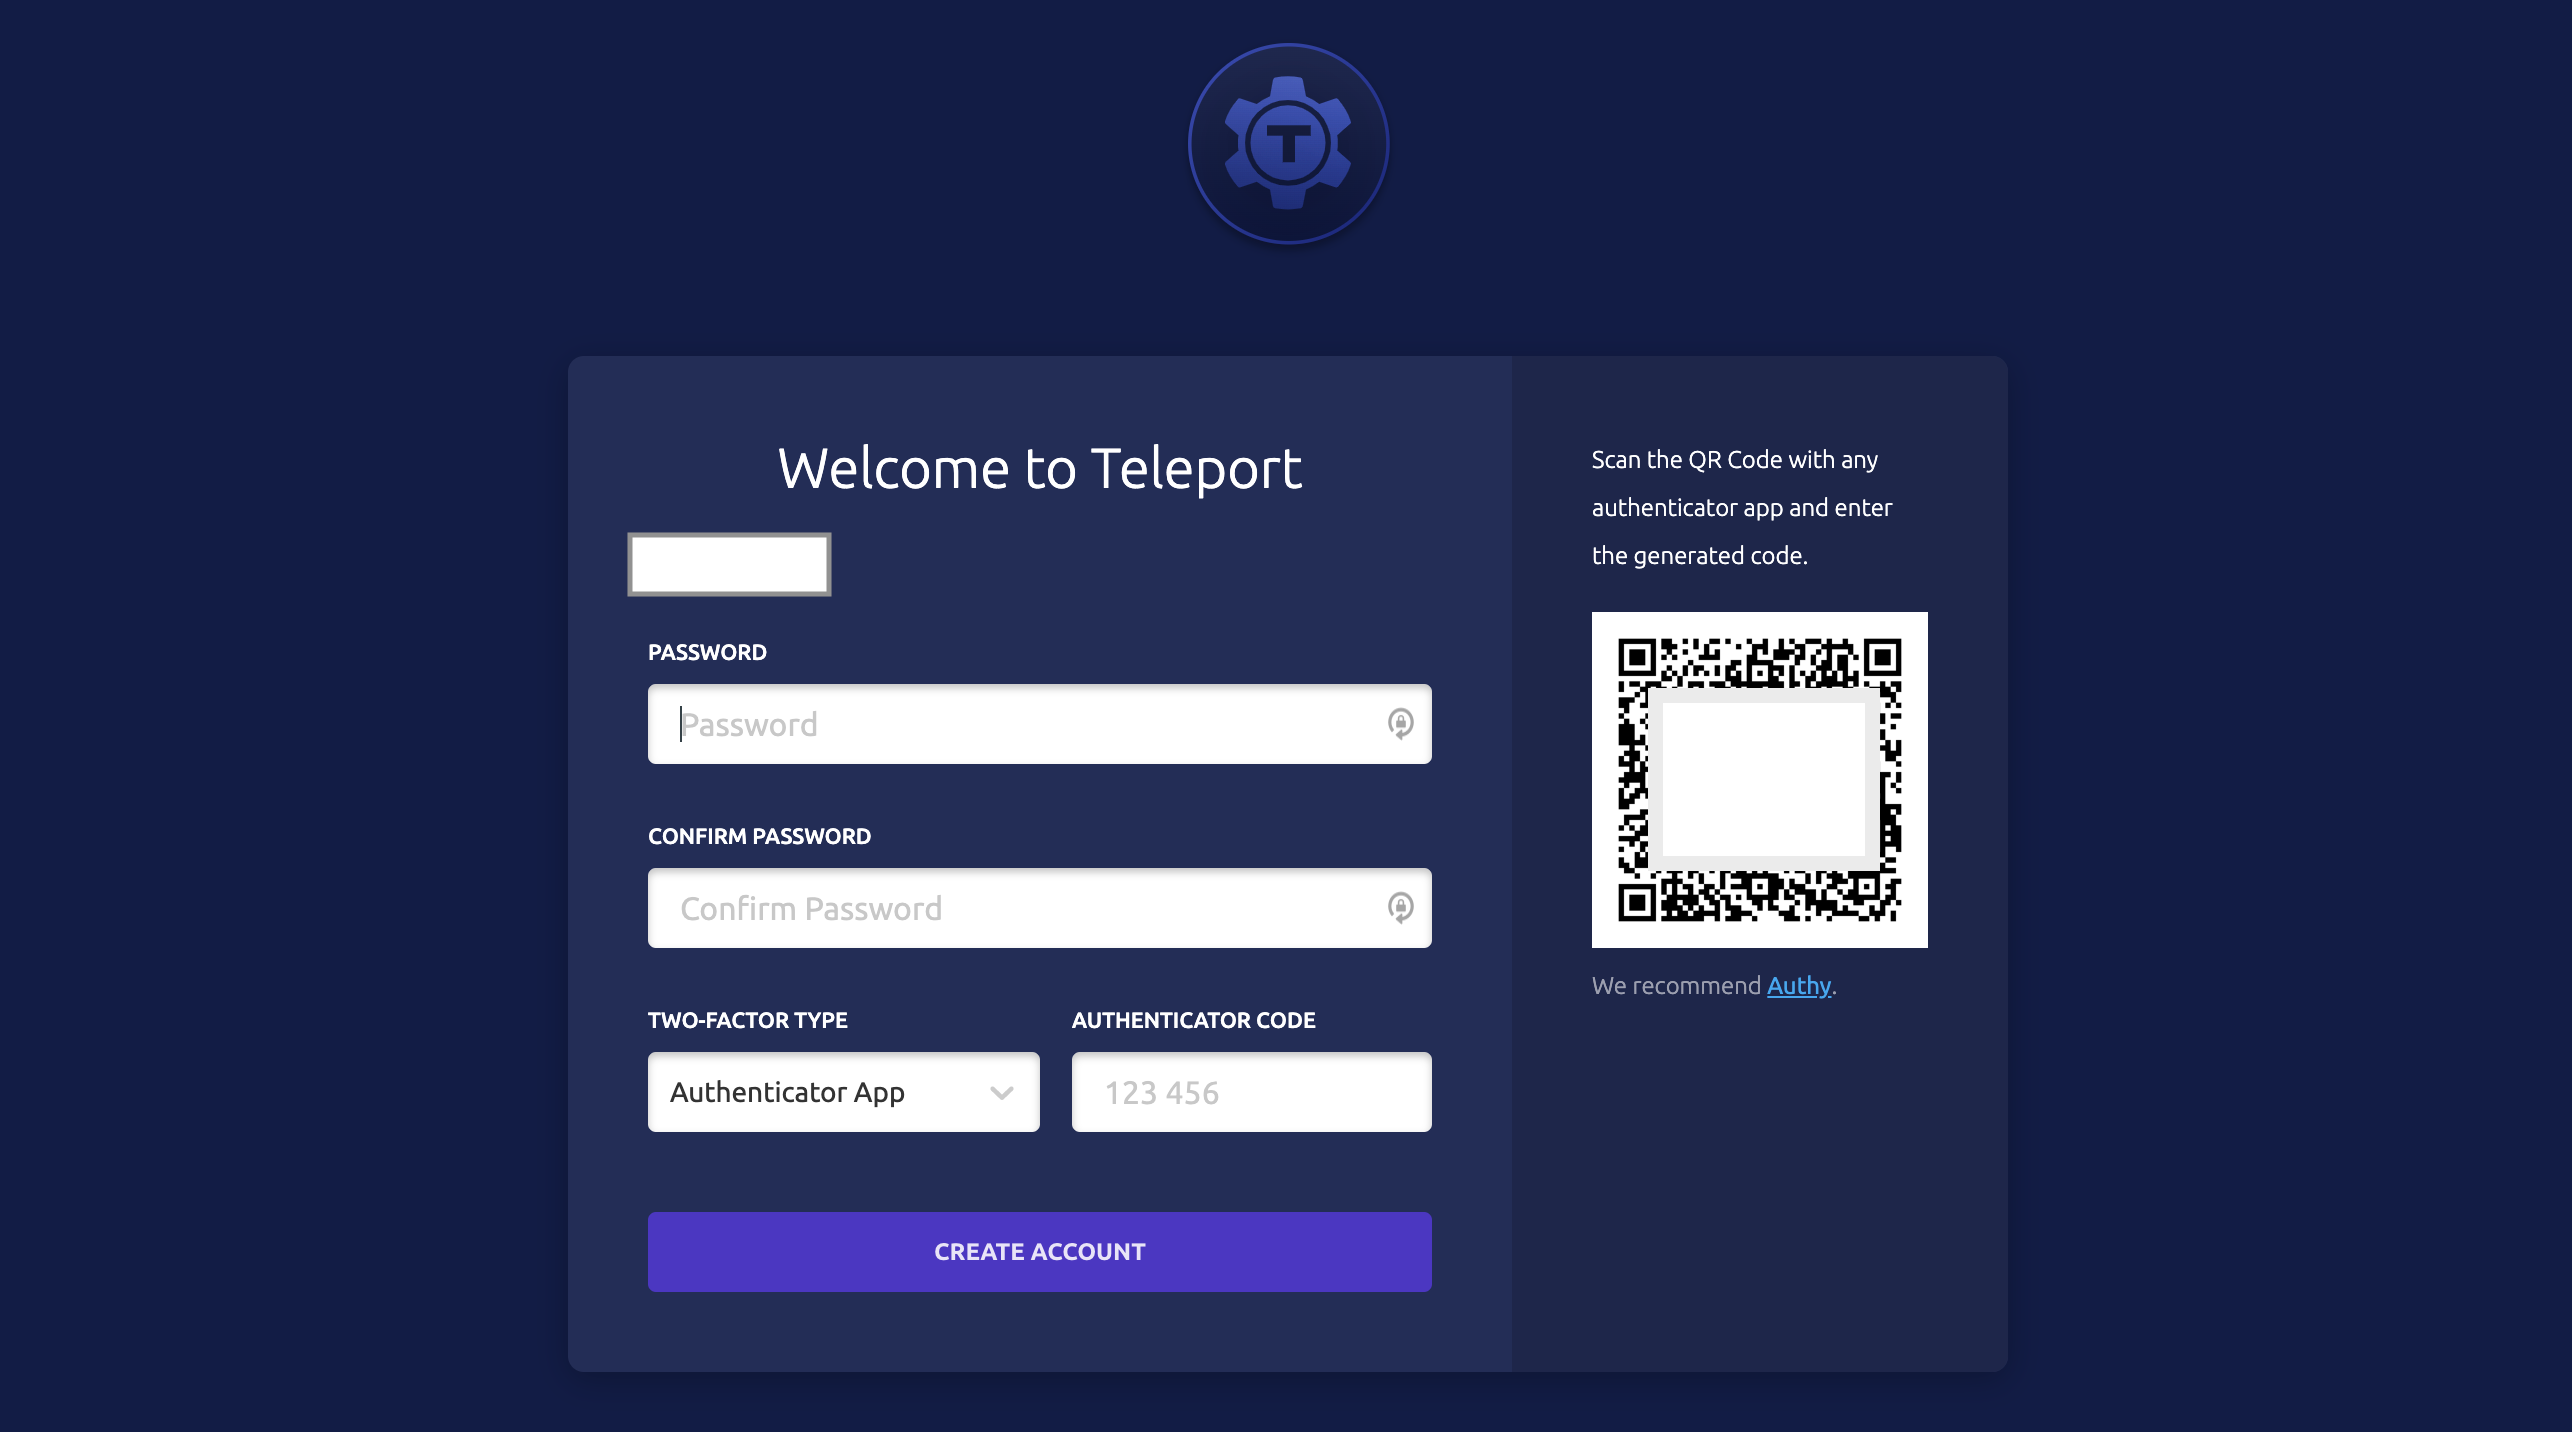
https://teleport.example.com:443/web/invite/c04a6439cc66499382e981b1361a98b3Use the login URL to configure the password and 2FA using Google Authenticator.
Once you successfully authenticate, you'll see the Teleport-connected applications available for remote access. Click on the Launch button and voila, you're in!
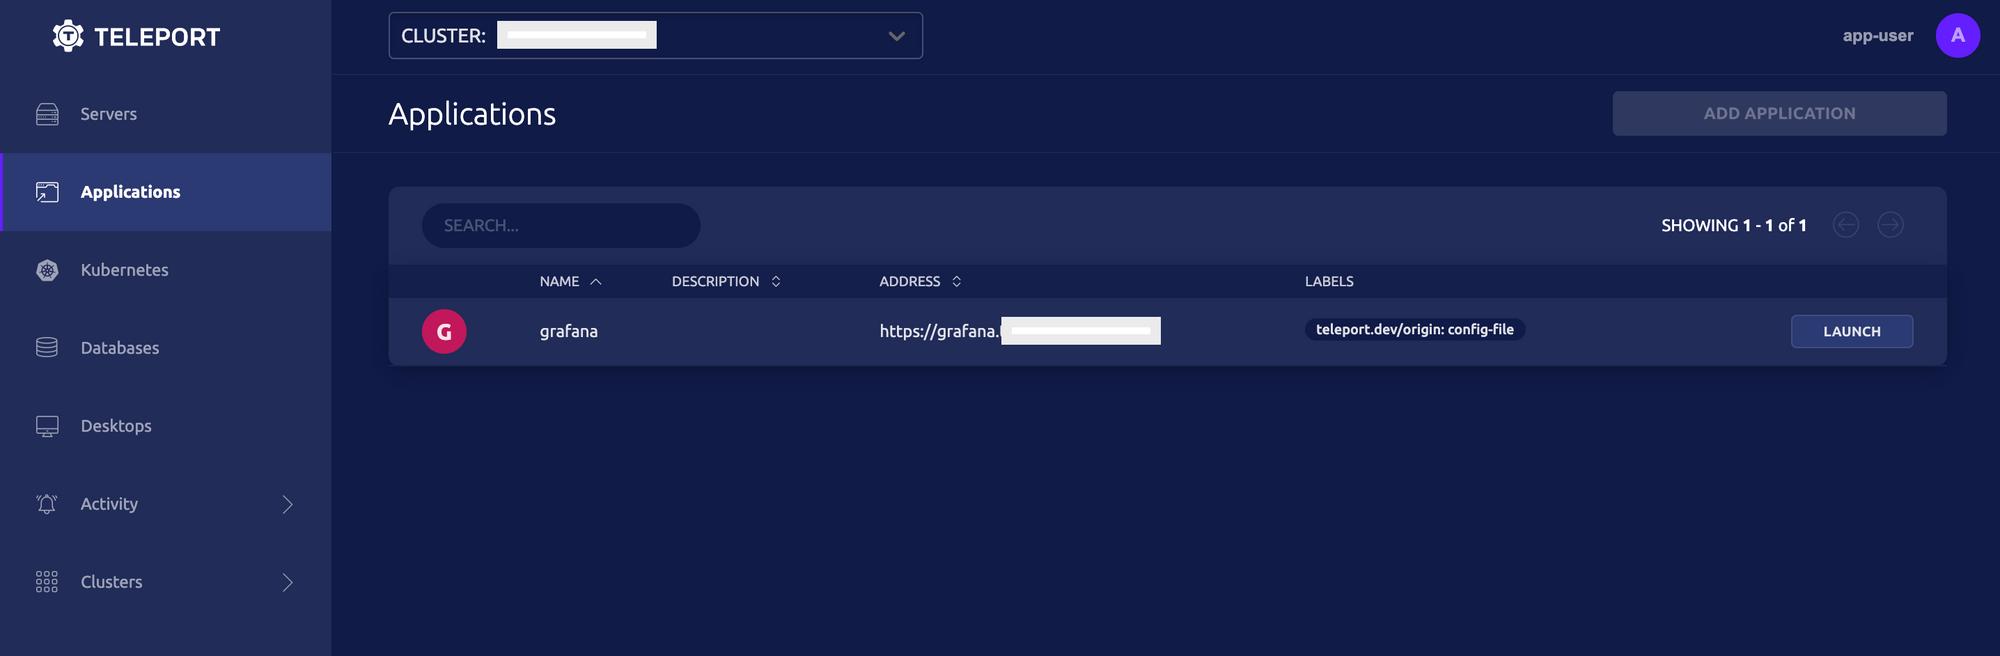
You can also access the Grafana web console directly using the sub-domain i.e. grafana.teleport.example.com. Enter valid user credentials on the Sign into Teleport page, and you'll be redirected to Grafana via the Teleport Proxy Service.
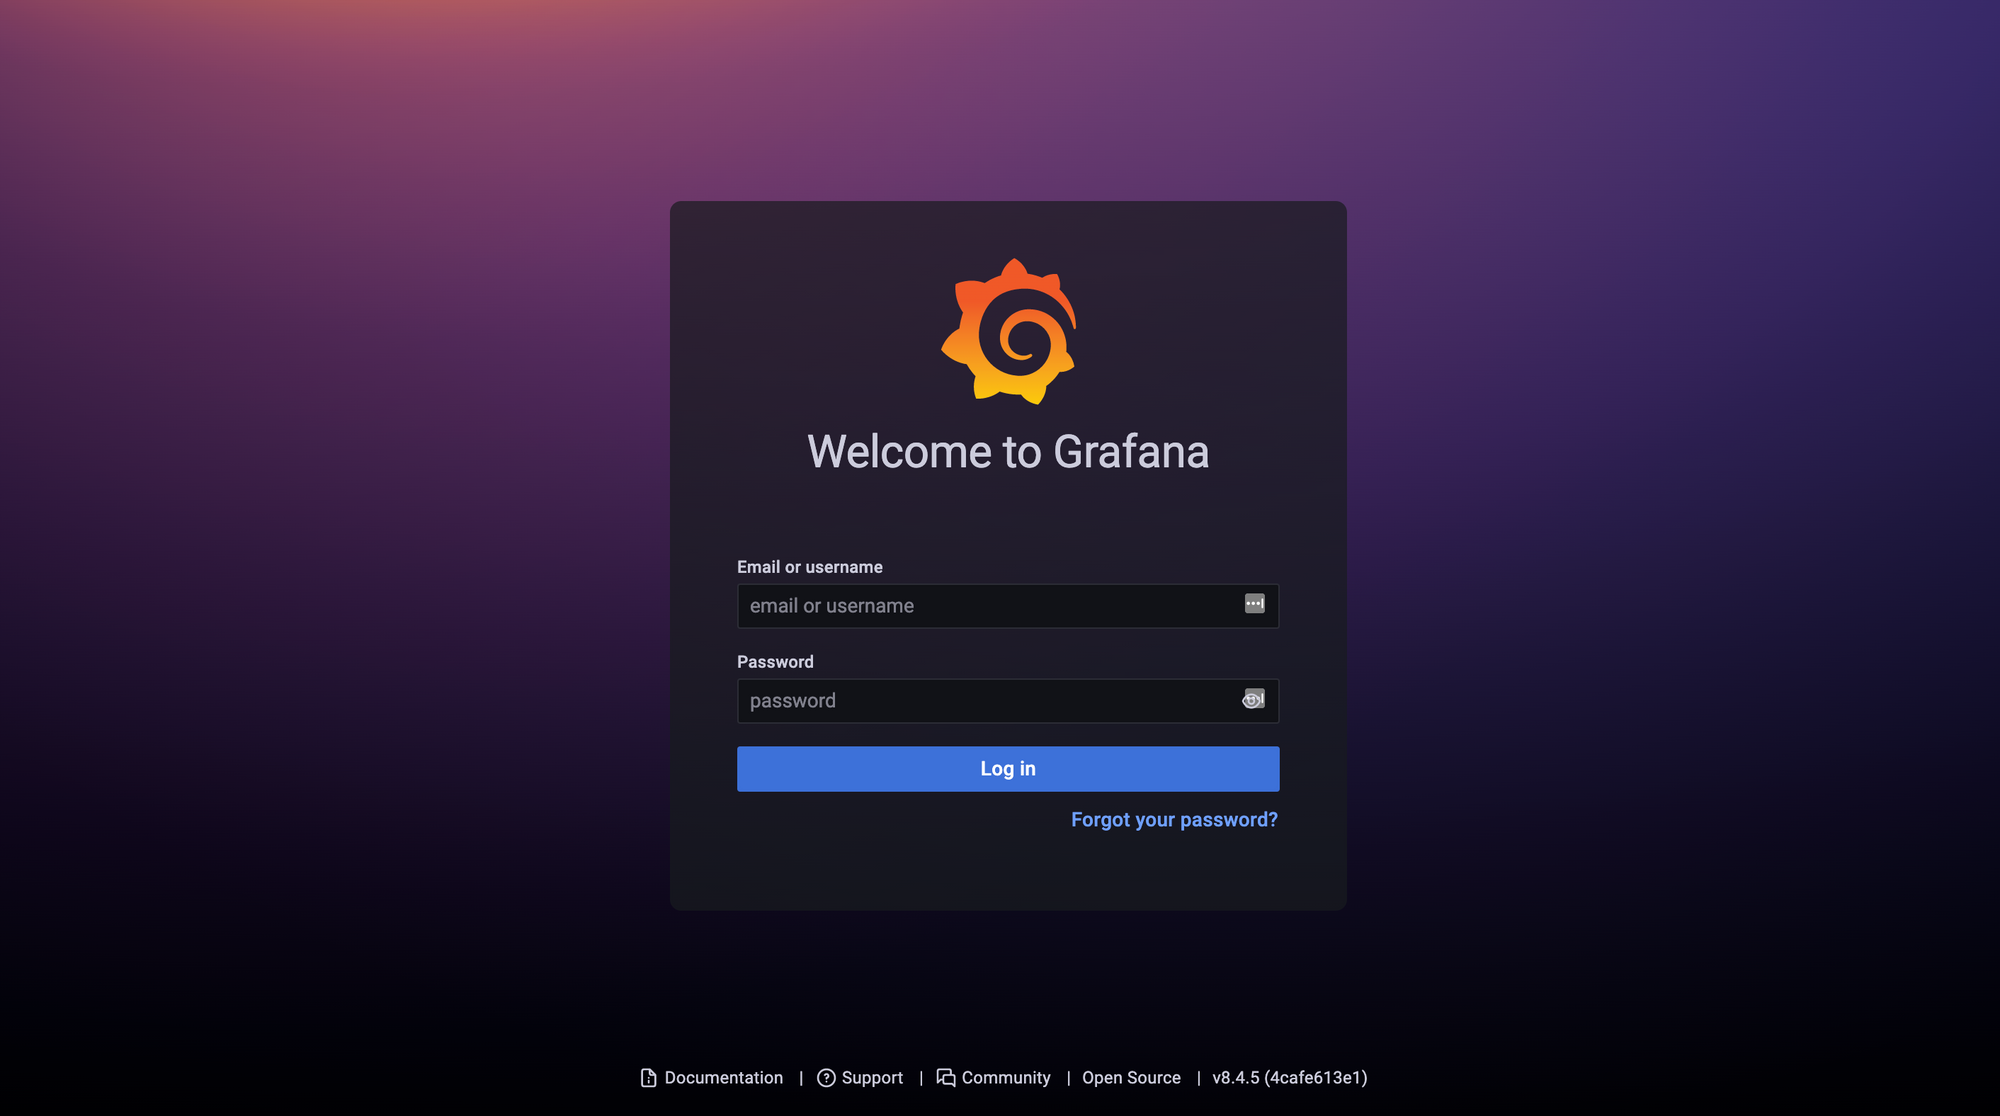
You'll notice that Grafana asks you to re-authenticate - this is because there is no passthrough authentication between Teleport and Grafana. Setting it up isn't easy for off-the-shelf applications, but it can be done for in-house web applications using JSON Web Tokens (JWTs). Teleport sends signed JWTs (using the Teleport-Jwt-Assertion header) to the connected application with each request. Your application can validate the signature against Teleport's JSON Web Key Set (jwks) endpoint, decode the token, map the Teleport identity to the application's own identity and access system, and allow automatic sign-ins for trusted identities.
I'm obviously just scratching the surface of Teleport's capabilities here. You can handle redirects, inject or rewrite headers, impersonate other users, access REST APIs and configure granular application-based access controls. Finally, to force a logout before the session expires, just hit the /teleport-logout endpoint.
If you found this post useful, you may also like my related post on Remote Server Access with Teleport.