How to Set up a Lightweight Remote Desktop using Chrome
A step-by-step guide to setting up a lightweight remote desktop using Chrome.
Have you ever wanted a lightweight remote desktop that you could simply access on-the-go via a web browser? Well, I know I have. For a variety of reasons ;)
My hunt for a simple solution brought me to Chrome Remote Desktop, which allows you to remotely access a desktop using a web interface. While it is not suitable for graphically intensive applications, it works quite well for most other web applications. Google has a fairly comprehensive article on this topic here; this post is just a narration of what I did.

Deploy the GCP VM Instance
This tutorial uses Google Cloud Platform (GCP) for the walk-through and assumes that you already have an account and project set up. If you don't have an account, sign up here. New customers get a generous $300 credit for 90 days, with several always-free products once the trial period expires. Then, enable billing for your account, create a project and follow the steps below.
- Enable the
Compute Engine APIand create a new VM instance (say acme). - Select your desired region and zone.
- Select
e2-smallmachine type under theE2series of the general-purpose machine family. - Leave the boot disk unchanged (
Debian Linux 10). - Leave the other options as default and create the instance.
- [Optional] If you wish to improve the security posture of the GCP VM, here are 3 things you can do.
Install Chrome Remote Desktop
Once the instance has been created, SSH into it using the Google Cloud Console or your preferred SSH client. Update the instance and install Chrome Remote Desktop.
# Update package manager data and installed packages
sudo apt update && sudo apt dist-upgrade

# Install wget
sudo apt install --assume-yes wget tasksel

# Download and install the Debian Linux Chrome Remote Desktop package
wget https://dl.google.com/linux/direct/chrome-remote-desktop_current_amd64.deb

sudo apt-get install --assume-yes ./chrome-remote-desktop_current_amd64.deb
Next, you'll need an X Window System desktop environment and window manager to access this instance graphically. The common options are Xfce, Cinnamon, Gnome and KDE. I'm generally a fan of Xfce for its minimal components, and frequently use Xubuntu as an Ubuntu distribution of choice, so I'll go with Xfce here. Feel free to use a different environment if you wish.
# Install the Xfce desktop environment
sudo DEBIAN_FRONTEND=noninteractive apt install --assume-yes xfce4 desktop-base dbus-x11 xscreensaver

# Configure Xfce to use Chrome Remote Desktop by default
sudo bash -c 'echo "exec /etc/X11/Xsession /usr/bin/xfce4-session" > /etc/chrome-remote-desktop-session'

# Disable the display manager service on the instance
sudo systemctl disable lightdm.service
Configure Chrome Remote Desktop
On your local computer, go to the Chrome Remote Desktop command line setup page: https://remotedesktop.google.com/headless.

- Sign in with a Google account that you will use to authorise remote access.
- On the
Set up another computer page, clickBegin. - One the
Download and install Chrome Remote Desktop on the remote computerpage, clickNext. - Once you authorise, you will get a page that provides the command (similar to below) that you need to run on the remote computer.
DISPLAY= /opt/google/chrome-remote-desktop/start-host \
    --code="4/xxxxxxxxxxxxxxxxxxxxxxxx" \
    --redirect-url="https://remotedesktop.google.com/_/oauthredirect" \
    --name=$(hostname)
5. Use the actual command to start the Chrome Remote Desktop service on your VM instance, linking it with your authorised Google account.
6. Enter a 6-digit PIN when prompted, and re-confirm it.
7. Verify that the service is running using the following command. If it is, you'll see output that includes the state as active (running).
sudo systemctl status chrome-remote-desktop@$USERConnect to the VM Instance
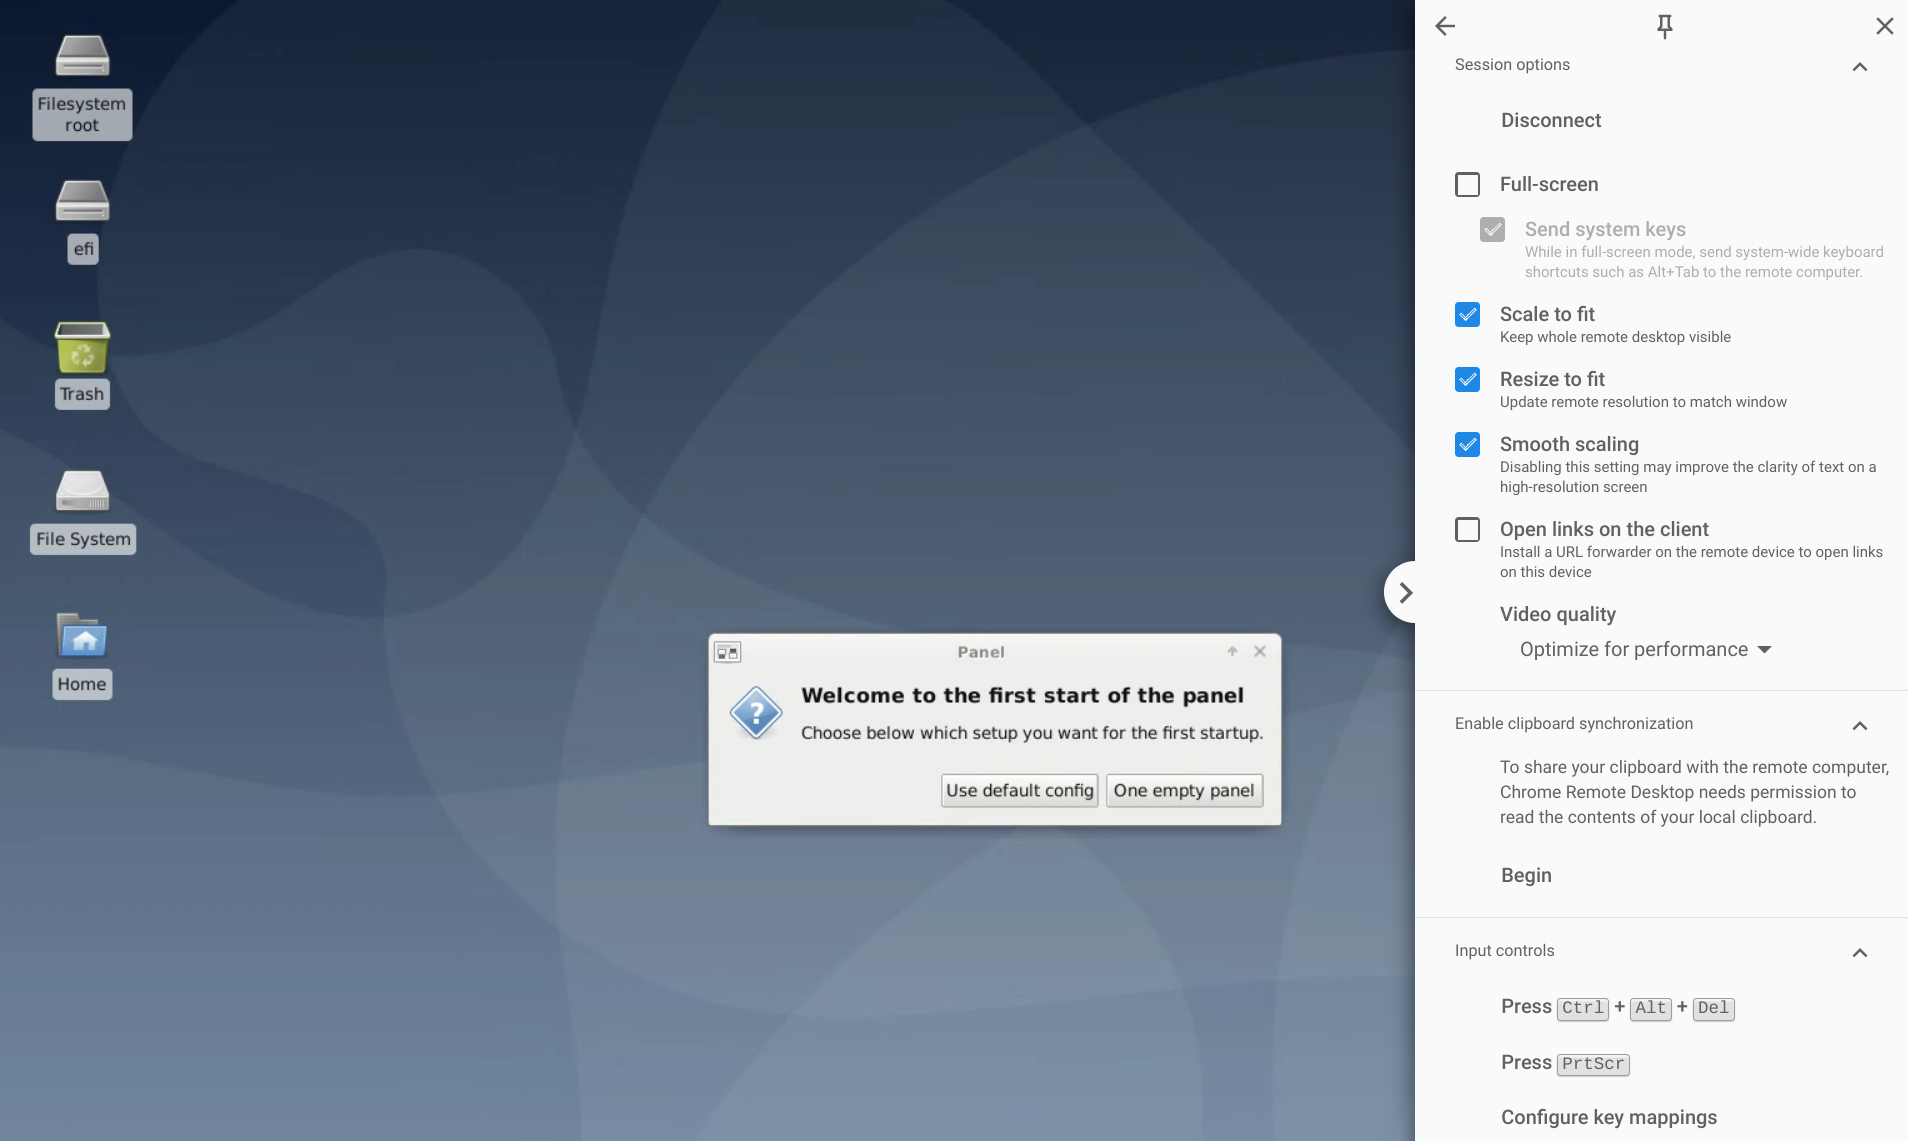
Head over to https://remotedesktop.google.com. If your configuration was successful, you'll see the VM instance listed. Click on the instance, enter the previously configured PIN and voila!

You now have your very own remote desktop for on-the-go web access.