How to Host a Website on IPFS using Piñata and Cloudflare
A step-by-step guide to hosting a static website on IPFS using Piñata and Cloudflare.
In a previous post, I talked about how sovereignty is an increasingly important aspect of publishing on the internet. Reducing dependence on service providers who can deplatform you for arbitrary reasons is a journey. Deciding to host your own blog or website is the first step, choosing the right hosting service is another crucial step. In an ideal world, a decentralized protocol easily trumps over a centralized organization, but we are not fully there yet. Today, I'll explore IPFS, and how you can host a static website on it. With some help from Piñata and Cloudflare.
What is IPFS?

The InterPlanetary File System, or IPFS for short, is a peer-to-peer hypermedia protocol designed for the internet of tomorrow. Thousands of nodes or computers around the world store files on behalf of the IPFS network, making your content efficiently distributed, significantly more available, and resilient to outages and takedowns. Each file is cryptographically hashed, deduplicated and distributed across several nodes. When you lookup or download the file, the network retrieves the content from the nodes storing the file behind the hash. To understand exactly what happens behind the scenes, see how IPFS works.
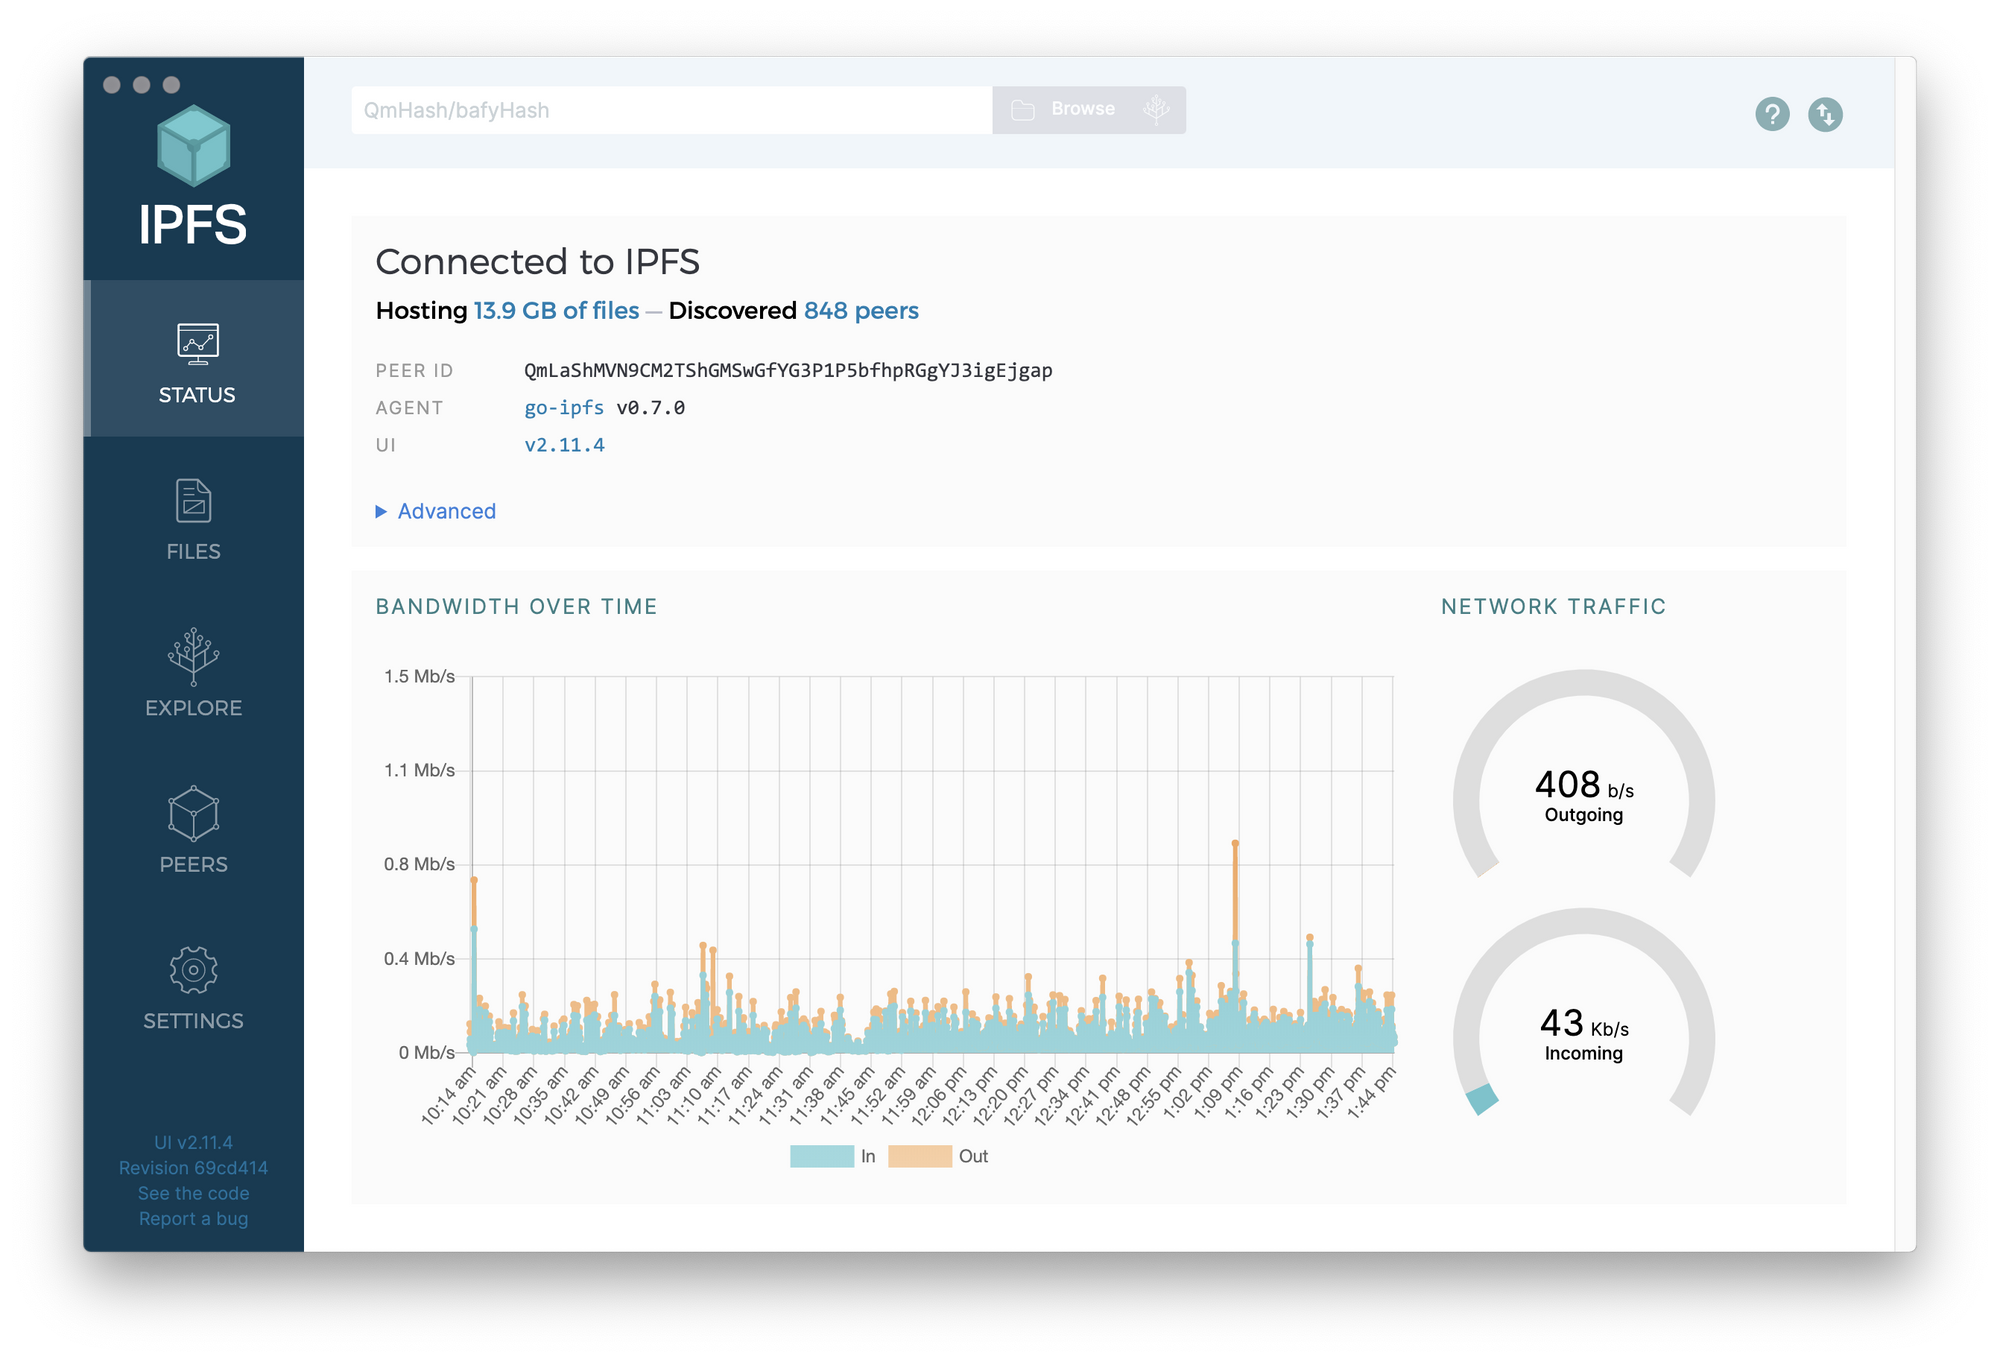
Next, let's understand how to store and access your files on IPFS. The easiest way is using IPFS Desktop - a graphical interface for adding, pinning (more on this later) and sharing files, and which also serves as a full IPFS node. You'll find apps for Windows, Linux and Mac on the Github page. One caveat though - at the time of writing, IPFS Desktop only supports pinning files to your local IPFS node and not a 3rd party pinning service.
If you are text-savvy and want a simple no-frills install, you can choose the IPFS CLI instead. You can also get ipfs:// URL support in your web browser using this extension.
Pinning Data using Piñata Service
Let's talk about pinning now. For true persistence, the IPFS network depends on nodes willing to store data for an indefinite period of time. Storage itself is limited, so the nodes must be incentivized to store data longer than necessary. You can do this either by running your own IPFS nodes to pin the data or using pinning services like Piñata, which run lots of nodes and allow users to pin data on those nodes for a fee. Piñata offers a free tier with 1GB storage, which is plenty if you are just starting out. Create an account and login to Piñata.
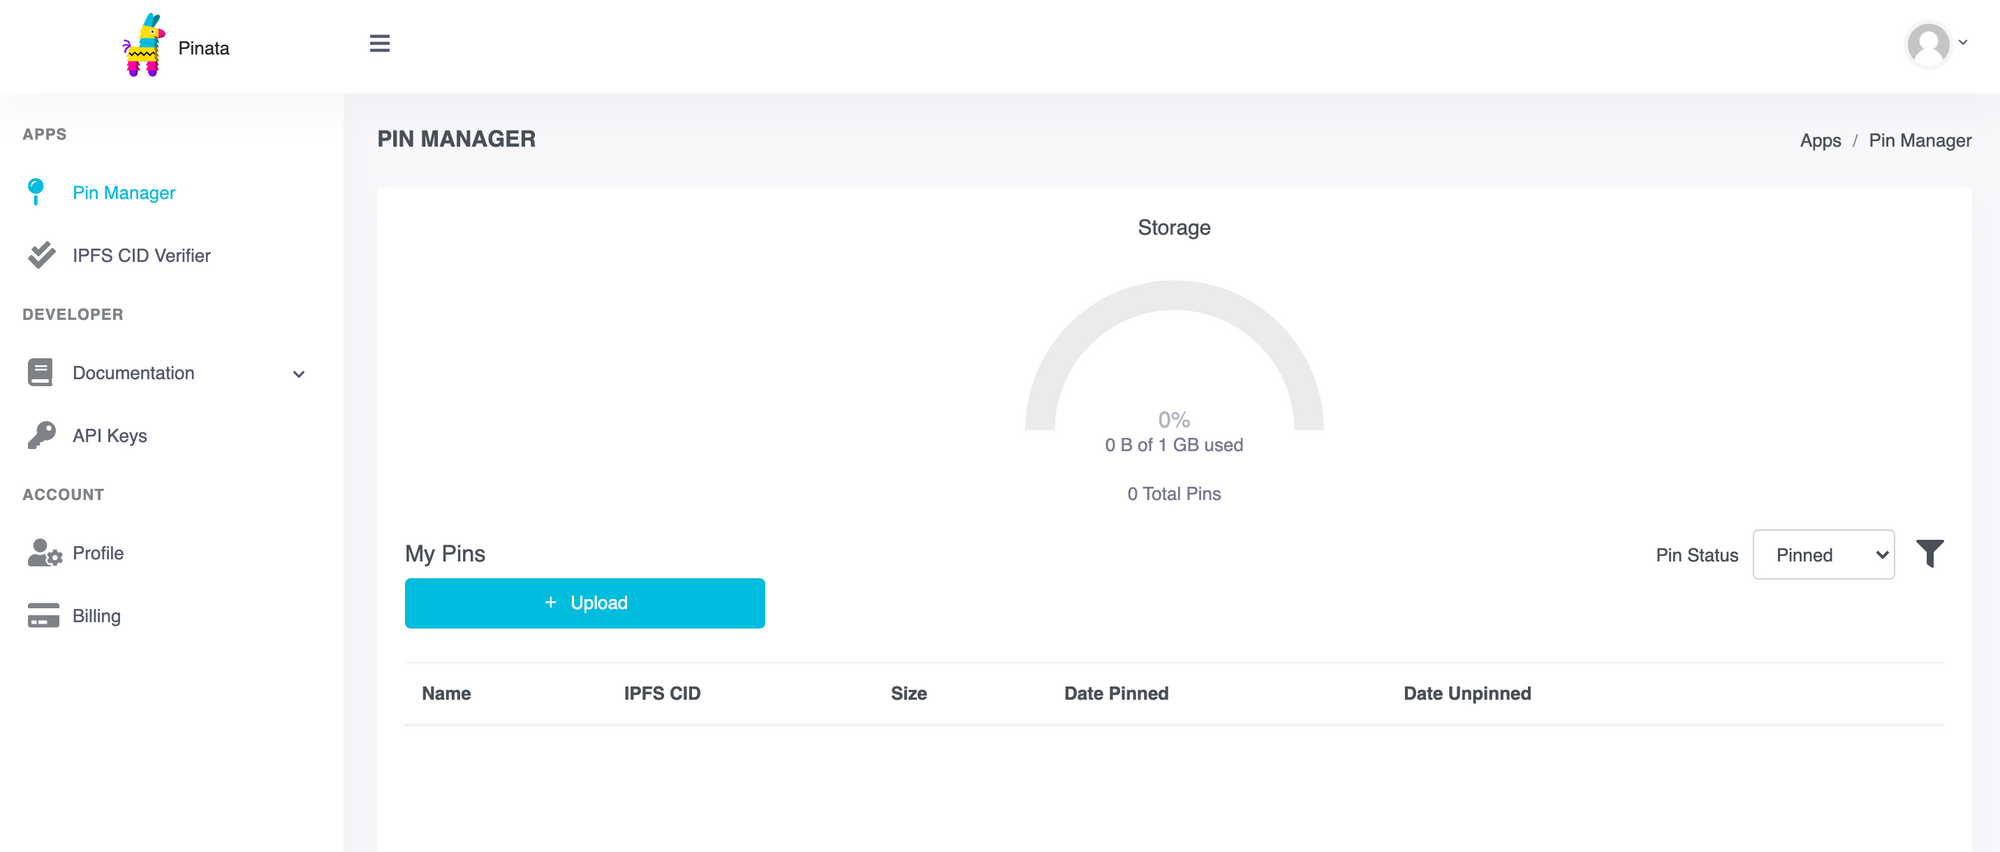
Upload your static website files using the Pin Manager. Provide a custom name for the pin and choose the option to preserve folder name. For reference, I created a simple website which serves an image, with the folder structure as below.
- css
- styles.css
- img
- secret-2.png
- index.html
Retrieving Data using Cloudflare IPFS Gateway
Once the upload completes, you'll get a Content Identifier (CID) - this is the unique identifier that you can use to retrieve the data. If you click on the custom name, your files (or folder) will launch in the Piñata IPFS gateway. Your data is now pinned to IPFS for an indefinite period of time. Or practically speaking, as long as Piñata offers its pinning service. If you want to de-risk this, pin your data using your own IPFS nodes instead.

You'll notice I talked about a gateway - gateways are nodes hosted by 3rd party service providers that retrieve your data from the IPFS network and serve to you over HTTPS. Gateways eliminate the need for running a node locally and enable content to be served using the web browsing experience that you are familiar with. To access my content, all I have to do is browse the following URL with the appropriate gateway details (e.g. gateway.pinata.cloud or cloudflare-ipfs.com):
https://{ipfs_gateway}/ipfs/QmcBV8zMeVFVGpv9afen7odnw1594FmwysvuREkUVLsDEBFor this tutorial, I'm going to use the Cloudflare IPFS Gateway. It allows your IPFS-hosted website to be accessible to your users over a custom domain name, issued with a free SSL certificate. I'm going to assume that you already own the domain that you'll use to host your website. If you don't, head over to Cloudflare Registrar or Namecheap and register your domain first. Next, add the following DNS records for your domain:
CNAMErecord for<your_domain>pointing tocloudflare-ipfs.comTXTrecord for_dnslink.<your_domain>with the valuednslink=/ipfs/<your_hash>
For reference, here are my DNS records:
CNAME ipfs.alphasec.io cloudflare-ipfs.comTXT _dnslink.ipfs.alphasec.io dnslink=/ipfs/QmcBV8zMeVFVGpv9afen7odnw1594FmwysvuREkUVLsDEB
You're almost set. Your website can now be served from IPFS, albeit without SSL.
Issuing SSL Certificate using Cloudflare
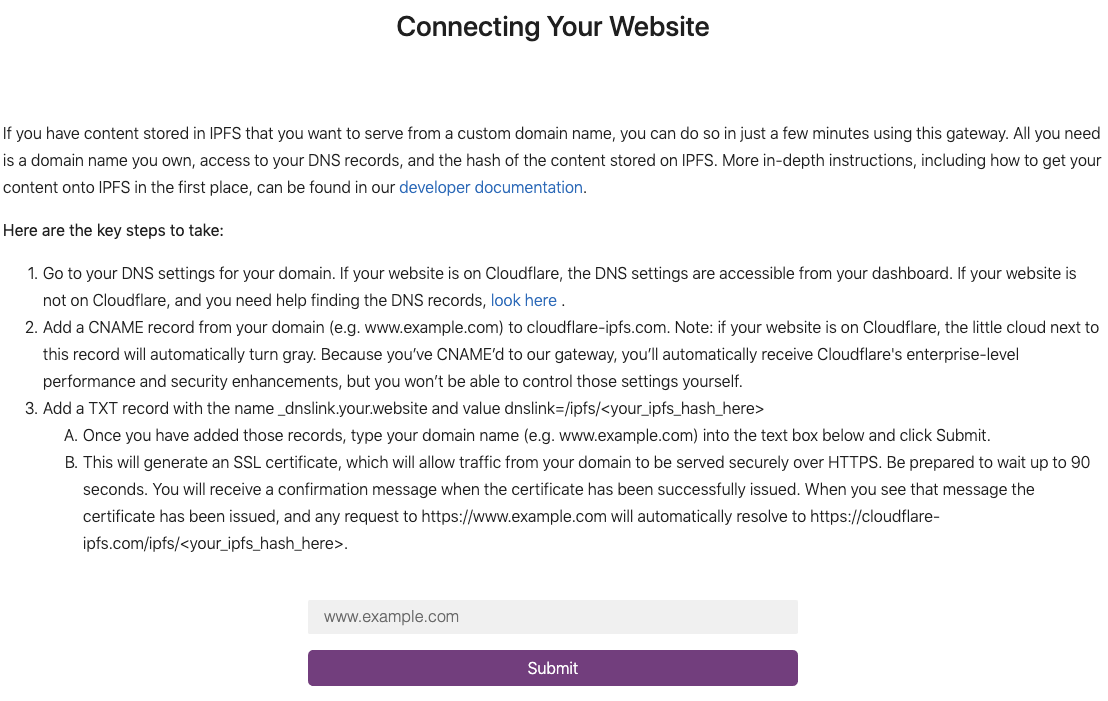
For the final step, launch cloudflare-ipfs.com in your browser and scroll to the Connecting Your Website section at the bottom. Enter <your_domain> (skip http://) in the text box and click Submit. You'll get a Certificate is live message instantly, but the certificate itself may take a few minutes to be issued. Try again after some time and you should be all set!