How to Deploy Caddy Server on DigitalOcean App Platform
A step-by-step guide to deploying Caddy Server on DigitalOcean App Platform.
Yesterday, I covered the deployment of a static website with Caddy on Railway. While Railway is getting quite popular, I know there are several more DigitalOcean enthusiasts out there. So, this time, I'll walk through the deployment of a Caddy Server on DigitalOcean App Platform instead.
What is Caddy Server?
Caddy is a powerful yet simple, Go-based open-source web server. Written in a memory-safe language, it compiles to a single, static binary, making it easy to run Caddy practically anywhere, even in containers. Caddy obtains and renews TLS certificates automatically, staples OCSP responses, and even performs automatic HTTPS rewrites. The modular architecture serves a whole host of use cases from simple static file serving (which we will cover today) to more complex use cases like dynamic reverse proxying and handling Kubernetes ingress.
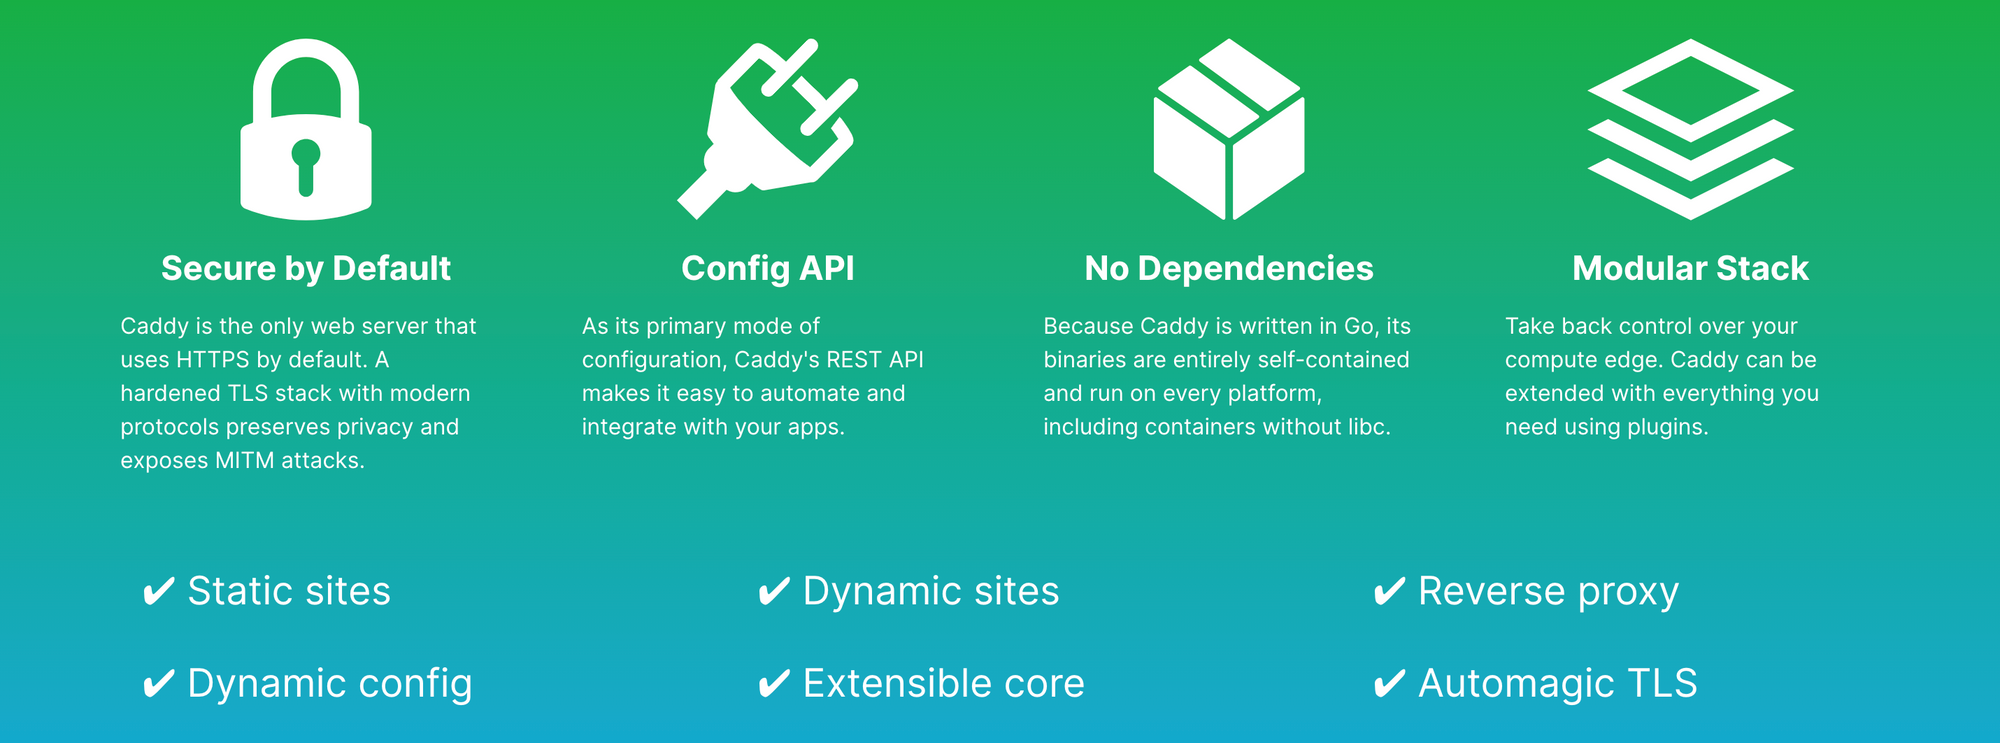
While Caddy's native config language is JSON, most users prefer the Caddyfile - a simple, human-readable config file which works well for most configurations. Caddy is also dynamically configurable using a RESTful JSON API, making it easy to automate and integrate with your applications.
Deploy Caddy on DigitalOcean App Platform
I'm going to test drive the DigitalOcean App Platform for this tutorial - a self-managed droplet works just fine too, with certificates managed by Caddy. In our case, the App Platform will take care of certificate management (similar to app hosting platforms like Railway and Netlify). If you don't have a DigitalOcean account, sign up here - you’ll receive a $200, 60-day credit as soon as you add a valid payment method to your account.
Log into your GitHub account and fork my caddy-server repository (I'm going to rename it caddy-on-digitalocean here). By default, the site/ directory gets deployed as a static site, but you can change this from the Dockerfile. Replace the default index.html and styles.css files with your own and add other files as necessary.
Set up your team and project in the DigitalOcean console, and click Create App from the Apps workspace. If this is your first time deploying from source code, you'll need to connect your GitHub account and authorize DigitalOcean.

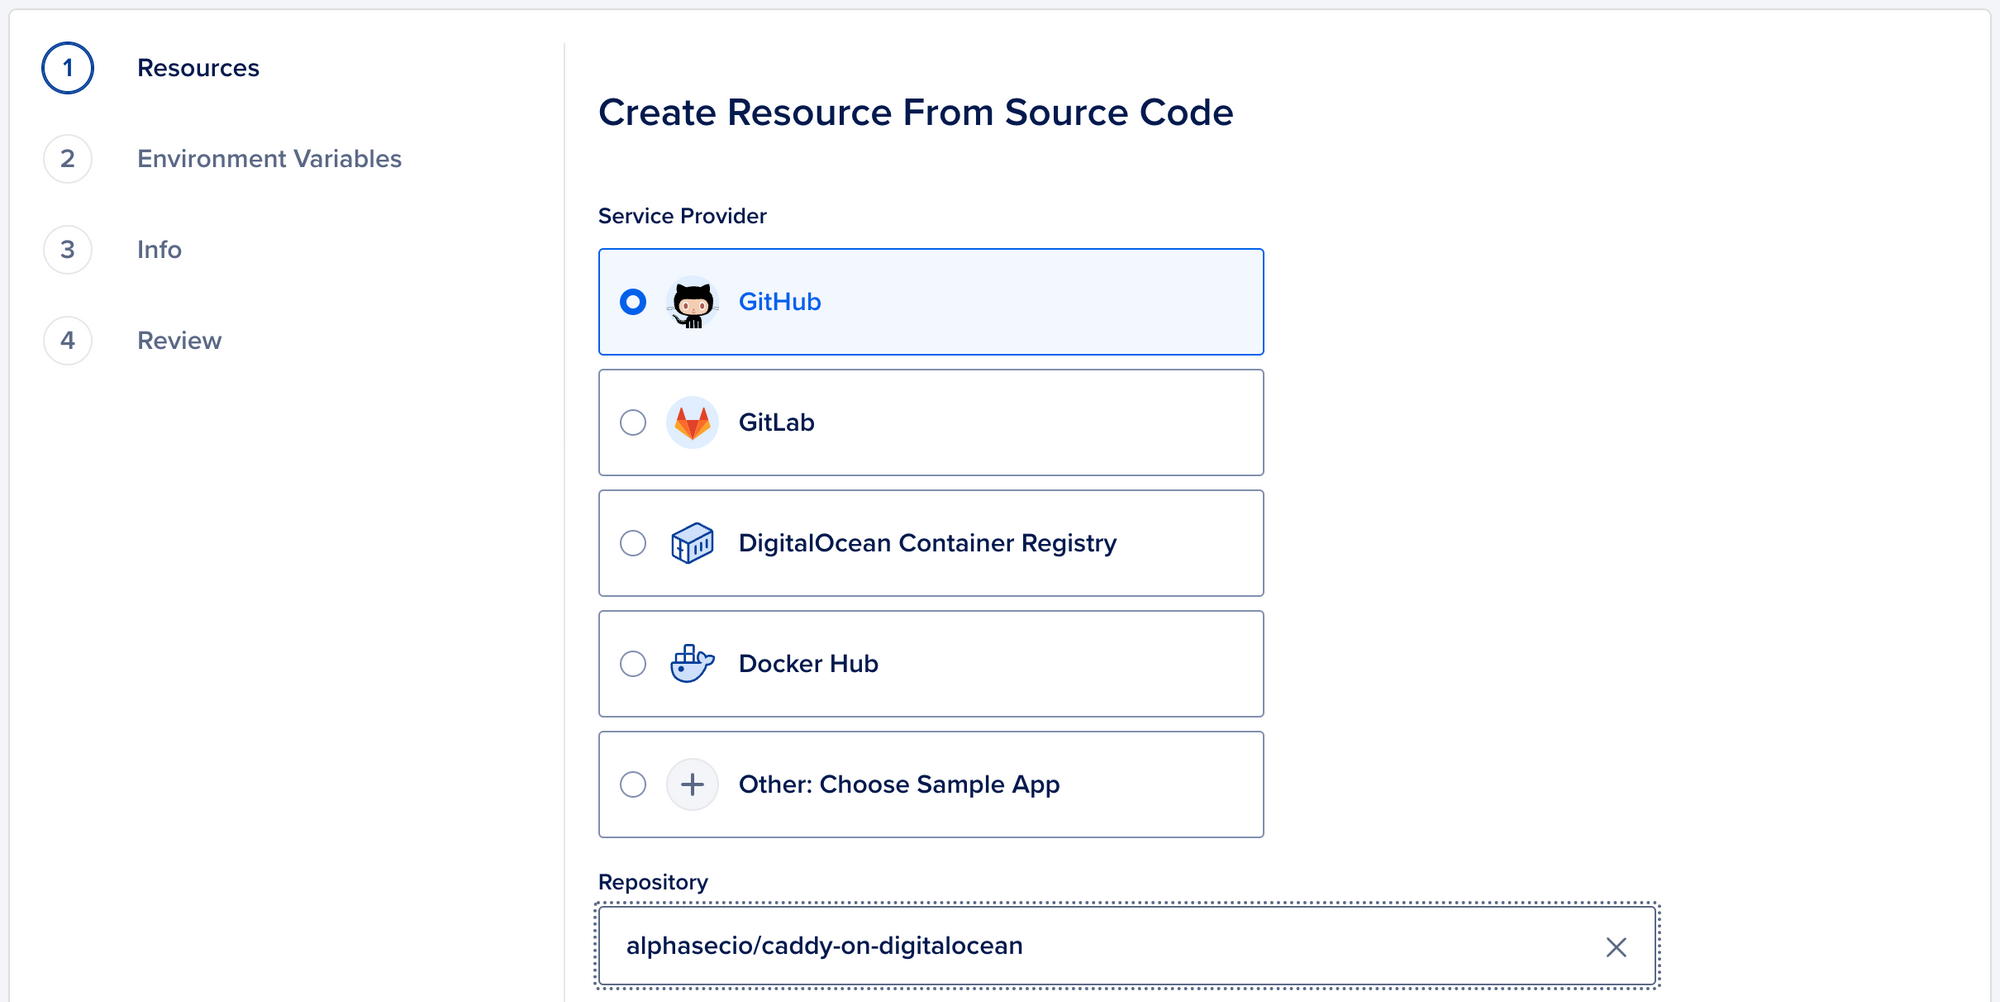
Once your GitHub account is connected, select the caddy-on-digitalocean repo. If you wish, you can enable Autodeploy so DigitalOcean can track changes to the source code and automatically re-deploy the app upon changes.
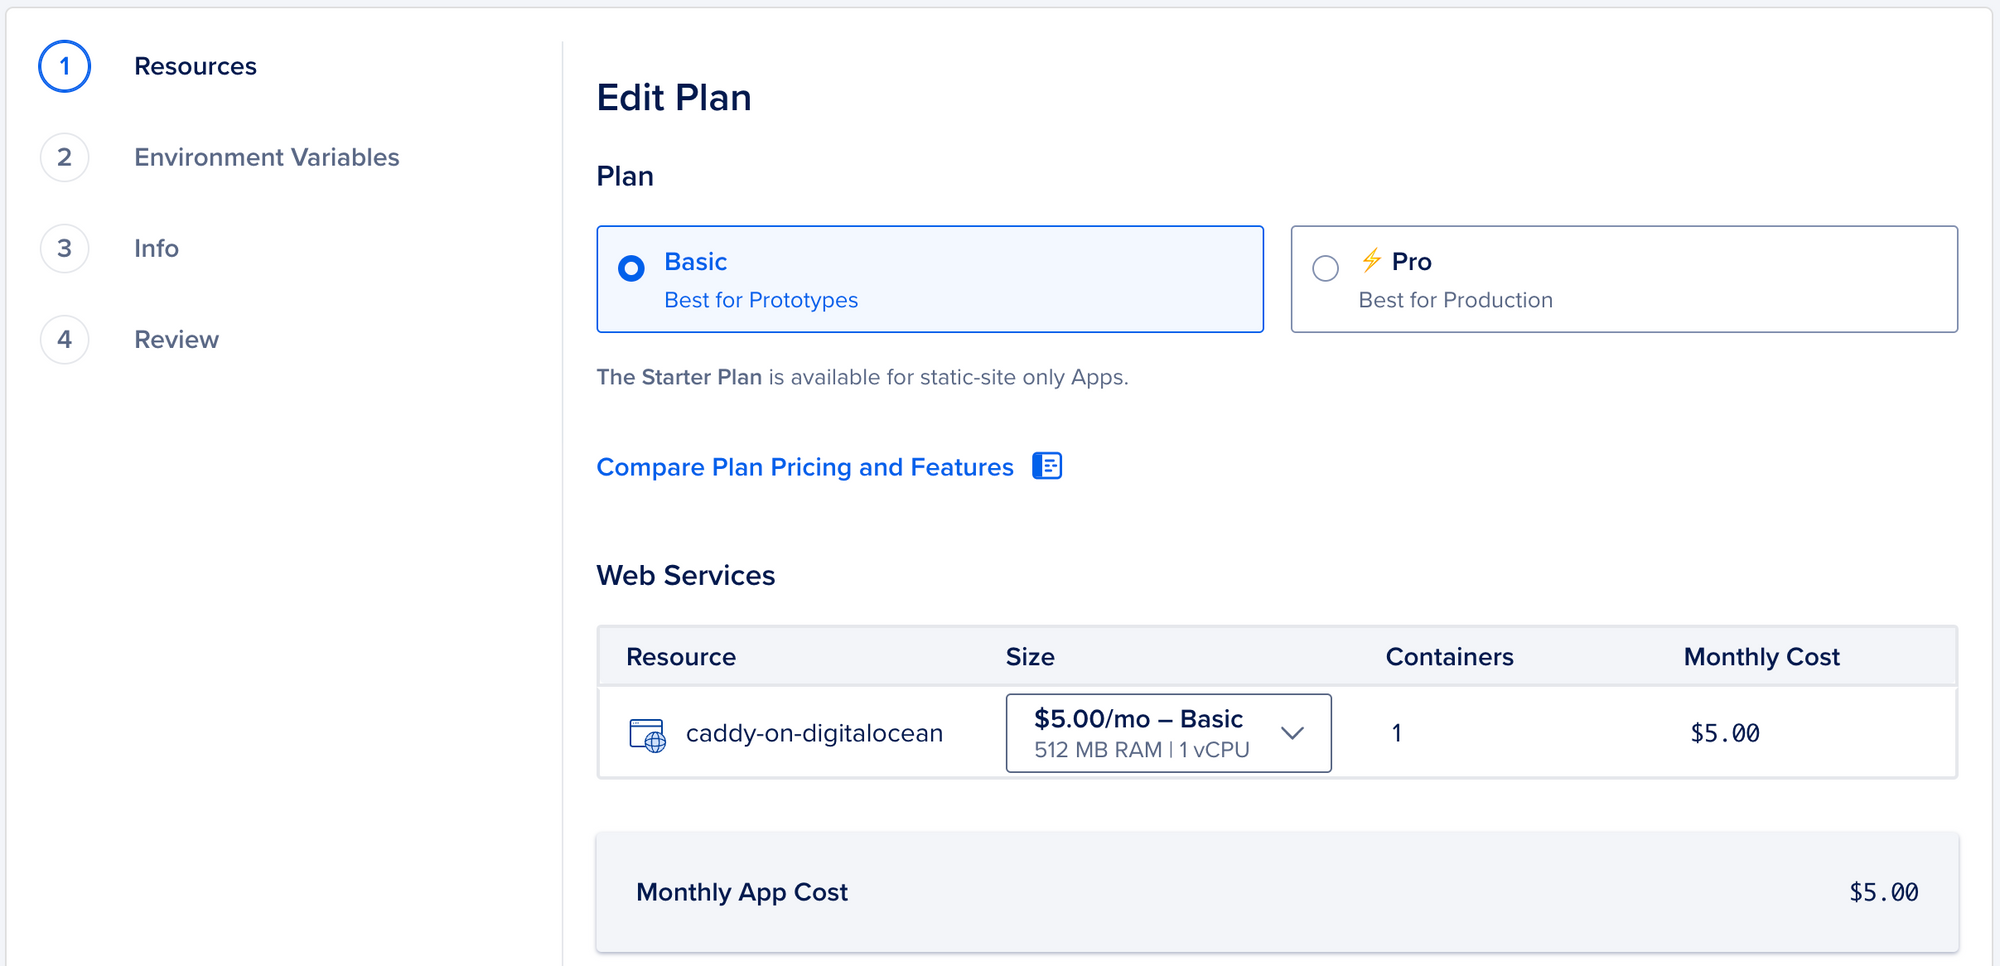
The App Platform automatically selects the Pro plan for the web service - you can click on Edit Plan to downgrade the plan.
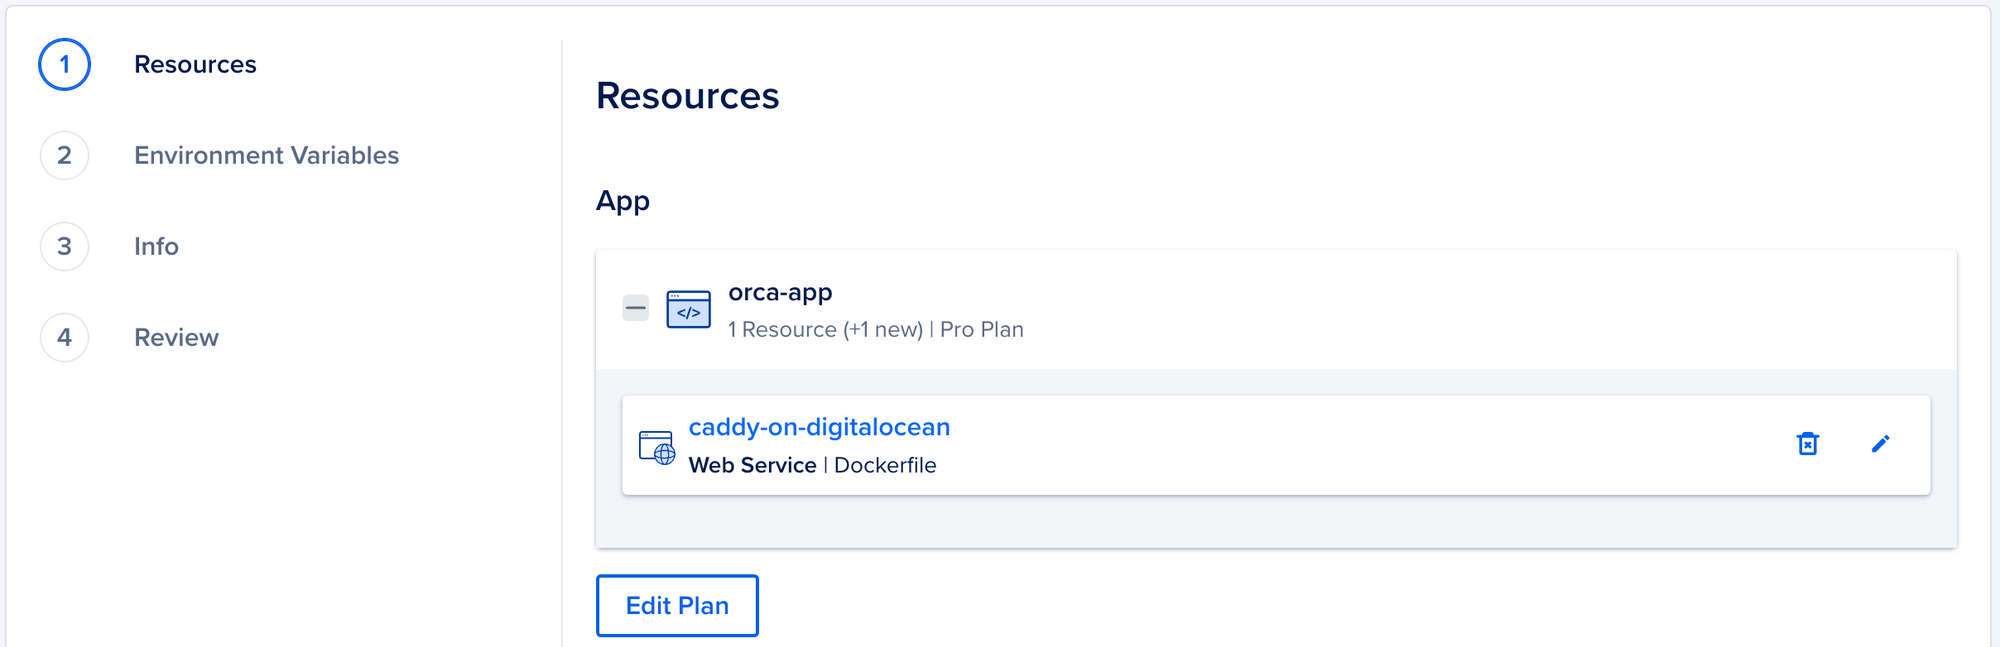
The Basic plan, along with the smallest container size, is sufficient for our prototype - for production, you can revisit this configuration. Click Next.
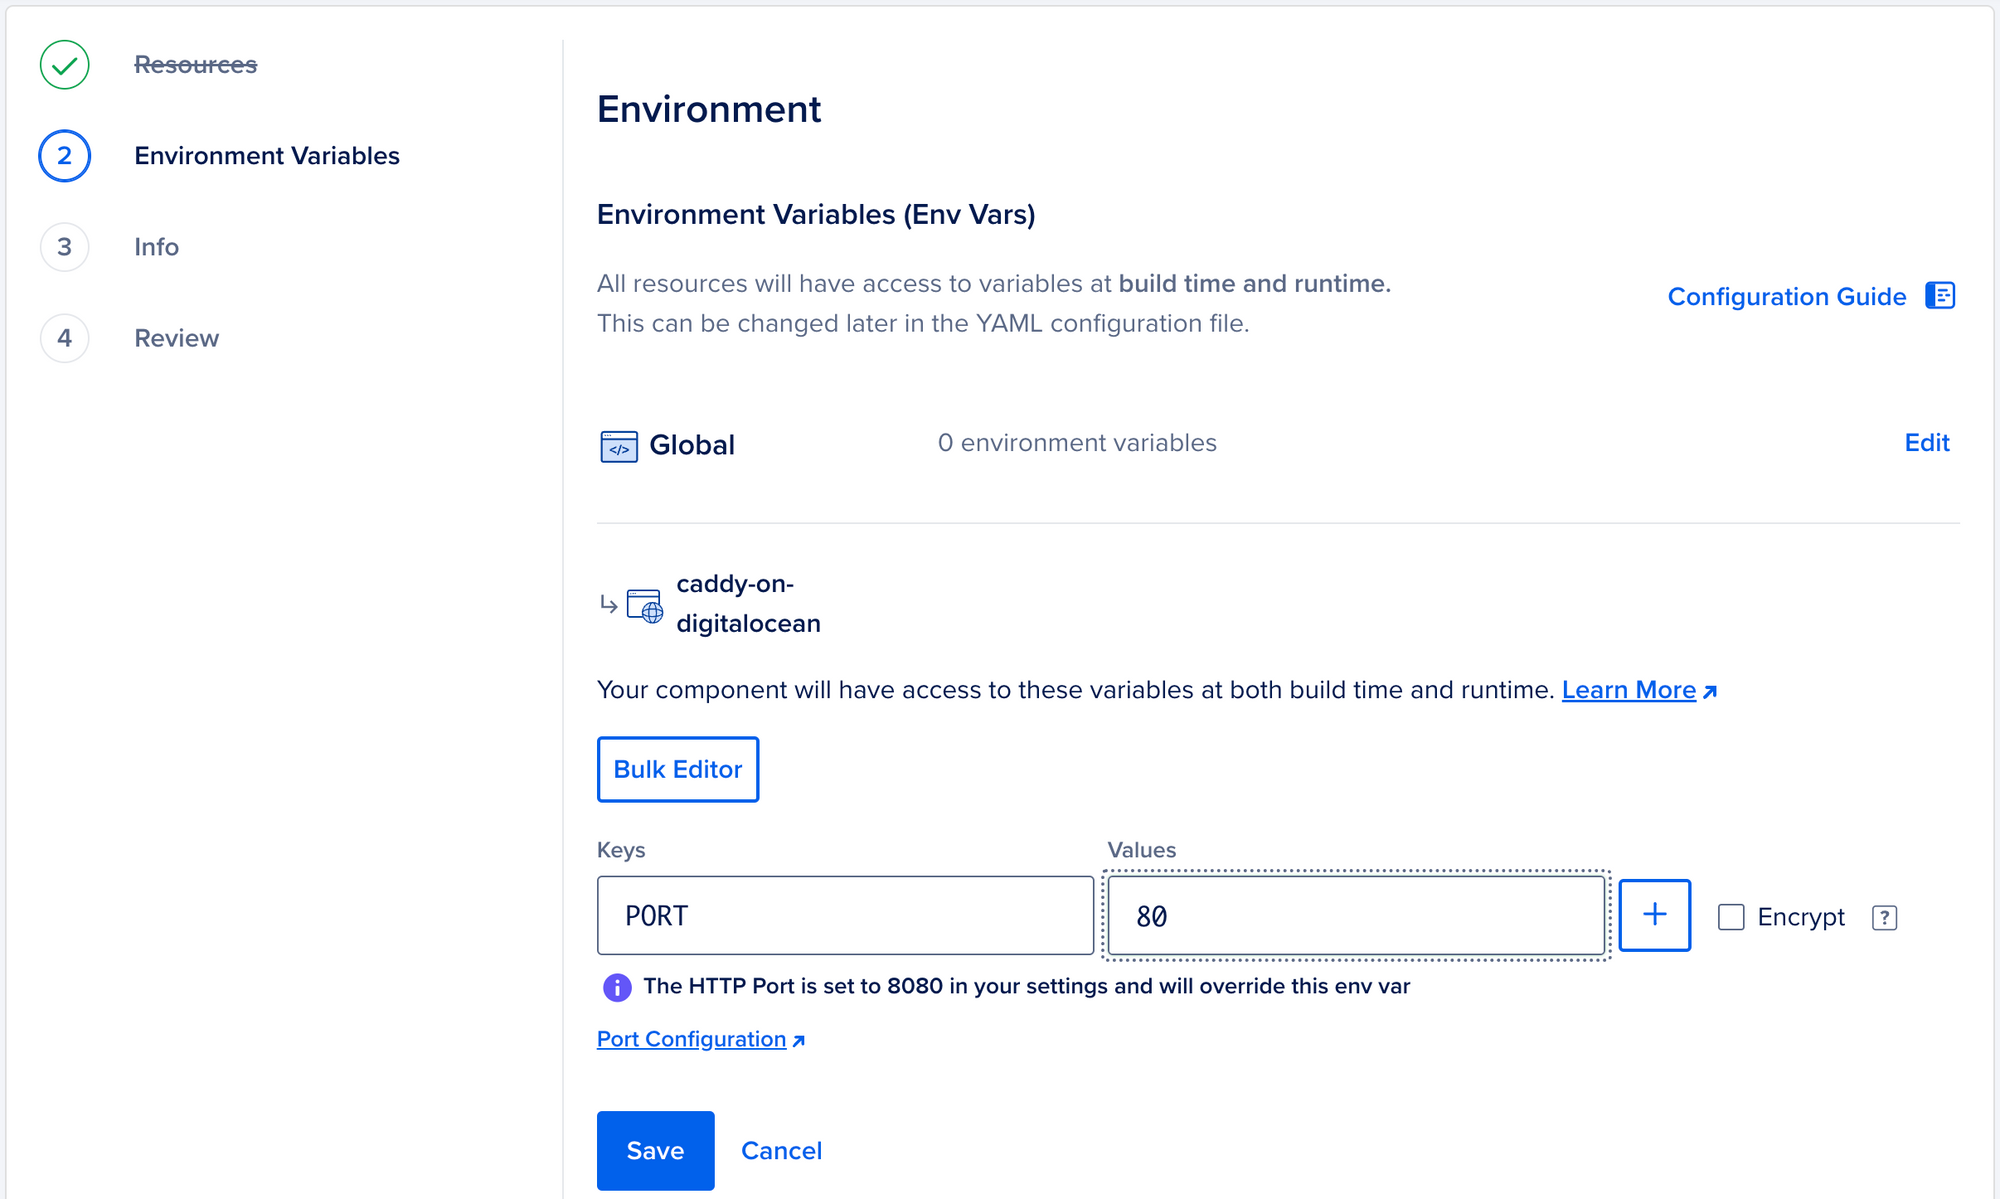
DigitalOcean sets the HTTP Port to 8080 by default - add a PORT variable with value 80 in the Environment Variables tab to override this setting. DigitalOcean handles certificate management here, and we do not need Caddy to repeat it. Click Save and Next.
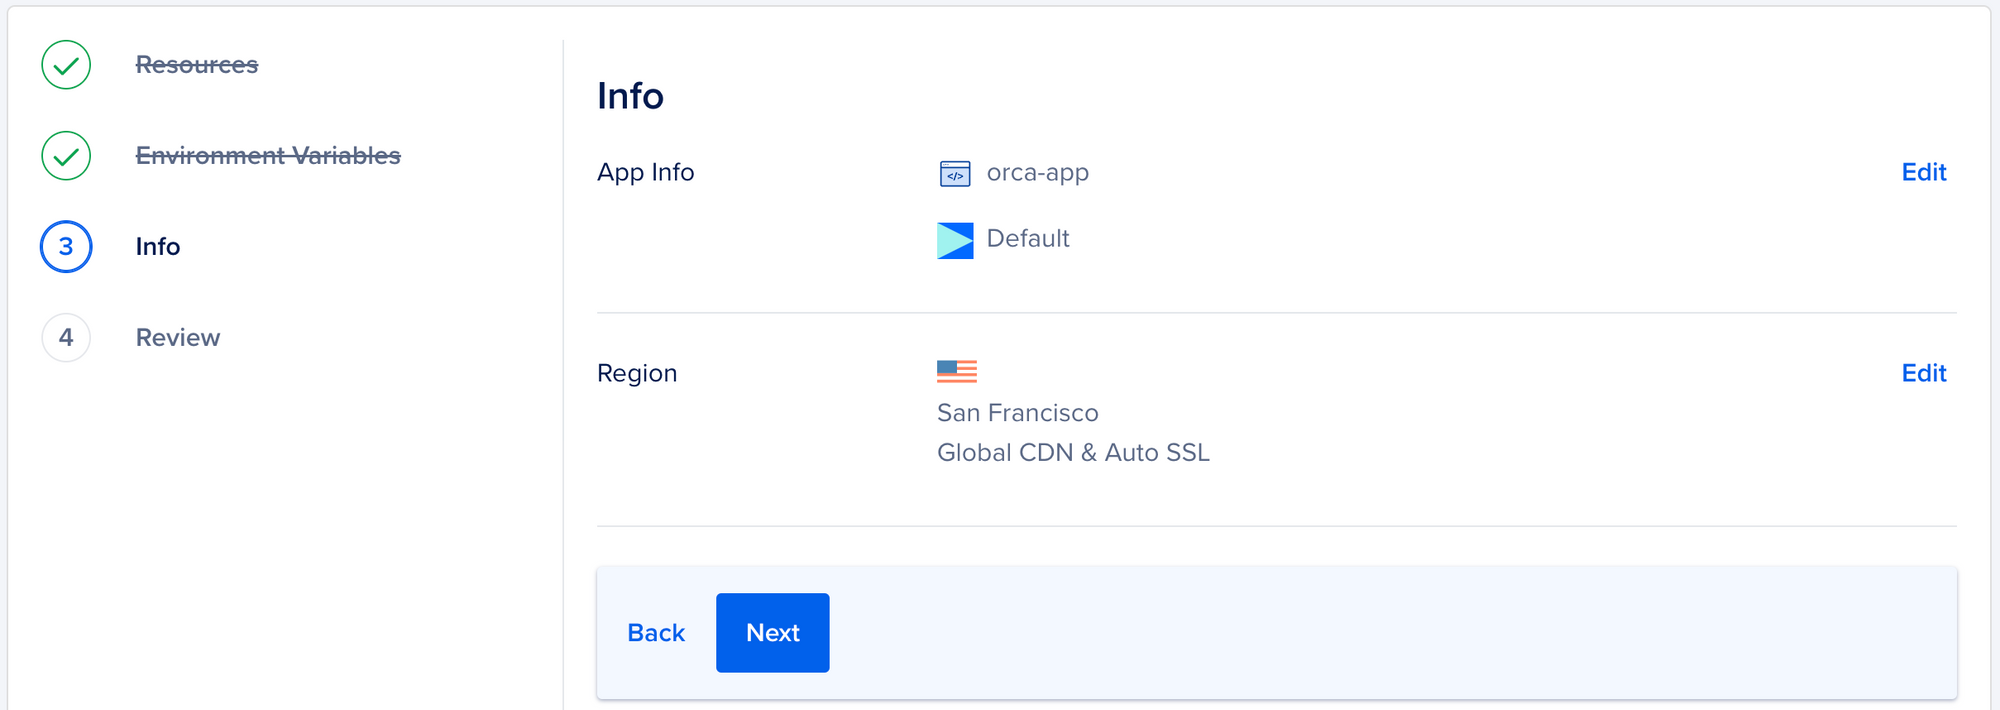
Change the assigned App Name and Region if you wish - by default the nearest region is automatically selected for you - and click Next.
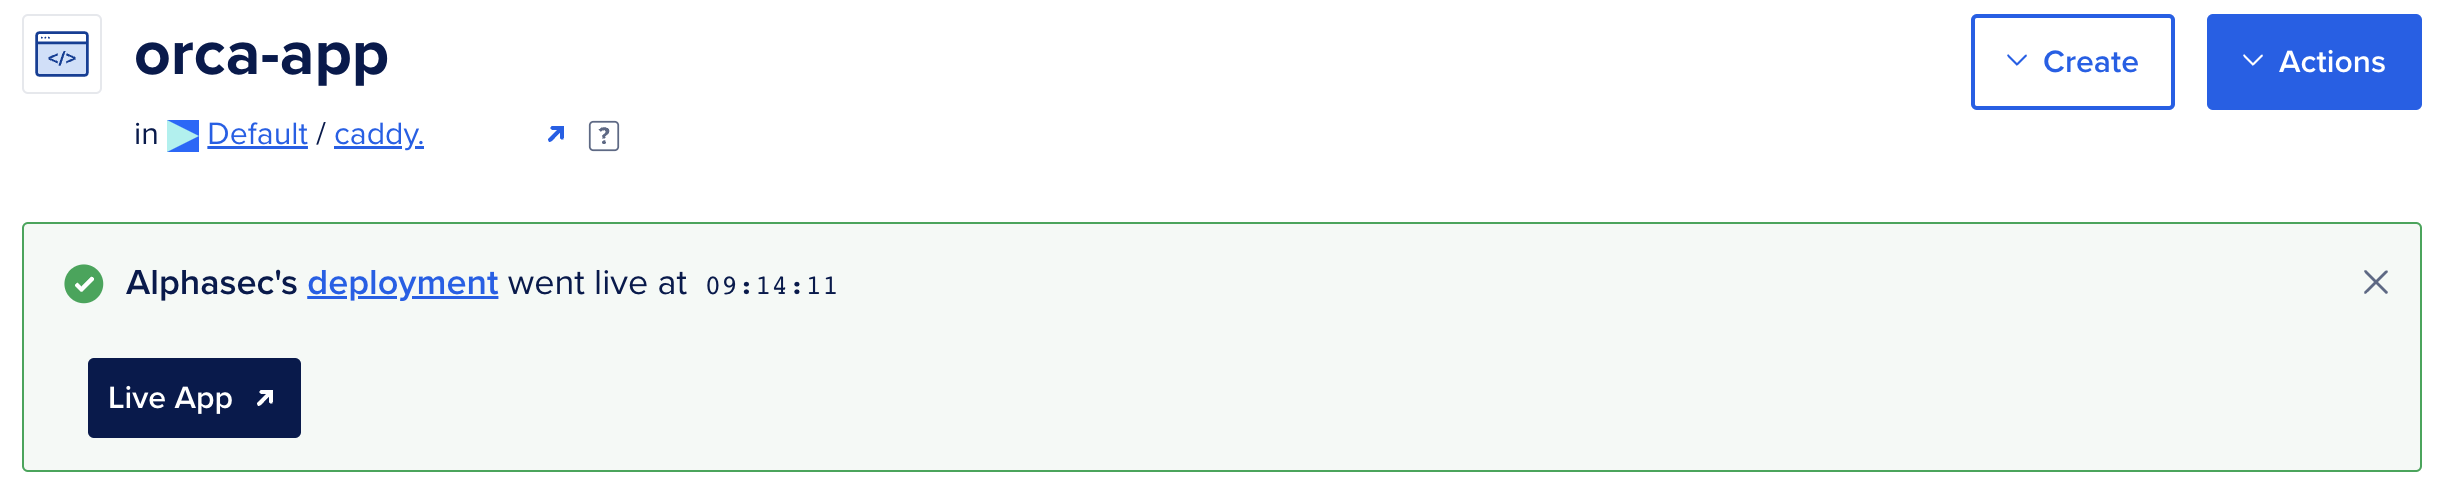
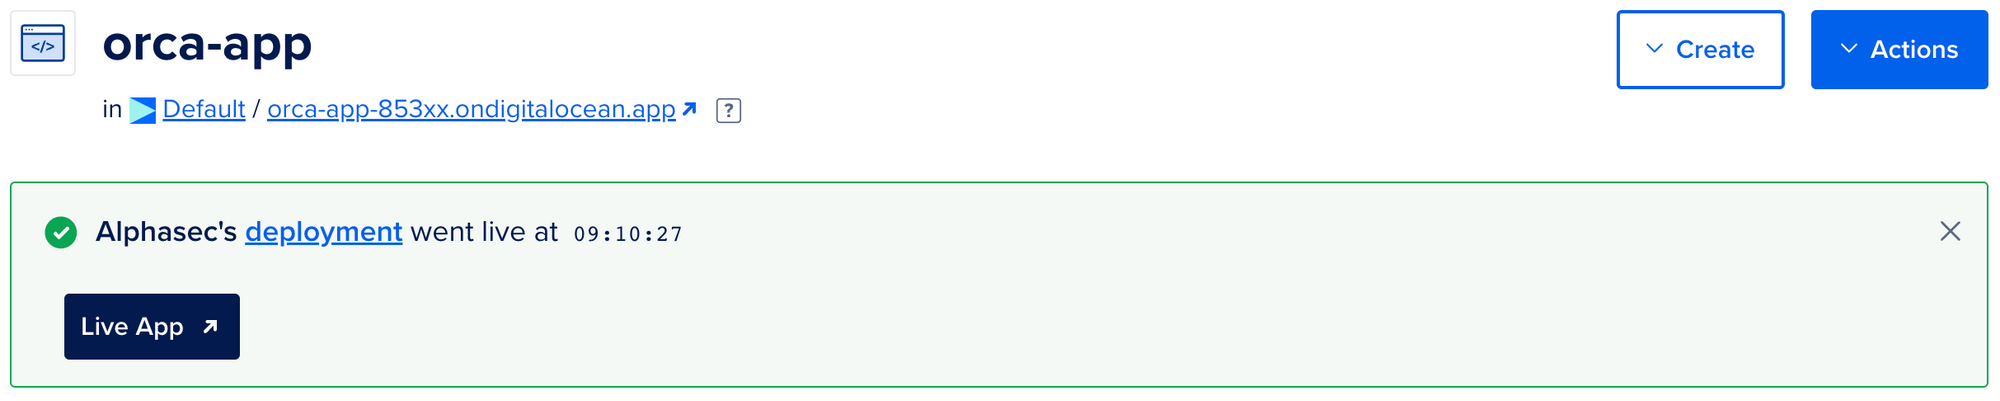
Review the app configuration and, if all is good, create the resource. Wait a few seconds - once ready, your app will be available at xxx.ondigitalocean.app.
Configure a Custom Domain (Optional)
DigitalOcean services can be exposed to the internet on a custom domain instead of the xxx.ondigitalocean.app subdomain. If you don't already own a domain, head over to Cloudflare Registrar or Namecheap and register a domain first. From the app settings, click on Edit under the domains section, and click Add Domain.

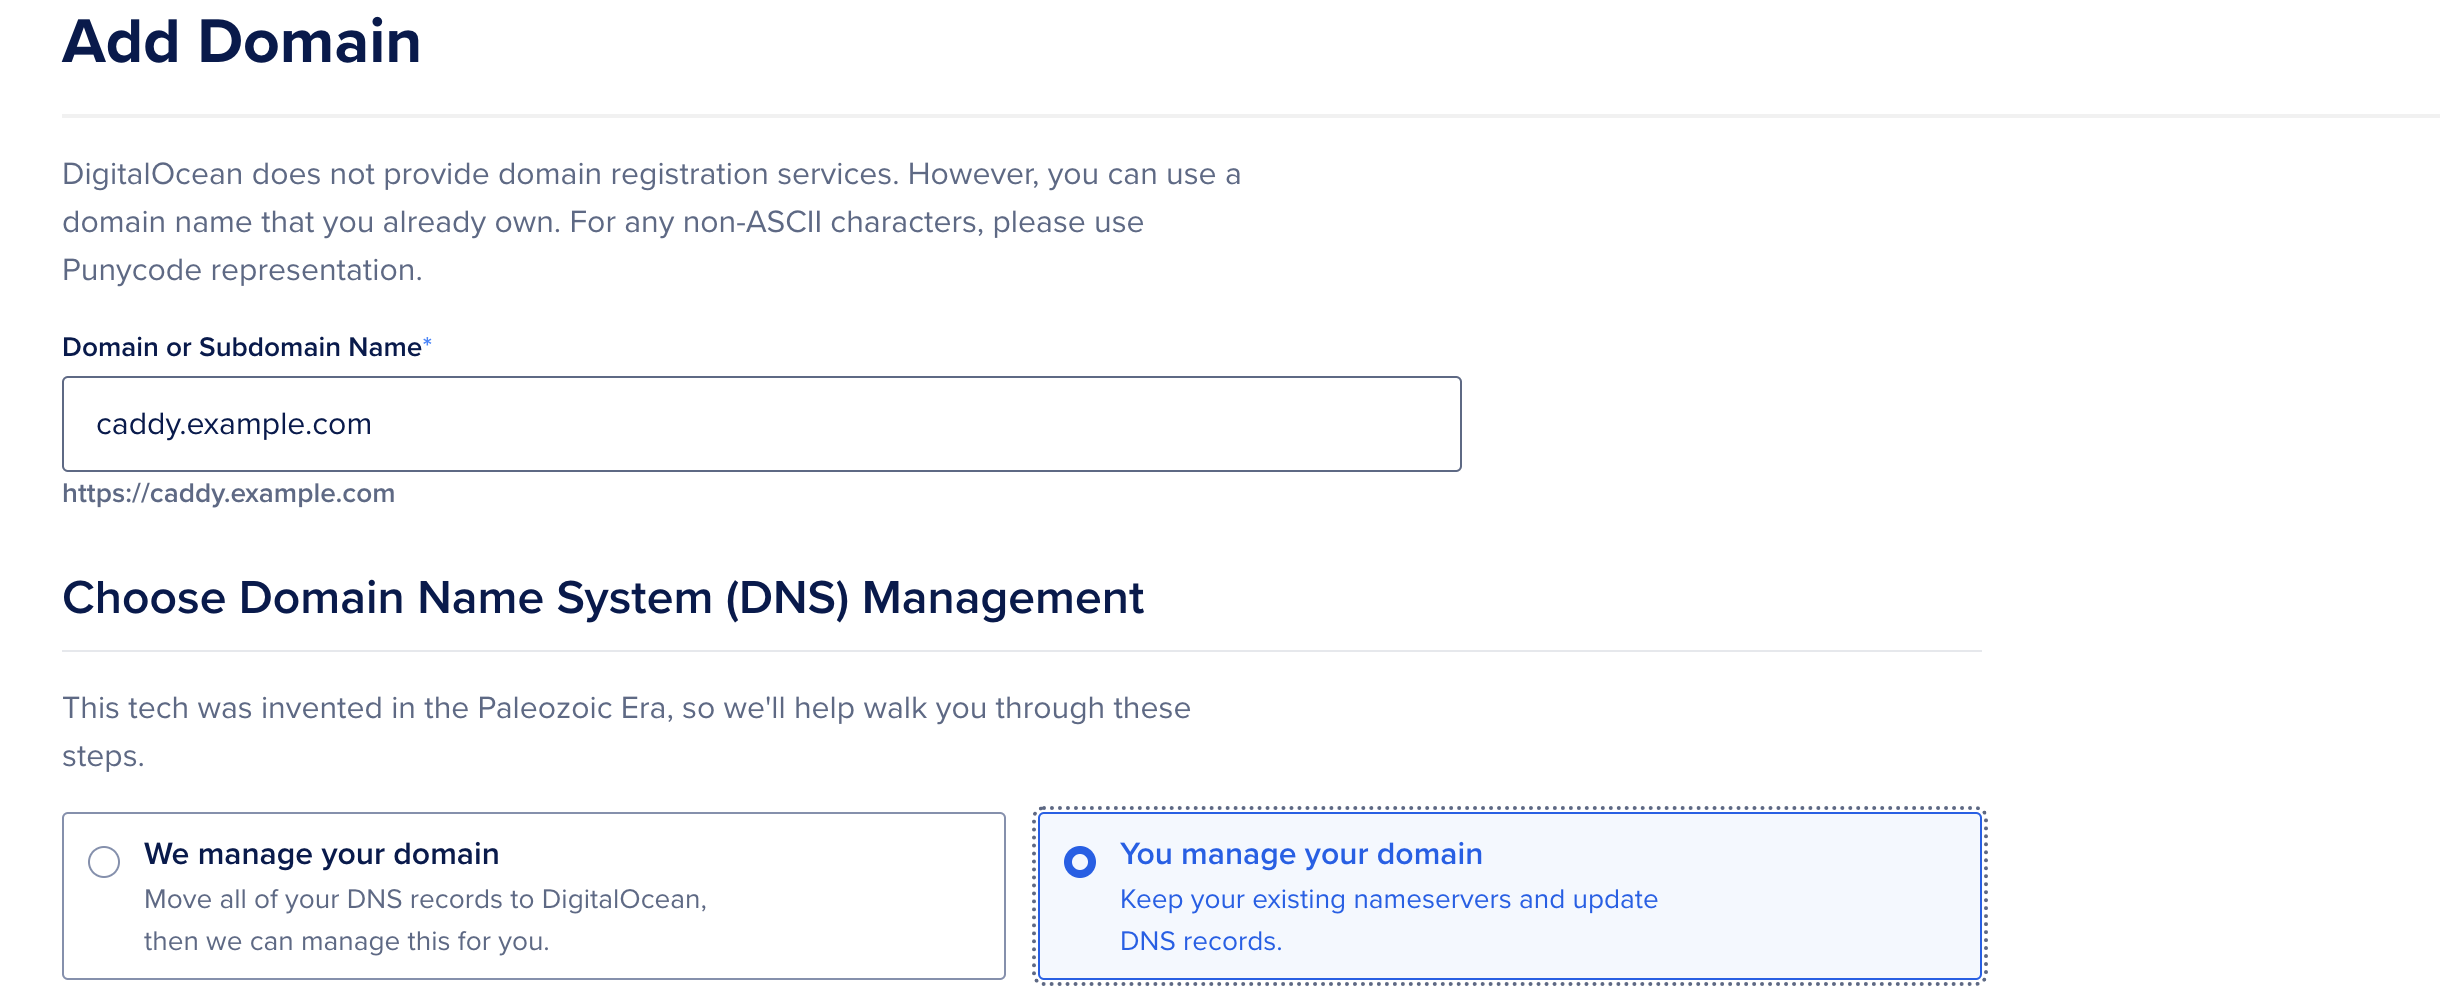
Specify the domain or subdomain name you wish to configure for the service, and select You manage your domain option (assuming you are not using DigitalOcean as your DNS provider).
Add a CNAME record for your domain corresponding to the one shown below.
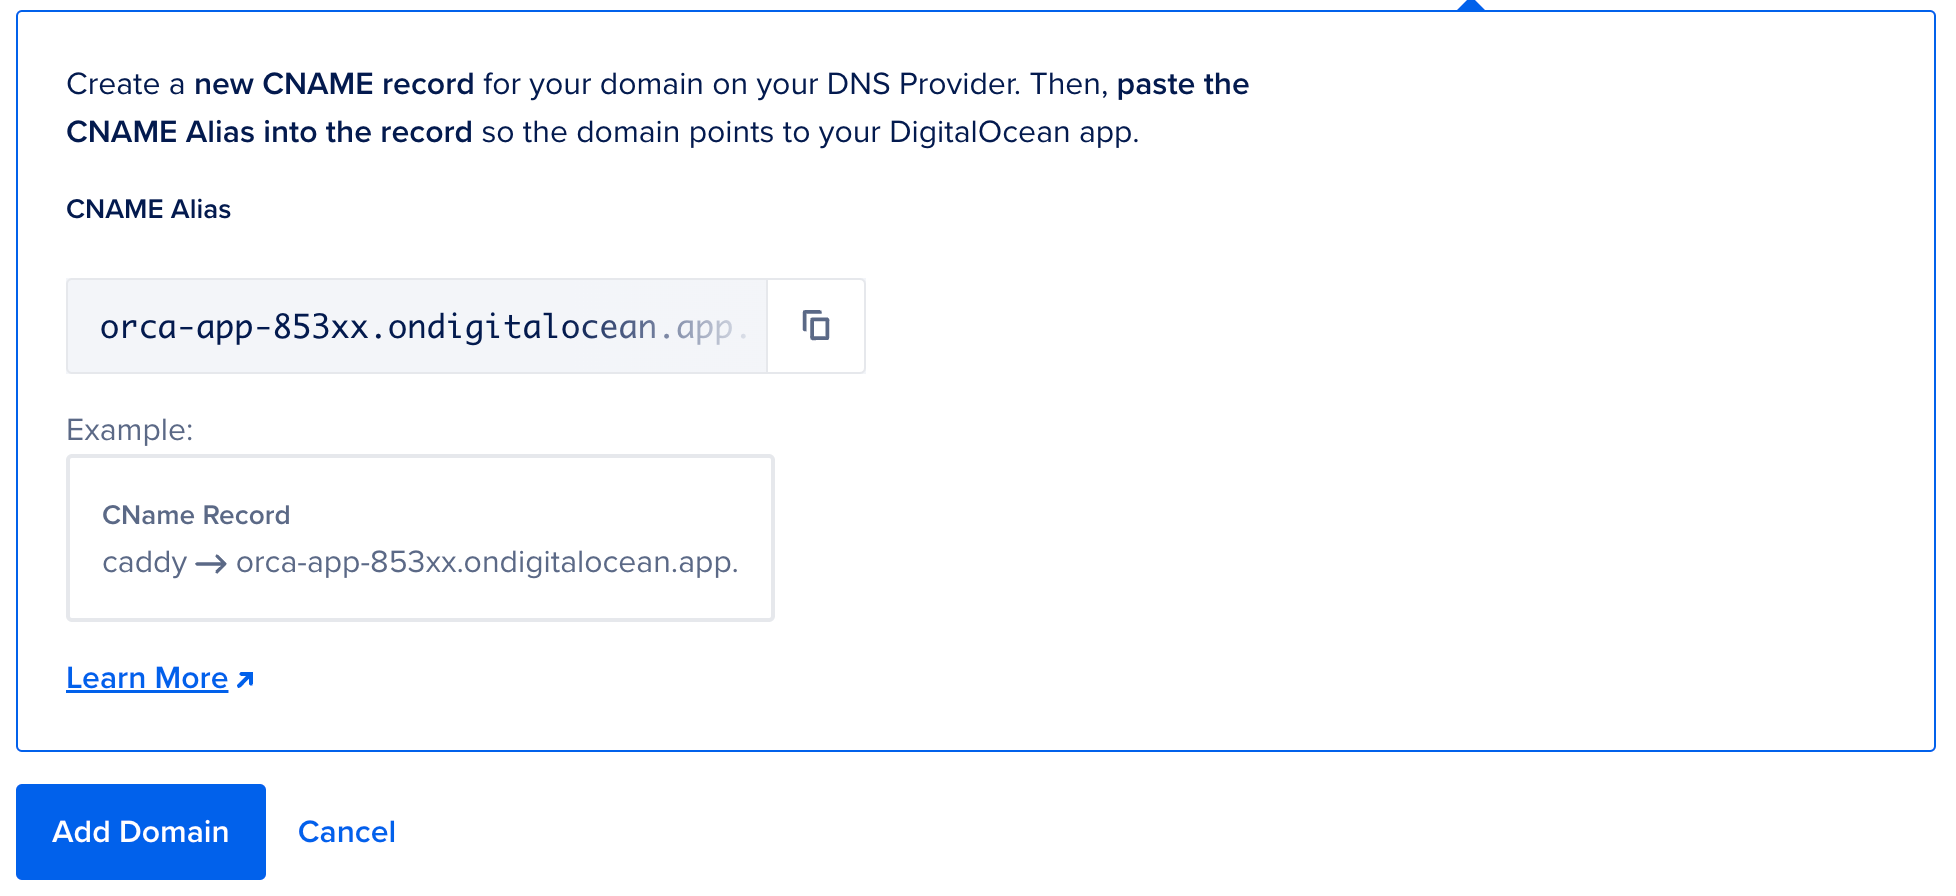
DigitalOcean will automatically trigger a re-deployment on the new domain or subdomain. Once the DNS records propagate, the app will be available on your custom domain!