How to Deploy a Node.js App on Railway
A complete guide to deploying Node.js apps on Railway in 2025. Free starter template, automatic GitHub deployment, and database integration. Deploy in minutes!
In this post, we'll walk through the steps to deploy a Node.js app on Railway, a modern platform that makes it easy to deploy production-ready applications in minutes. Before you begin, make sure you have:
- A GitHub account (required for Railway authentication)
- Basic familiarity with Node.js and JavaScript
- (Optional) A custom domain if you want to use one instead of the default Railway subdomain
What is Node.js?
Node.js (sometimes referred to as NodeJS) is an open-source, event-driven JavaScript runtime environment, frequently used to build server-side web applications. It is built on top of the Google Chrome V8 JavaScript engine, making it extremely fast and efficient for real-time data-intensive applications. Node.js powers some of the world's most popular platforms including Netflix, PayPal, LinkedIn, and Uber. It's particularly well-suited for building APIs, real-time applications like chat systems, microservices, and streaming applications. The platform also has a large and active developer community, with plenty of modules and libraries available through npm (Node Package Manager) for easy integration and extensibility.
Deploy a Simple Node.js App on Railway
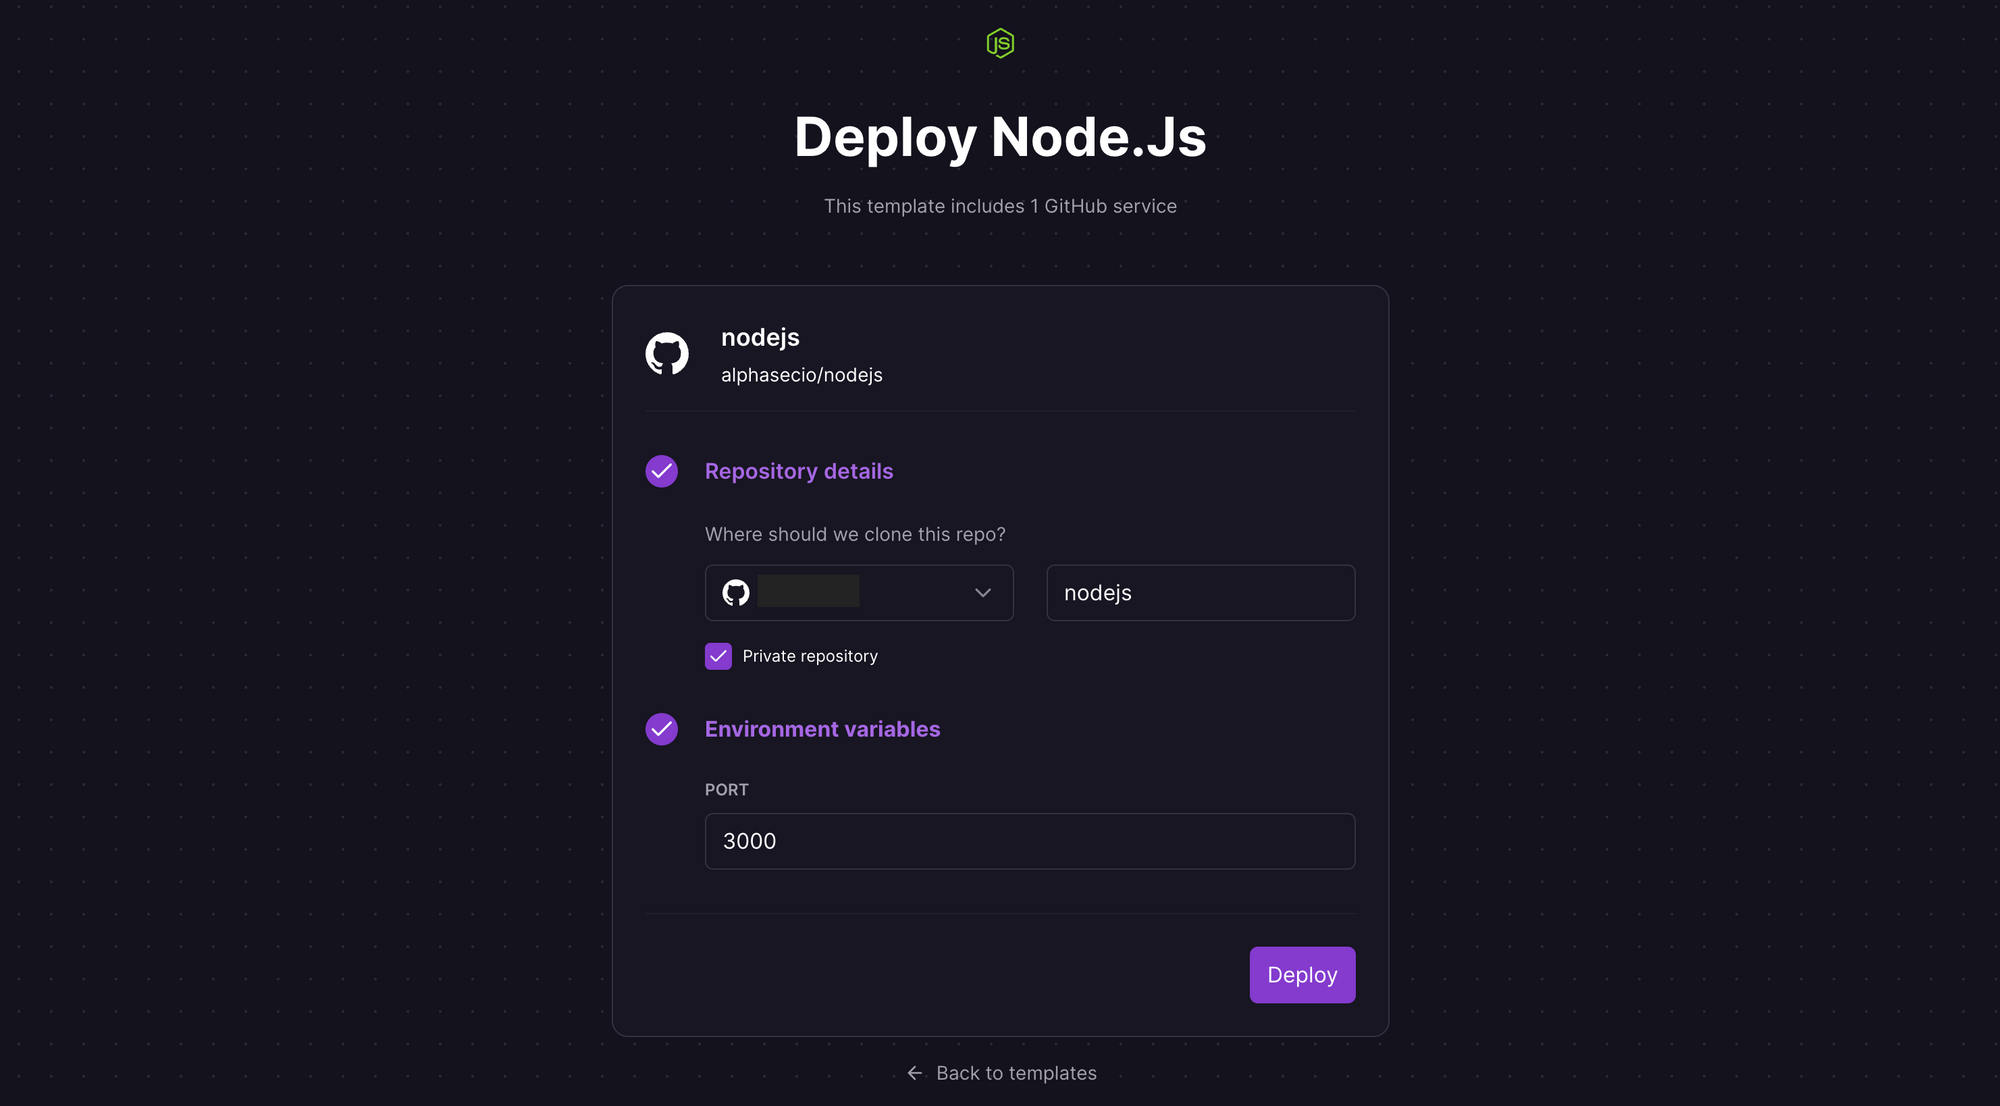
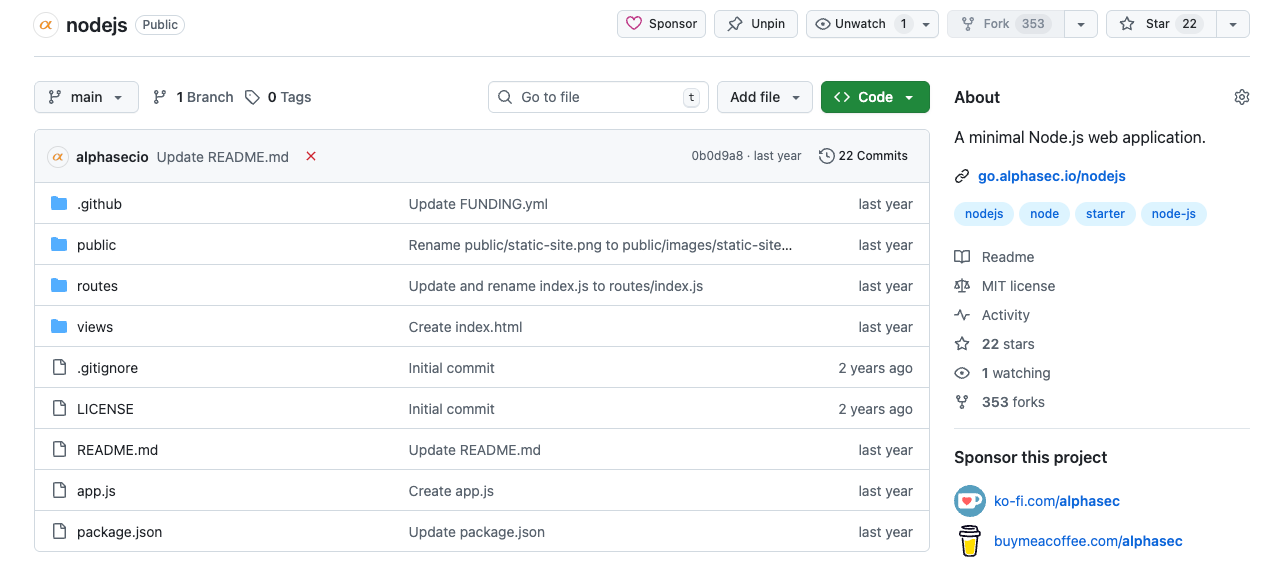
Let's deploy the Node.js app on Railway, a modern app hosting platform that makes it easy to deploy production-ready apps quickly. If you don't already have an account, sign up using GitHub, and click Authorize Railway App when redirected. Railway does not offer an always-free plan anymore, but the free trial is good enough to try this. Launch the Node.js one-click starter template (or click the button below) to deploy a Node.js app instantly on Railway.

You'll be given an opportunity to change the default repository name and set it private, if you'd like. Accept the defaults and click Deploy; the deployment will kick off immediately.
Once the deployment completes, a simple Node.js app will be available at a default xxx.up.railway.app domain - launch this URL to access the app. You should see the landing page, confirming your app is live! If you are interested in setting up a custom domain, I covered it at length in a previous post - see the final section here.
If you want to modify the app, here's a few things to understand first:
- The
index.jsfile only covers the default/route, which returns a simple HTML landing page. To customise this, add your own routes using the Express framework (current template below).
const express = require('express');
const path = require('path');
const indexRouter = require('./routes/index');

const app = express();
const PORT = 3000;

// Serve static files from the "public" directory
app.use(express.static(path.join(__dirname, 'public')));

// Use the router for handling routes
app.use('/', indexRouter);

// Catch-all route for handling 404 errors
app.use((req, res, next) => {
    res.status(404).sendFile(path.join(__dirname, 'views', '404.html'));
  });

app.listen(PORT, () => {
  console.log(`Server running at http://localhost:${PORT}/`);
});- The
package.jsondefines the project metadata, scripts and dependencies. Update accordingly if you add other packages. This file tells Railway which Node.js version to use and which commands to run during deployment. - The app will listen on port
3000by default; update thePORTenvironment variable to change the default port.
Next Steps: Taking Your App Further
Now that you have a basic Node.js app deployed, here are some ways to enhance it:
- Add more routes and features: Extend your application by adding more endpoints and functionality. Consider implementing RESTful API endpoints, authentication with JWT, file upload capabilities, etc.
- Implement a database: Connect a PostgreSQL or MySQL database to store persistent data. Railway makes this simple with one-click database provisioning and automatic connection string injection.
- Set up continuous deployment: Railway automatically deploys your app whenever you push to your connected GitHub repository. For this approach, fork my repository first, make your changes, and then deploy to Railway.
- Monitor your application: Keep track of your app's performance and resource usage with Railway's built-in metrics dashboard, monitor CPU and memory usage, track deployment history and rollback if needed.
- Finally, optimise costs: Remove unused services, set sleep policies for development environments, and monitor your usage in the billing dashboard.
In conclusion, deploying a Node.js app on Railway is a straightforward process, made even easier by the one-click template. The platform handles all the infrastructure complexity, letting you focus on building your application.
Ready to deploy? Launch the Node.js template and have your app live in minutes!