Expose Web Services on Your Home Network with Nginx Proxy Manager
A step-by-step guide to exposing web services on your home network with Nginx Proxy Manager.
What is Nginx Proxy Manager?
Nginx Proxy Manager is a simple web interface that enables users to reverse proxy to web hosts with free TLS termination using Nginx and LetsEncrypt. Based on Tabler, it was developed with the intention of offering users a simple way to:
- Expose web services on home network (or otherwise) easily and securely
- Create proxy hosts, redirection hosts, streams and 404 hosts without detailed knowledge of Nginx reverse proxy
- Encrypt web traffic using free TLS certificates generated by Let's Encrypt
- Define access lists and set up basic HTTP authentication for the hosts

Deploy Nginx Proxy Manager using One-Click Starter on Railway
In this post, we'll self-host Nginx Proxy Manager on Railway, a modern app hosting platform that makes it easy to deploy production-ready apps quickly. If you don't already have an account, sign up using GitHub, and click Authorize Railway App when redirected. Review and agree to Railway's Terms of Service and Fair Use Policy if prompted. Railway does not offer an always-free plan anymore, but the free trial is good enough to try this. Launch the Nginx Proxy Manager one-click starter template (or click the button below) to deploy it instantly on Railway.
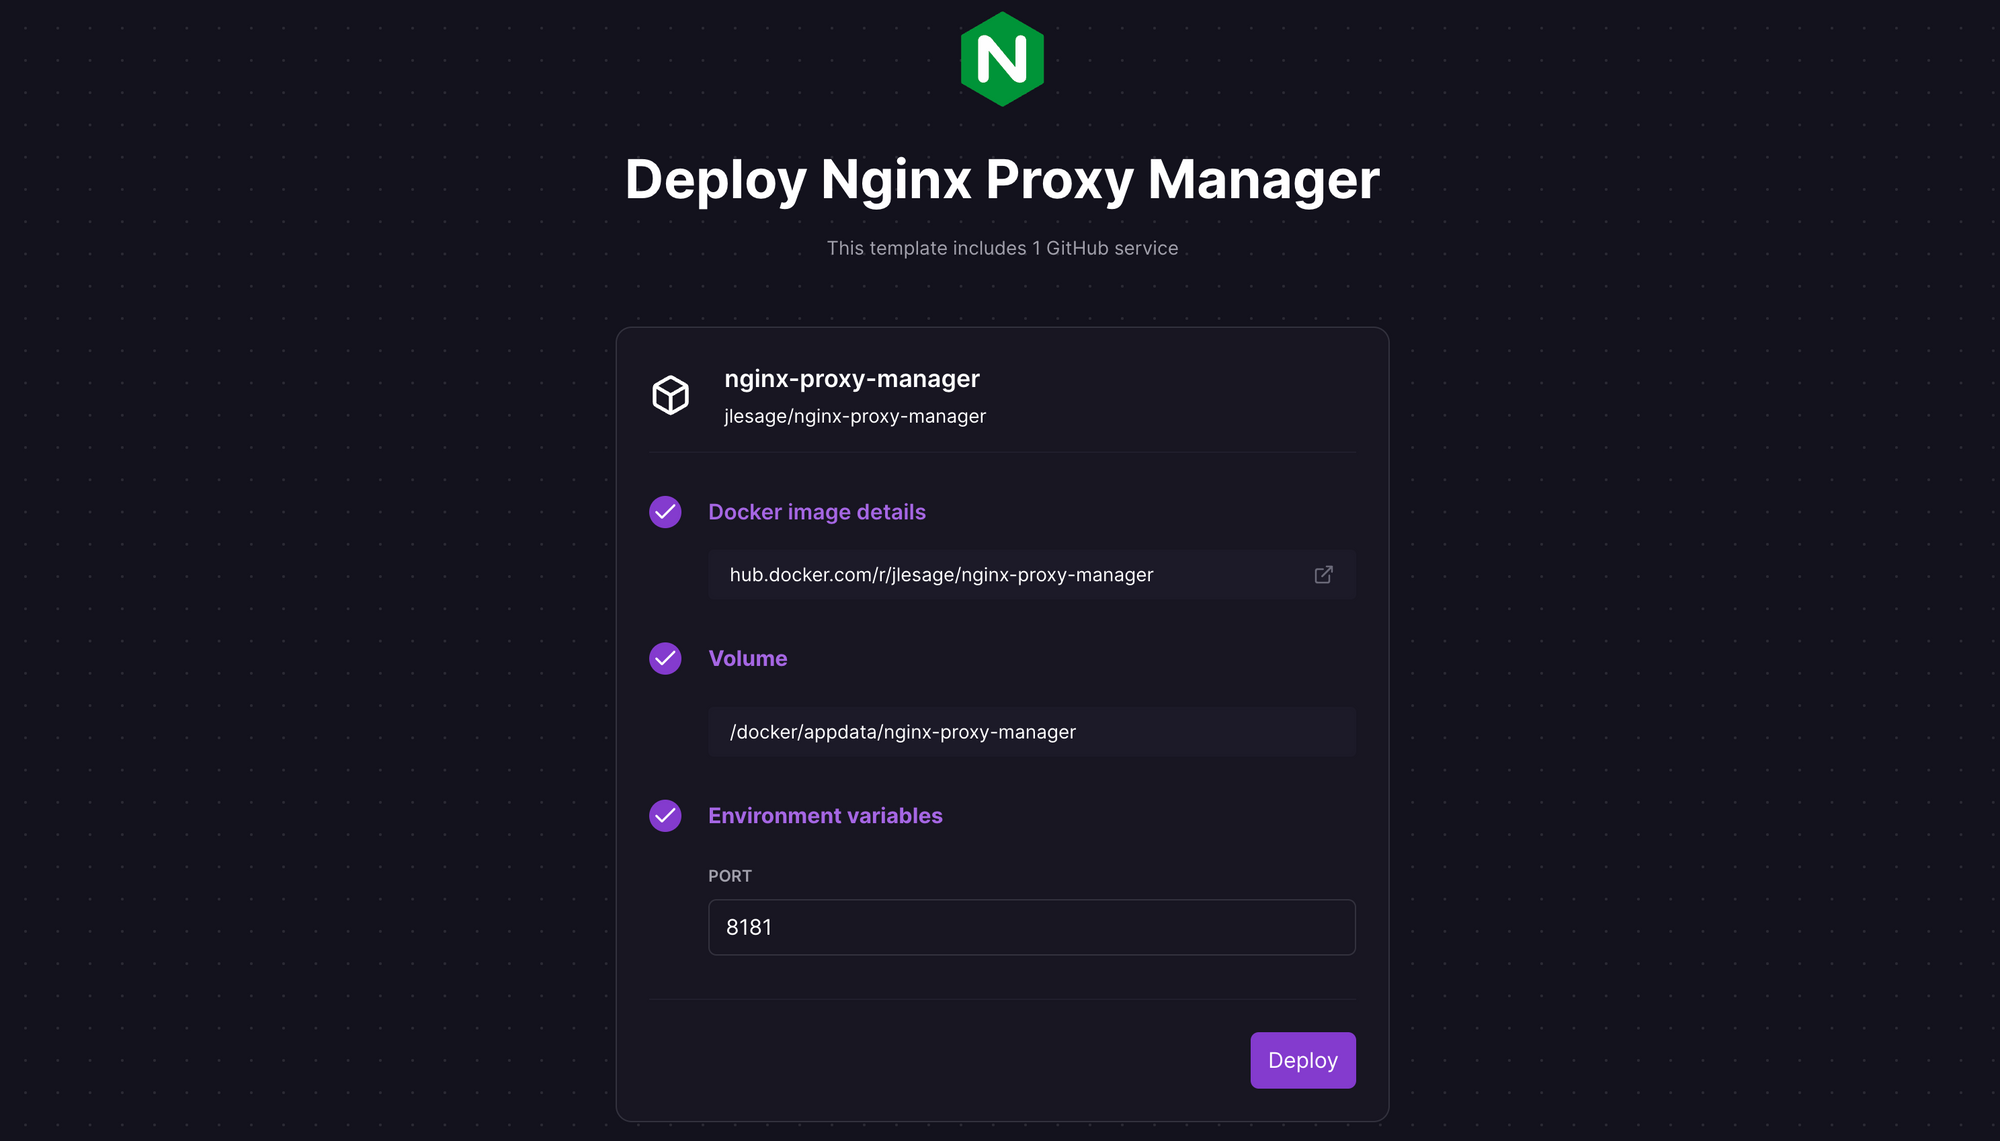
We're using a Docker image for the deployment; review the default settings and click Deploy; the deployment will kick off immediately.

Once the deployment completes, Nginx Proxy Manager will be available at a default xxx.up.railway.app domain - launch this URL to access the web interface. If you are interested in setting up a custom domain, I covered it at length in a previous post - see the final section here.

Getting Started with Nginx Proxy Manager
To get started, login with the default credentials i.e. admin@example.com as the email address, and changeme as the password. Once you login, you'll be prompted to change the default admin details - do so, and change the default password too.

Nginx Proxy Manager allows you to create 4 types of hosts (see this for more info):
- Proxy host: an HTTP/S host that proxies requests to a local web server on the mapped port, and makes it accessible via a Cname.
- Redirection host: permanently redirects traffic to another host.
- Stream host: doesn't require DNS hostname, but proxies any TCP/UDP traffic on a specific port to another host.
- 404 host: return an HTTP 404 response for the configured domains.
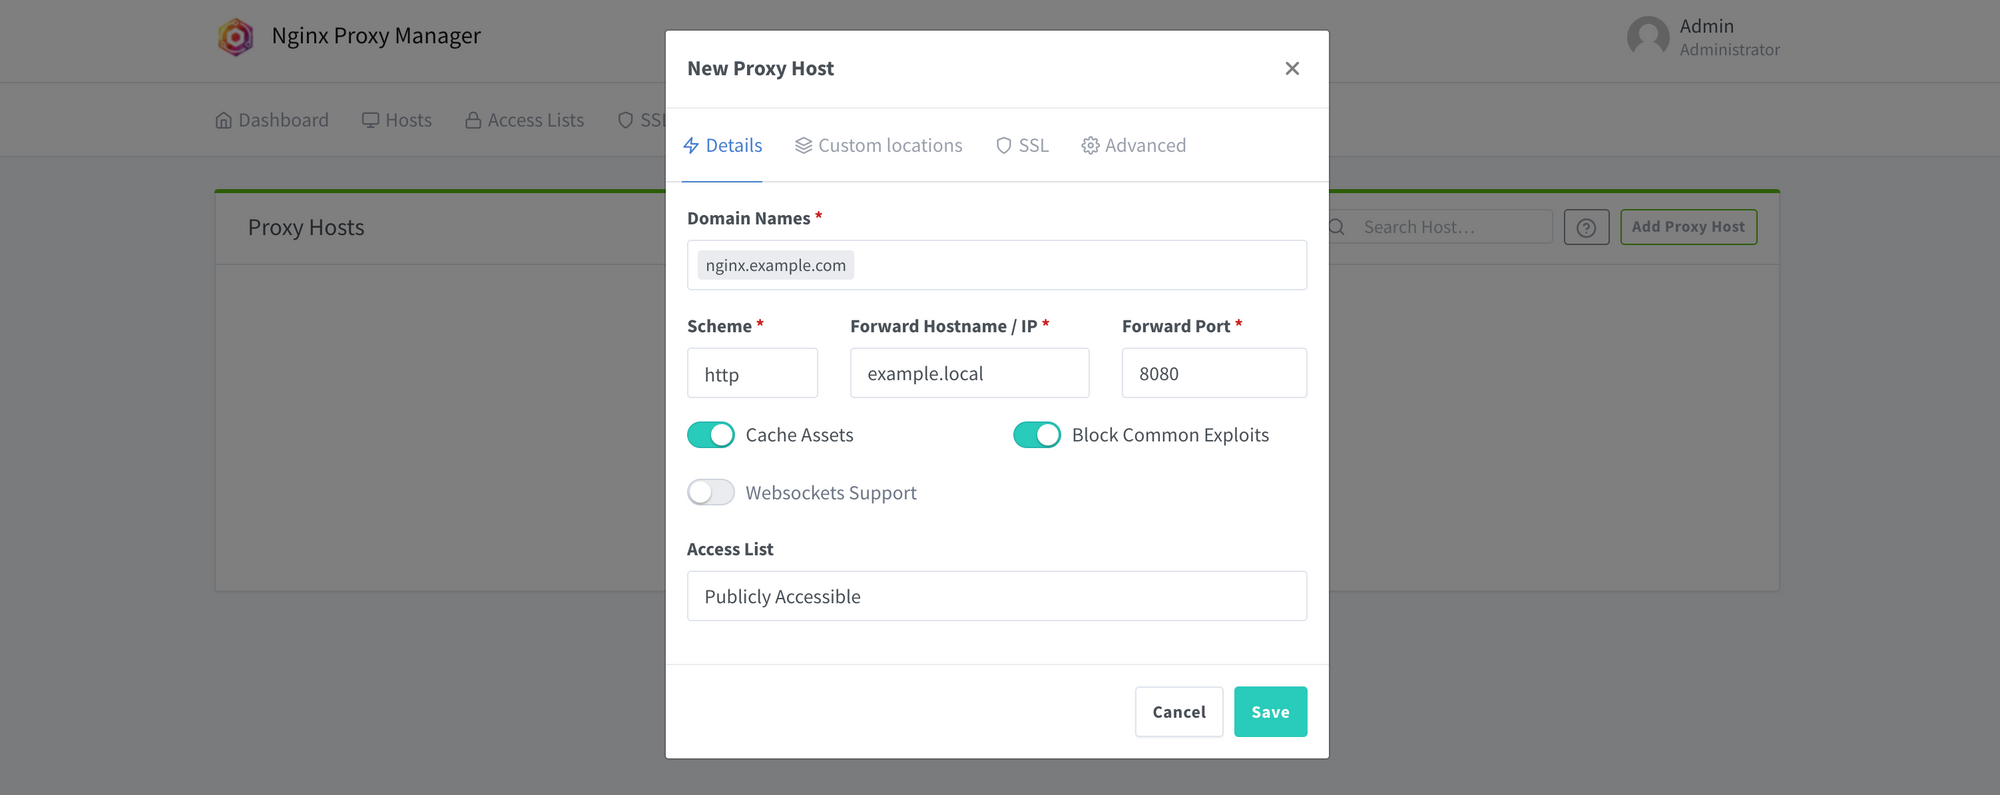
Let's walk through the experience of setting up a proxy host. From the Hosts tab, click Proxy Hosts, and click Add Proxy Host. Specify the public domain name(s), scheme, forward hostname/IP and port, and click Save. You can choose to cache assets and block common exploits, as well as configure the access lists here.

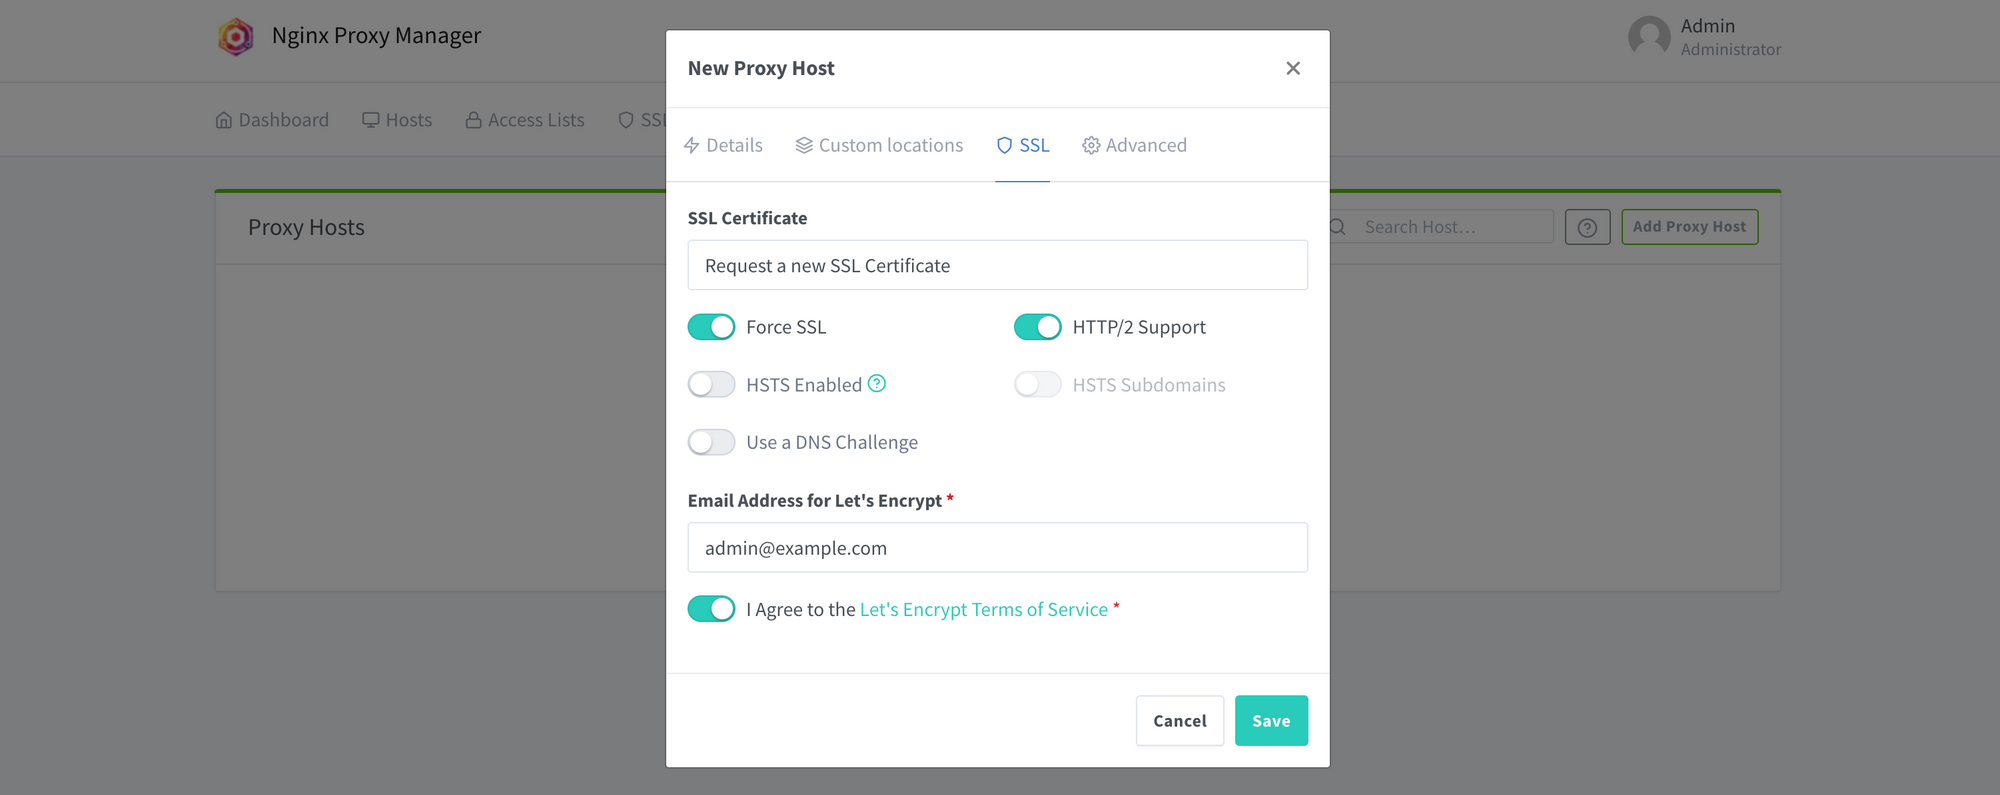
If you wish to configure a TLS certificate, you can Request a new SSL certificate from the SSL tab before you click Save. Provide the email address for Let's Encrypt registration, and agree to their Terms of Service first. You can also choose to force SSL connections, add HTTP/2 and HSTS support if you wish.

Once you create the proxy host, you'll also need to complete two other tasks. If you are setting this up for a home server, you'll need to configure port forwarding on your home router. Next, login to your DNS host and point the just configured domain or sub-domain to your home server. That's it. If you run into issues, double-check the configuration, take a look at the documentation, or use the Reddit community for support.