Passwordless SSH Login with YubiKey Security Key
A brief guide to passwordless SSH login with FIDO2-compliant YubiKey hardware security key.
Not all multi-factor authentication (MFA) schemes are created equal. Sure, any MFA is better than none, but all legacy MFA schemes such as PIN, SMS/Email OTP, TOTP apps, and mobile push notifications, are vulnerable to phishing attempts and malware. FIDO2-based hardware security keys like Google Titan and YubiKey are likely the only phishing resistant techniques available today. Companies like Google have reported no successful phishing attempts since they enforced security keys for their employees. Security keys can also replace passwords entirely for strong, and passwordless, single factor authentication. Let's explore YubiKey and SSH authentication in depth today.
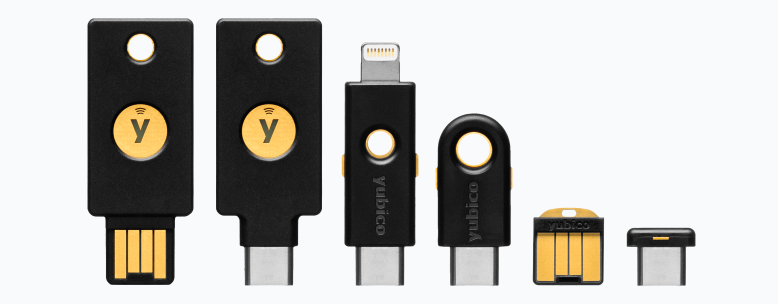
What is YubiKey?
YubiKey is a hardware security key from Yubico, providing strong multi-factor authentication for a wide range of applications and services. YubiKey supports multiple authentication protocols, including U2F, FIDO2/WebAuthn, OpenPGP, OTP, and smart card, and ships in USB A/C, NFC and Lightning form factors. The keys are IP68 rate, crush resistant, with no batteries or moving parts, making them really ideal for long term use. The most popular YubiKeys are USB-A/NFC, USB-C/NFC and USB-C/Lightning.
Wait, Isn't SSH Authentication Secure?
SSH authentication is a secure way to connect to remote machines, but it can be vulnerable to some challenges and risks like:
- Password reuse: Longstanding issue, and the cause of several data breaches.
- Malware and keyloggers: Developers frequently store unencrypted SSH keys on their workstations, which can be compromised by malware.
- Phishing and social engineering: Attackers exploit human weakness; these are getting increasingly common, as seen in the recent GoDaddy breach.
- Session hijacking: Hackers can hijack a developer's SSH session by exploiting vulnerabilities in the SSH protocol.
- MFA fatigue: Attackers bombard targeted users with MFA requests until the user relents and completes the authentication (see Uber breach).
These challenges and risks can be mitigated by using strong MFA like YubiKey security keys. In fact, passwordless SSH authentication can be a useful and secure way to access remote servers without even having to enter a password. In the next section, we'll discuss how to set up passwordless SSH login with a YubiKey.
Passwordless SSH Login with YubiKey
To use YubiKey for SSH authentication, you need to generate and import your SSH private key to the device, configure your SSH client to use the YubiKey as an authentication device, and upload the SSH public key to the remote server. Note that the steps below assume you are using a Mac workstation.
Step 1: Generate SSH Key Pair
First, generate an SSH key pair, which consists of a public key and a private key. The private key will be stored on your local machine, while the public key will be added to the remote server's SSH key store later.
As is the case with several things Apple, the default OpenSSH package has support for FIDO2 disabled. Hence, let's install OpenSSH from the Mac package manager Homebrew using brew install openssh. Fair warning, this may lead to unforeseen issues with Apple Keychain or the default SSH behavior, so do your own research too please.
Run the following command to check the version of OpenSSH installed: /usr/local/bin/ssh -V. You should get OpenSSH_9.2P1 or something similar. To check supported algorithms, run: /usr/local/bin/ssh -Q key.
Use the following command to generate an ed25519-sk key pair; this curve allows integration with security keys, and is missing from the default Apple OpenSSH installation. The command should work on a Linux workstation too.
/usr/local/bin/ssh-keygen -t ed25519-sk -0 resident -0 application=ssh:<your_text_here>You'll be asked to touch your YubiKey - connect and touch it to continue. Skip the passphrase for a passwordless login, or set it up if you wish. <your_text_here> is just an identifier for the remote server you will connect to. On a Mac, the private key will be stored at /Users/<username>/.ssh/id_ed25519-sk, while the public key will be at the same location with a .pub extension. The private key is really just a handle, and is unusable without the corresponding YubiKey, where the real private key is stored.
Note: To store a resident key, the YubiKey must have firmware 5.2.3 or above and a PIN configured. Download and install the YubiKey Manager application for your Mac workstation to check the firmware version and configure the PIN.
Step 2: Configure YubiKey as an Authentication Device
Next, configure your YubiKey to act as an authentication device; this requires setting up a slot on the device to store the private key. On a Mac workstation, install the yubikey-agent package using brew install yubikey-agent. This package allows you to use YubiKey for SSH authentication and PGP key management, and works in conjunction with OpenSSH and GPG Suite respectively to enable secure authentication and key management.
On your Mac terminal, run yubikey-agent to start the agent and load it into your terminal session. Run the following to import your SSH private key. Enter your YubiKey PIN when prompted.
/usr/local/bin/ssh-add ~/.ssh/id_ed25519_skVerify that the key has been added by running /usr/local/bin/ssh-add -l. You can now use your YubiKey for SSH authentication.
On a Linux workstation, you can do the same by using the yubikey-manager utility, which can be installed using the following commands:
sudo add-apt-repository ppa:yubico/stable
sudo apt-get update
sudo apt-get install yubikey-manager
Once installed, you can import the key to slot 9a on your YubiKey using: ykman piv keys import 9a ~/.ssh/id_ed25519_sk.
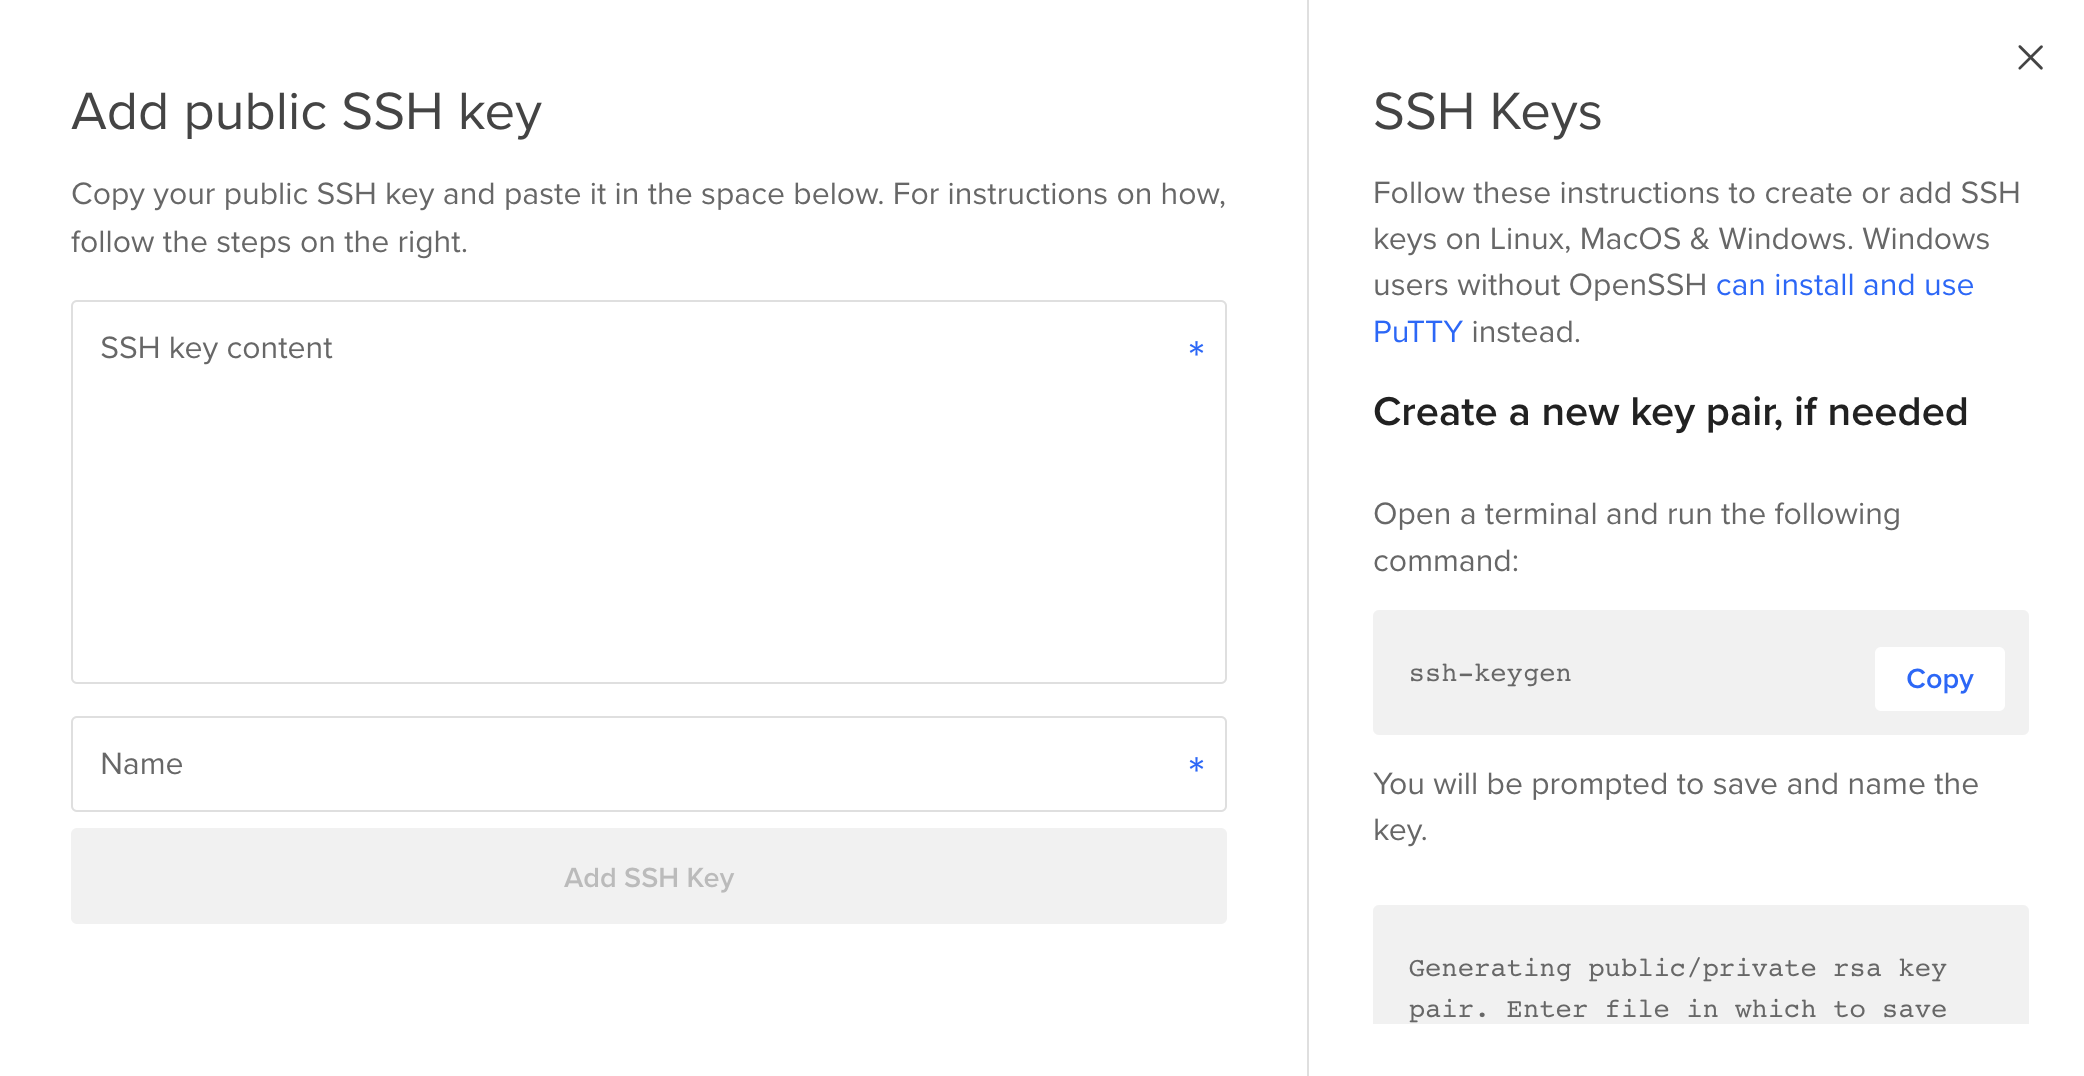
Step 3: Add SSH Public Key to Remote Server
Next, add the SSH public key to the remote server's authorized_keys file by copying the contents of the public key file (id_ed25519_sk.pub) to the remote server using: ssh-copy-id username@remote_server. This will copy the public key to the remote server and add it to the authorized_keys file in the correct format. You can also upload the keys manually.
I'll set up a DigitalOcean droplet for testing SSH access; if you don't have an account, sign up here - you’ll receive a $200, 60-day credit when you add a valid payment method. Set up your team and project, and create a basic droplet. Choose the SSH authentication method, and upload the SSH public key content.
Step 4: Test Passwordless SSH Login
Finally, test your passwordless SSH login by connecting to the remote server using the following command: /usr/local/bin/ssh -i ~/.ssh/id_ed25519_sk username@remote_server.
This will use your private key stored on the YubiKey to authenticate with the remote server. If everything is set up correctly, you should be able to log in with a simple touch of the YubiKey now, without entering a password.