How to Deploy a GitHub Container Image to Google Cloud Run
A quick guide to deploying a Docker image from GitHub Container Registry (ghcr.io) to Google Cloud Run.
Frankly, this post should have just been a part of Google Cloud documentation. But, it isn't, so I'm writing a quick guide for folks looking to deploy a Docker image from GitHub Container Registry (aka ghcr.io) to Google Cloud Run using the excellent Artifact Registry remote repositories feature.
Firstly, I'll assume that you have a GitHub repository with a Dockerfile. For this guide, I wrote a simple Streamlit app that summarises URL content using Gemini on Google Cloud Vertex AI. Here's how my Dockerfile looks like - obviously, yours may vary based on the requirements.
# Use the official Python slim image as a base
FROM python:3.11-slim

# Set environment variables
ENV PYTHONDONTWRITEBYTECODE=1 \
    PYTHONUNBUFFERED=1

# Install necessary dependencies for building Python packages
RUN apt-get update && apt-get install -y --no-install-recommends \
    build-essential \
    libssl-dev \
    libffi-dev \
    libmagic1 \
    && rm -rf /var/lib/apt/lists/*

# Create and set the working directory
WORKDIR /usr/src/app

# Copy only the requirements file first for better caching
COPY requirements.txt ./

# Install Python dependencies
RUN pip install --no-cache-dir --upgrade pip \
    && pip install --no-cache-dir -r requirements.txt

# Copy the rest of the application code
COPY . .

# Ensure the container runs as a non-root user
RUN useradd -m appuser
USER appuser

# Expose port 8501
EXPOSE 8501

# Set the command to run the application
CMD ["streamlit", "run", "./app.py", "--server.port=8501"]
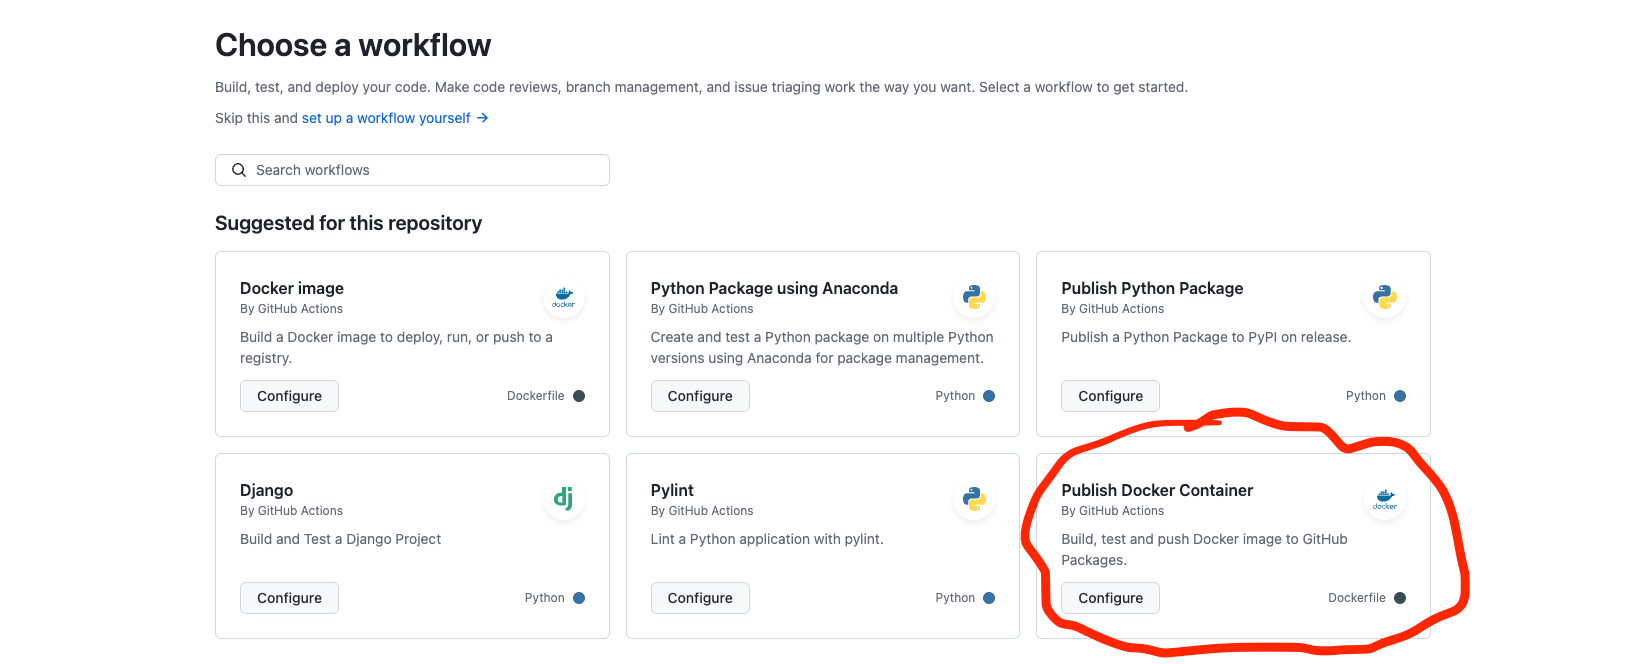
Next, set up a GitHub action (Publish Docker Container) to build, test, and push a Docker image automatically to GitHub Packages upon every commit. Once this is executed, you'll see the Docker image under the Packages section of the repo.

Lastly, we'll configure the remote repository and deploy a Cloud Run service. From the Google Cloud console, navigate to Artifact Registry > Repositories, and click Create Repository. Provide the following details and click Create:
- Name:
ghcr - Mode:
Remote - Remote repository source:
Custom - Custom repository:
https://ghcr.io - Remote repository authentication mode:
Unauthenticated(you'll need to provide credentials to access private repositories) - Location type:
Region - Region:
us-central1(or your own choice) - Encryption: Google-managed encryption key
- Cleanup policies: Dry run
You can also create this repository using gcloud from a Cloud Shell instance. Authorise your session when prompted. I've only included the basic attributes; see this section for more details.
gcloud artifacts repositories create ghcr \
  --project=<project-id> \
  --repository-format=docker \
  --location=us-central1 \
  --description=<description> \
  --mode=remote-repository \
  --remote-repo-config-desc="GitHub Container Repository" \
  --remote-docker-repo=https://ghcr.io
What I've covered so far is explained well in the documentation. However, the next step is where the ambiguity arose for me. To deploy the Cloud Run service, navigate to the Cloud Run tab in Google Cloud console, click Deploy Container > Service, and follow the instructions, or use the gcloud command below.
gcloud run deploy <service-name>
  --image us-central1-docker.pkg.dev/<project-id>/ghcr/<github-username>/<package>:<tag>
  --platform managed
  --region=us-central1
  --allow-unauthenticated
For my specific Streamlit application to work, I used the following command.
gcloud run deploy summlah
  --image us-central1-docker.pkg.dev/<project-id>/ghcr/alphasecio/summlah:main
  --platform managed
  --region=us-central1
  --allow-unauthenticated
  --port 8501
  --memory 1Gi
  --set-env-vars PROJECT_ID=<project-id>,LOCATION=us-central1
The trickiest (and undocumented) part here is the format used to specify the remote image name. Instead of just the artifact repository name (i.e. ghcr), you need to provide the fully qualified name as defined by Google Cloud (i.e. us-central1-docker.pkg.dev/<project-id>/ghcr) as a prefix to the remote package name. You can get this by navigating to the artifact repository details, and clicking the Copy button next to the repository name. When you create the service, Artifact Registry effectively acts as a reverse proxy to the remote repository!

That's it; hope you found this tidbit useful. Google Cloud Run is a really simple yet powerful service, and I hope this encourages you to explore it for your needs.