How to Create a Multisig Wallet for Solana with Cashmere
A brief guide to creating a multi-signature wallet for Solana using Cashmere.
Cashmere is a platform to create and manage multisig wallets for digital assets on the Solana blockchain. If you need a primer on multisig wallets, see this post first. Cashmere is relatively new, without a lot of documentation, community or a roadmap, and it's unclear whether the smart contracts have been audited, so do exercise caution. They were part or Y Combinator's most recent cohort (YC W22) though, lending some credibility to the team.
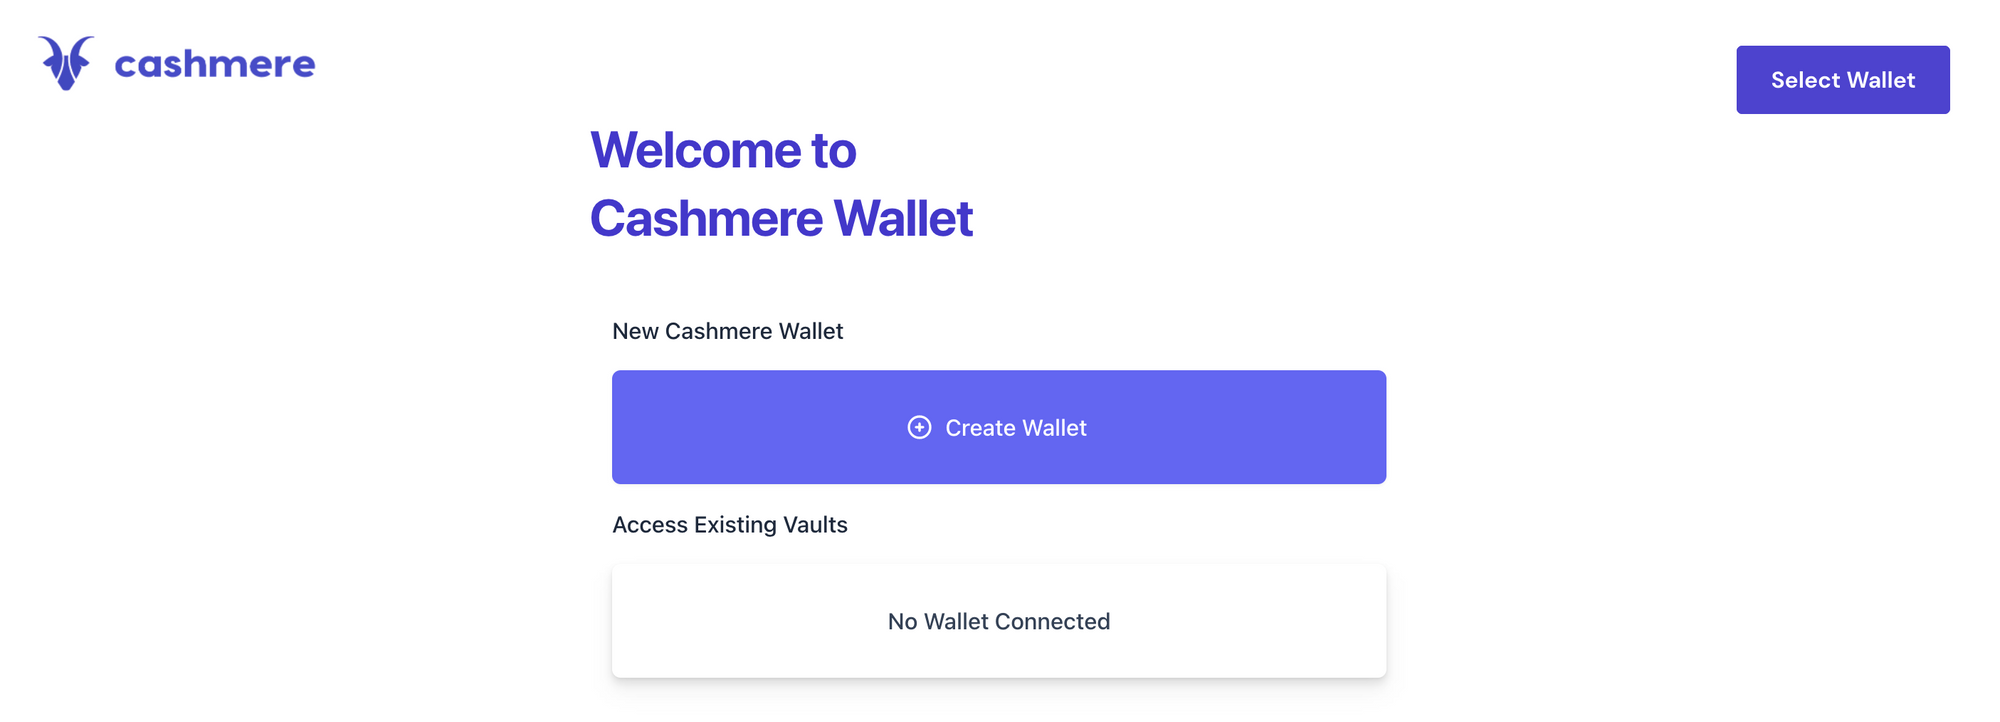
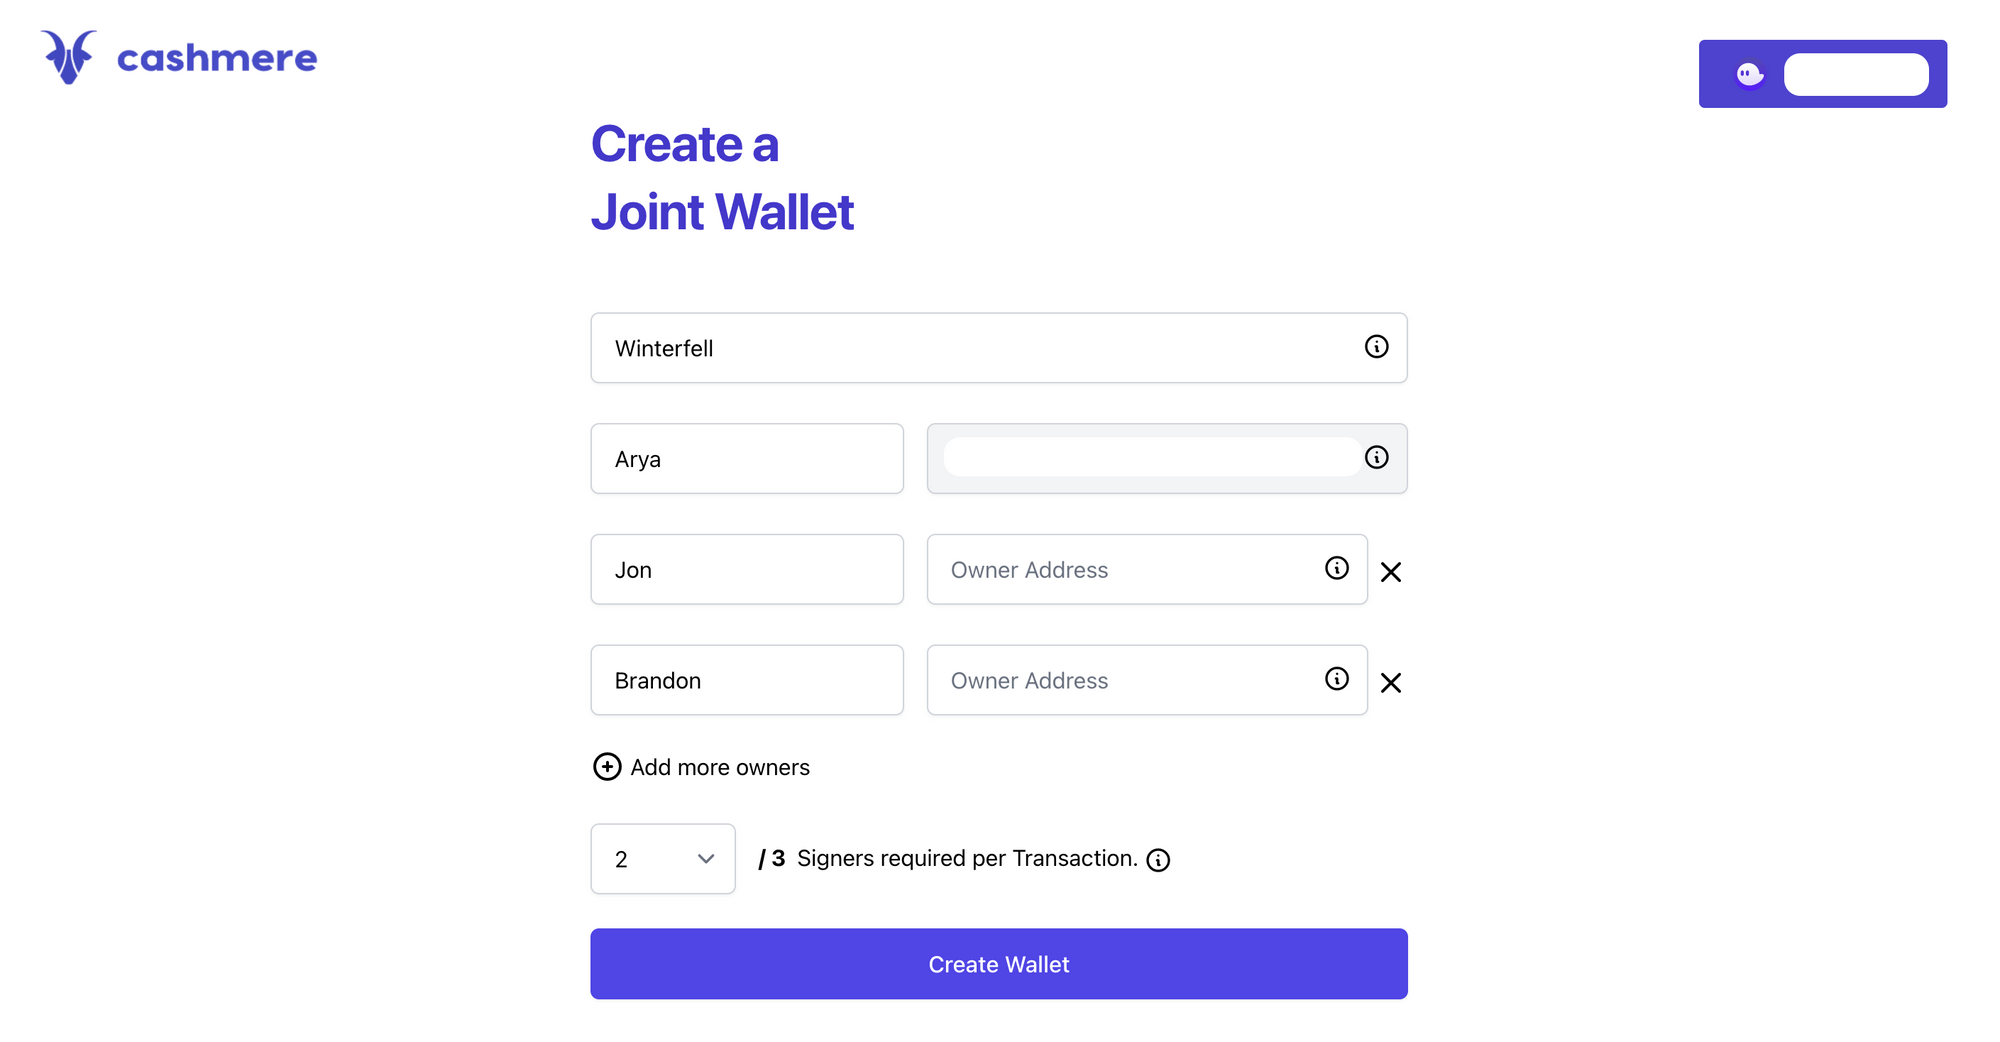
To create a new joint wallet, connect an existing wallet on the Solana network and click Create Wallet. Make sure you have some funds (at least 0.1 SOL) to pay for the fee during wallet creation. Specify the Name, Owners (apart from you) and Confirmations (m of n approvers scheme), and click Create Wallet.
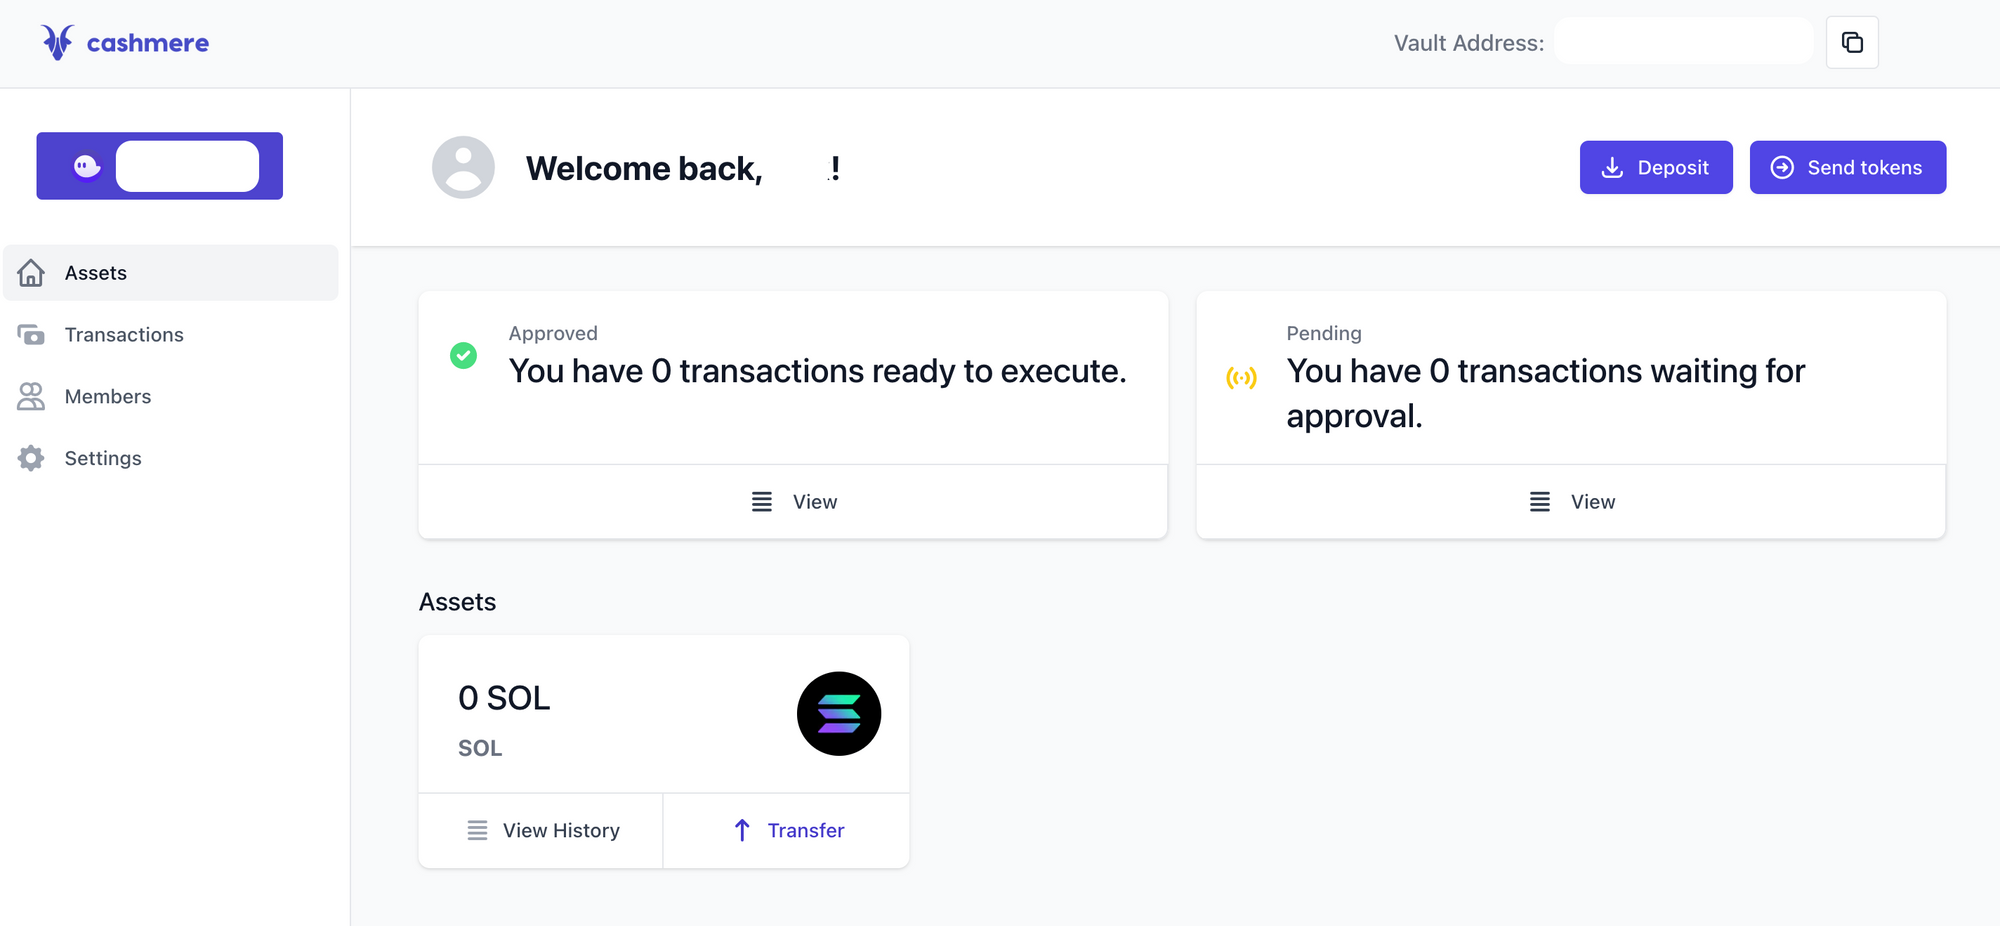
Once you approve, the wallet will get deployed to the network. You can see the digital assets owned by the wallet, view past and pending transactions, add new owners and change approval requirements at any time.
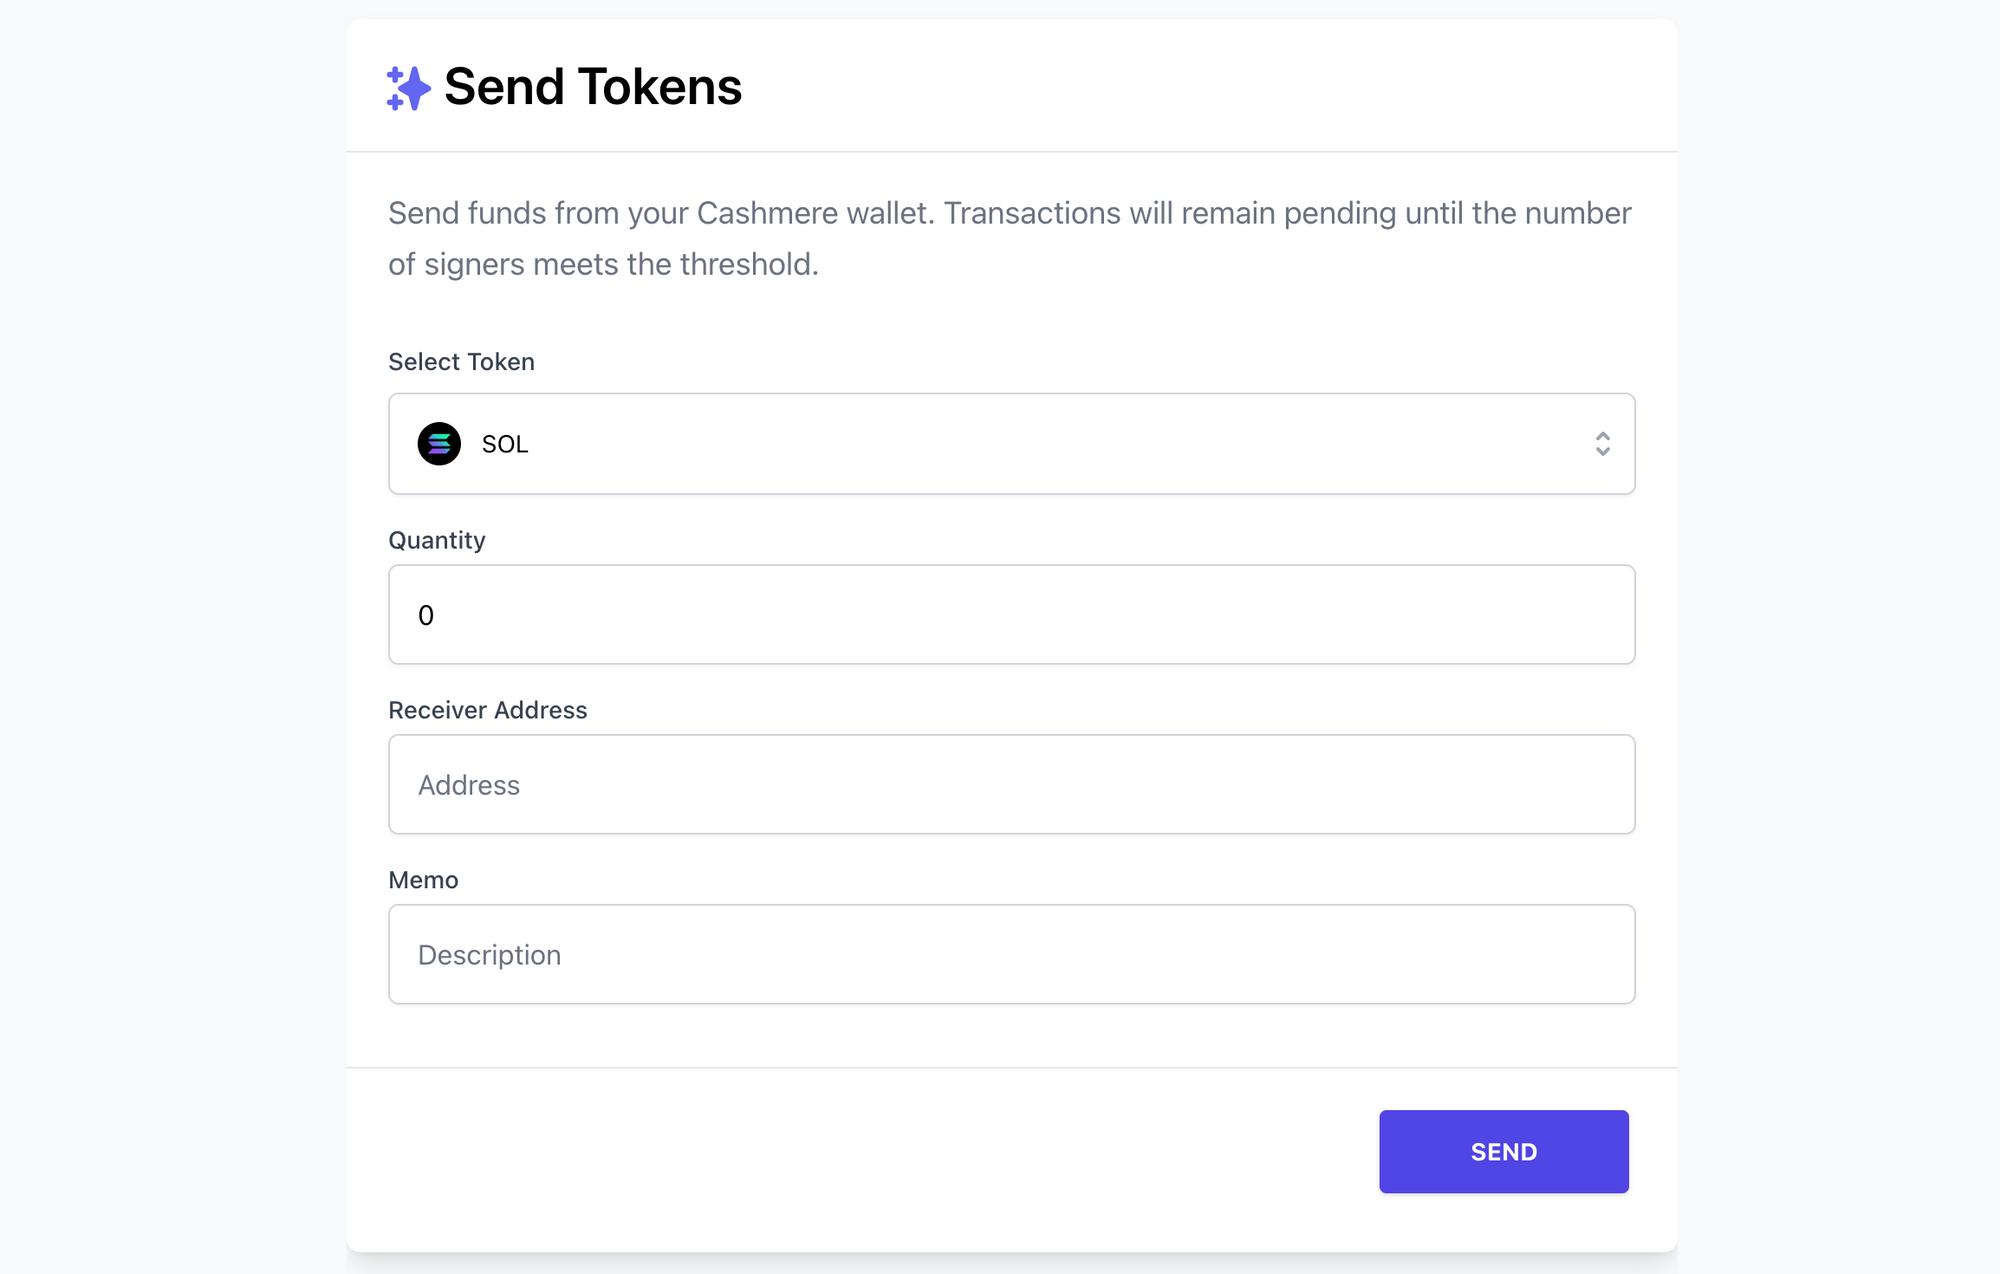
To execute a transaction, first click Access Existing Vaults, authorise the transaction in your wallet, and click on Send tokens. Specify the Token, Quantity, Receiver Address, Memo and click Send.
For the transaction to succeed, you'll need the requisite number of owners to confirm. Once the sender approves the transaction via the wallet, it will show up under your Assets as well as your Transactions tab.

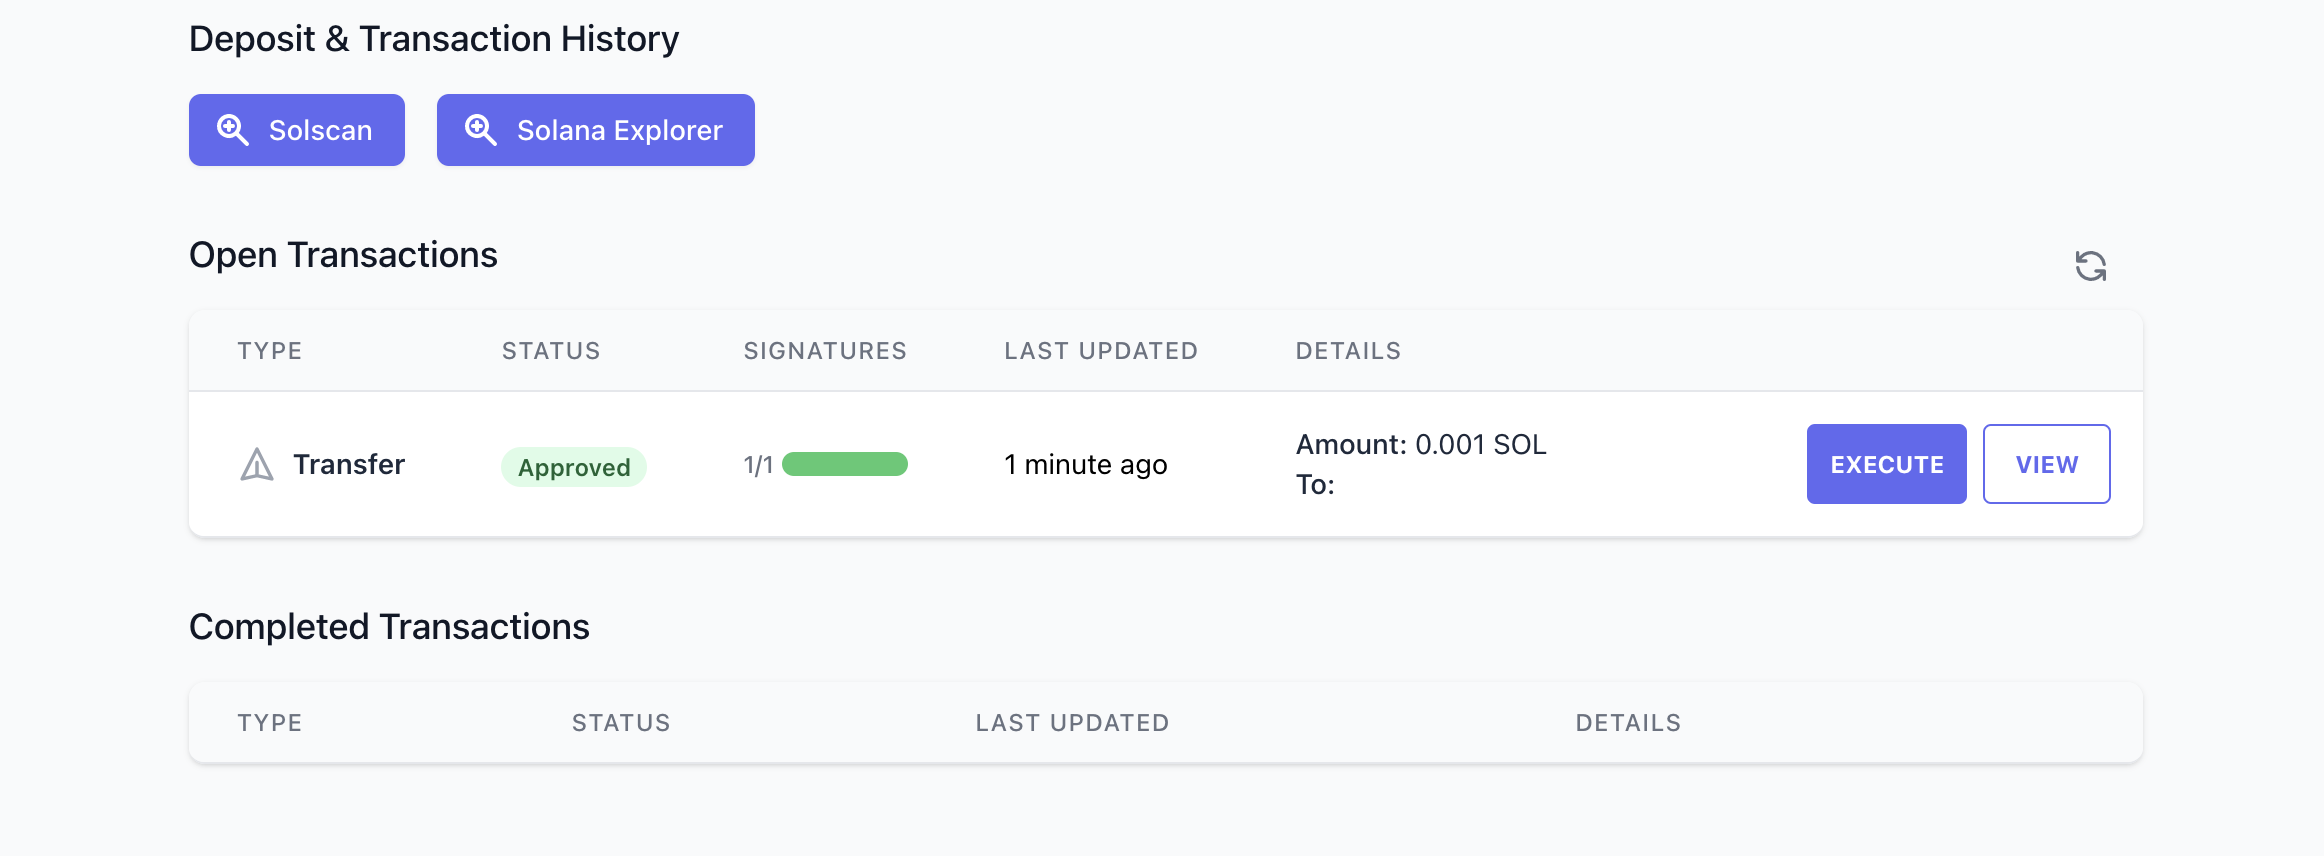
Once the requisite number of approvers have signed the open transaction, click on Execute and complete it. That's it. Cashmere makes it really easy for multiple parties to consolidate funds in a joint wallet, and execute transactions seamlessly.